

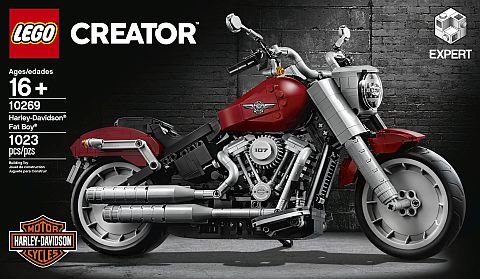
(Written by William)
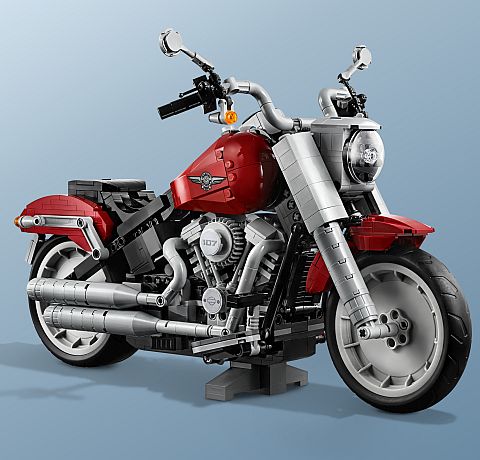
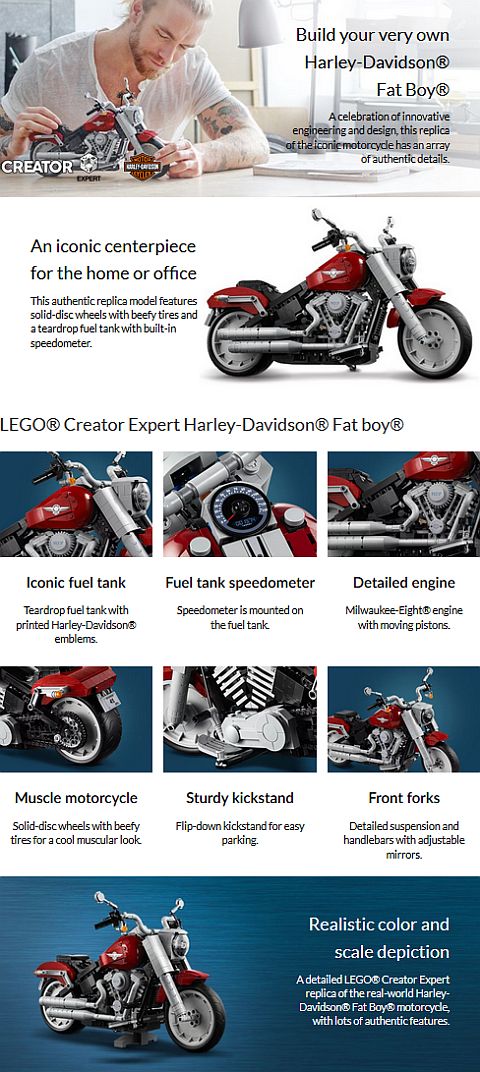
I must admit that being legally blind I wouldn’t have thought that the LEGO Creator Expert vehicles would have much appeal for me. But truth be told, more times than not they are amazing building experiences. And the #10269 LEGO Creator Harley-Davidson Fat Boy in particular took me for a ride. Before looking at the set in detail, I wanted to mention that I was planning on getting it already, but when the opportunity to review it came up, I jumped on the chance. So, even though the set I’m talking about here is a review copy, I would have purchased it regardless.
I know this type of set is not for everyone. But I can tell you as a LEGO fan, if you are looking for a very non-traditional building experience on a master level, this is probably one set you want to spend your money on. Throughout the four sets of numbered bags it was a constant surprise as to what part of the bike was being built. Scale wise it’s a much larger scale model than the rest of the LEGO Creator Expert Builder vehicles, but this allows a higher degree of detail. It’s safe to say that the designers nailed this and then some. So grab your helmet and let’s hit the road to some amazing techniques.
VERTICAL FRAMING WITH LEGO
In general, when working with the large LEGO Creator vehicles, we see a lot of the framing done with LEGO Technic pieces. This creates a rough, but remarkably sturdy design. From this core we then extend a few vertical elements to anchor key parts of the model in place. However, what do you do when you have a very narrow and oddly shaped vehicle? For this set, we almost fully rely on vertical framing.
In order to get the right angles and curves for the motorcycle, we have to almost entirely abandon square shapes. Yet we still utilize a lot of rectangular parts. A standard set that uses vertical framing will often have elements shoot straight up continuing from a very square base. The LEGO Harley-Davidson Fat Boy on the other hand reimagined vertical framing as a series of angled components. This angled frame is then wrapped around and reconnected with the original square base. Looking at the set, you may think it’s utterly impossible even to begin trying to figure out how LEGO designers made all of this to work. So let’s try and simplify what we are looking at.
It doesn’t appear to me that LEGO designers started by creating the frame and then filling everything else in. Rather, it looks like that they created a feature they knew they wanted and then built a frame around it. In this sense, vertical framing is very different from traditional horizontal framing. The technique is not easy, and it will require a lot of work.
In addition, once you figure out how a vertical frame can be built and wrapped, you’ll need to nail down what types of connection points you’ll need. Just like any frame, its worth is based on what you can attach to it. I know figuring out new connection points is a tedious process, but approach it just like you would in creating any vertical frame. Decide what you want first, and then figure out how to accommodate it. For this reason, I also suggest that when building the initial frame try to use the longest pieces possible with the simplest design. This will hopefully give you room for changes down the road.
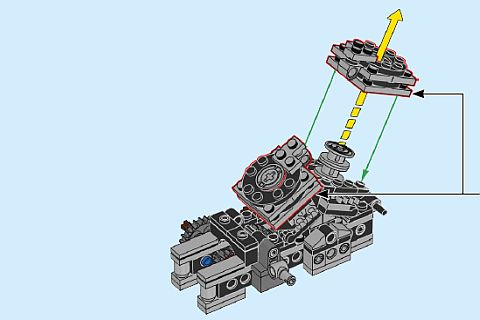
FLY-OUT ELEMENTS WITH LEGO
When building certain parts of a model, you know there are certain things you want, but they may also get in the way of the building process. Having these portions of your model fly-out on a hinge is a great way to build a more complex design while leaving room for future adjustments.
Making too many of them though can be problematic as they could compromise your creation’s structural integrity. Therefore, a fly-out element is best used when a moving part will need to be attached at a later state of the building process.
By their very nature, moving elements within a model can get in the way of building. However, at some point they’ll need to be attached. A fly-out element will prolong the time at which you absolutely must connect the moving part. For this reason, it’s better to consider this less of a technique and more of a convenience hack.
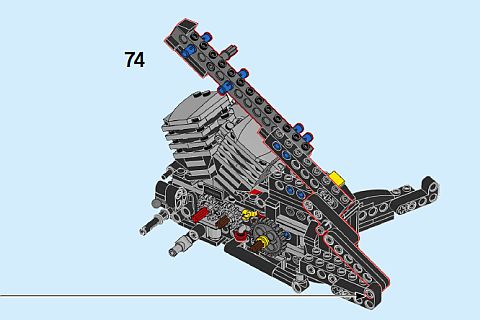
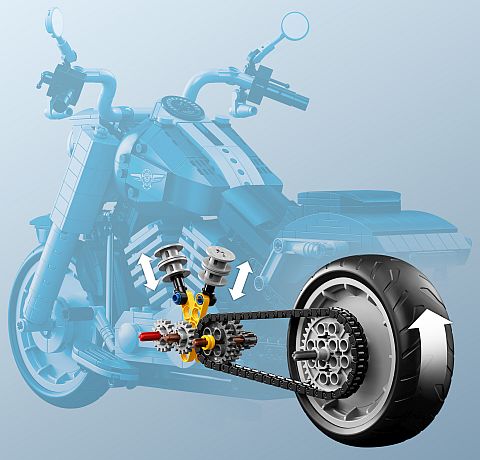
DIAGONAL PISTONS WITH LEGO
One of the coolest sections of the LEGO Harley-Davidson Fat Boy is something only builders of the set really get to see. Although it is mentioned in the designer-video, it is not something that you can really see on the final model. Moving pistons are already one of the more complex designs typically seen in a LEGO set, but here we get even more. First of all, the pistons are placed diagonally, and secondly, they are moving in different directions from one another. It took me a while to really understand what was going on and why it all worked.
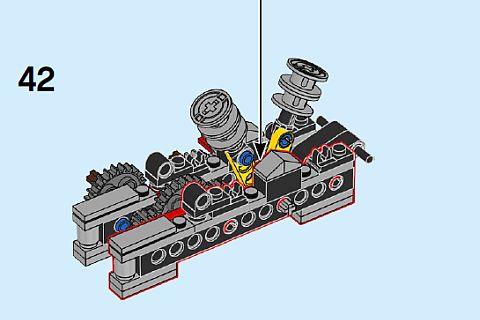
Let’s start by stripping away a lot of the confusing elements. We know all of this movement comes from a gear turning. For that reason we don’t even have to worry about the chain and all the other gears. All they do is to make sure the gear turns at the right speed. Now, let’s simplify a little further and only look at one of the pistons. That leaves us with three components; the piston that moves, a crank that the initial gear is attached to, and a thin lift-arm that has two points of motion. These points are where it connects to the crank and where it connects to the piston. Put these all together and you got… a weird floppy mess. There is still something missing. And that’s when I saw it, there is also the channel you create for the piston to move inside of!
It’s true that the crank, lift-arm, and piston provide all the movement, but it’s the channel that gives the movement clear direction. Add that in the mix and you got the diagonal piston motion (provided the channel is built diagonally). So then how do you get a second piston moving opposite the first?
Well you start by creating a diagonal channel in the opposite direction and then just attach everything to the same crank. Since the movement of the piston is determined by how far out the crank moves, this means at a certain point the crank will be closer to one piston before swinging over to the other. This amount of distance forces each piston to work opposite of one another. And that’s all there is to it.
BUILDING WITH LEGO FOR YOURSELF
I must admit when it comes to authentic modeling I usually think of fan creations first. Building a set with accurate elements that you ultimately can’t see is not something LEGO does often. In fact, whenever there is a section of a model you don’t see, you are usually treated to odd colored parts or strange hollow spaces. So it was entirely foreign to me to see LEGO designers create working pistons in this model. There is no easy access for you to show friends and family the clever mechanism hidden inside the set. Rather it is something extremely personal between the builder and the set itself. Even the instructions mention that this was designed for the authenticity of the model.
Ultimately what I got from this is that Mike Psiaki, the lead designer, is a true fan of the subject matter. And that’s a fantastic thing to strive for in the models we build. Those of us who build for display often forget to build for ourselves. Bringing elements into a creation that may not be seen or are just hard to see can be a great way to foster and nurture this passion.
I know there have been times I’ve gotten close to feeling burned out when it comes to building with LEGO. But I know whenever I’ve spent an unusual amount of time just getting a tiny detail right for my own sake, I feel charged and excited for building. So I encourage that you consider every now and then sneaking in something special in your creations that only you know about. You should of course share it with others if you like, but have it as something that is not readily visible. Maybe you have a oddly shaped stone with a legend that a great hero is trapped inside and actually put a minifigure buried in the rock. Or maybe that shack out in the woods has a hidden treasure under the floor boards. Whatever it is can help energize you as a builder.
APPLYING WHAT YOU LEARN
Vertical framing is still a rather underutilized technique in mainstream LEGO sets, but that doesn’t need to be the case in our own models. By developing the weird angles that are possible while creating height we have the potential for some pretty advanced building. It might be good to start with something small and inconsequential before moving up to something on this set’s scale.
I know it took me a long time before I even attempted models with moving parts. Even to this day, they aren’t my go-to design choice when building. However, if I think about using some fly-out elements it might be a simpler idea to ease into. Using a basic hinge is easy to make after all.
I doubt you need a piston going in a diagonal direction anytime soon. But this technique works with normal pistons as well. Just know you’ll need a crank, a lift-arm that connects the crank to the component you want to move, the piston itself, and finally a channel for that piston to move in. This should be a much more reliable piston than anything that is gravity fed.
Finally, don’t forget the most important person viewing your model is you. Children have this concept down since much of the enjoyment is tied into their imagination. In this way, most of what they build is for themselves. But as we get older and our skills increase, we can lose sight of the underlying joy of creation. So take a little time and build something for yourself just because you’re that good!
What do you think? How do you like the LEGO Harley-Davidson Fat Boy? Do you have it already? Or are you planning to get it? And what do you think of the techniques we discussed here? How would you sue them in your own creations? Feel free to share your thoughts and discuss in the comment section below!
And you might also like to check out the following related posts:


I really would like to have this set chromed. Is that possible? As far as the techniques, this is almost like a Technic set in complexity. I would love to build it!
I have actually seen a chromed version already. And yes, there are sellers on BrickLink that can chrome the parts for you. Ask at their Forum. 🙂
The narrow framing is a technique I would like to learn. And I’m also curious about the hidden pistons. Is there an easy way to disassemble that section to show how it works?
That’s a good explanation on vertical framing. I wonder in what other applications would it be useful. Any suggestions?