(Written by William)
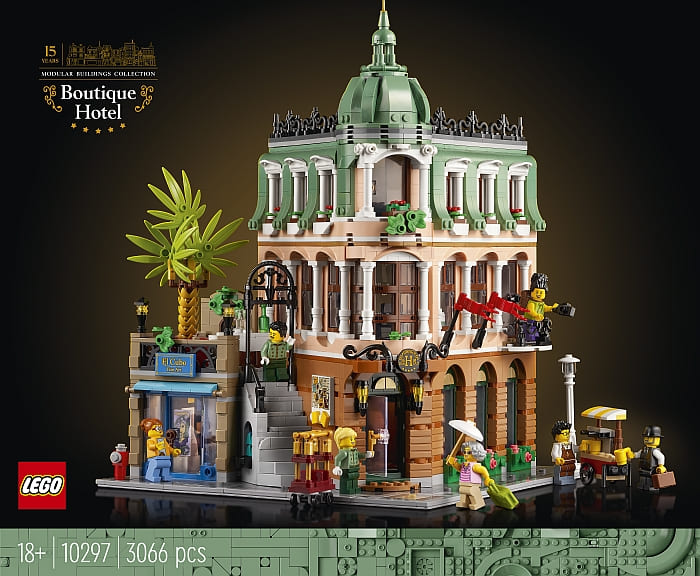
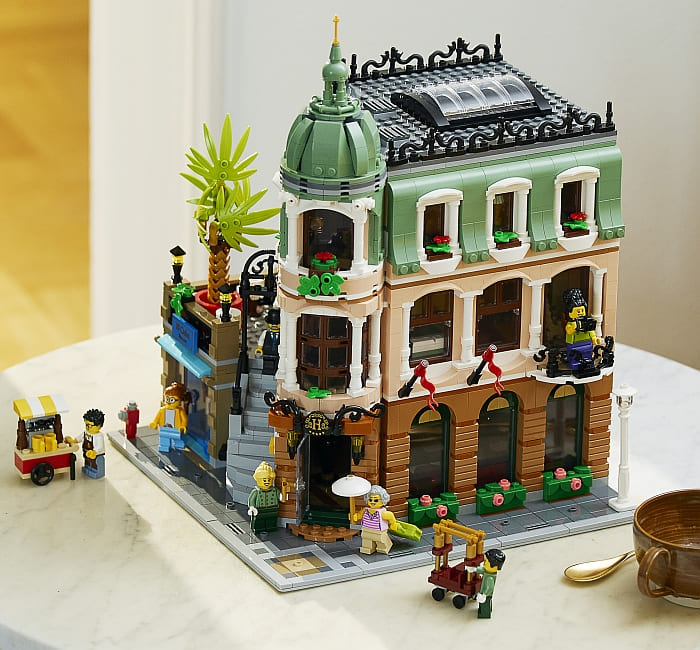
The #10297 LEGO Creator Expert Boutique Hotel has been released in celebration of the fifteen-year anniversary of the LEGO Modular Buildings line. LEGO chose to go back to its roots and sort of reimagine the very first LEGO Creator Modular Building, which was a hotel and café (#10182 LEGO Creator Expert Cafe Corner). However, while the original set was completely empty on the inside, this time we get a full interior!
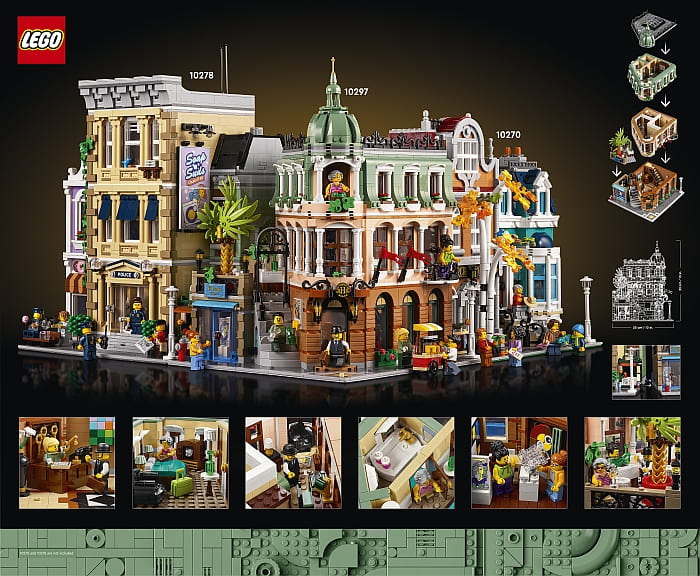
In order to celebrate all the LEGO Modular Buildings that have come before the Boutique Hotel, LEGO designers placed small notes throughout the instructions. These notes include building trivia, like how a mechanical arm piece was used in the #10190 LEGO Creator Expert Market Street as a railing. Then the instructions shift to more narrative connections, like the receptionist talking to the lieutenant over at the #10278 LEGO Creator Expert Police Station on the phone at her desk. And LEGO designers even hid some references in the various decorations, like the bulletin board on one side of the outdoor steps advertising the services of a couple other businesses in the area. All in all, this set is chock-full of little nods to previous sets. Heck, even the typewriter on the second floor looks oddly familiar to a certain LEGO Ideas set I recently reviewed.
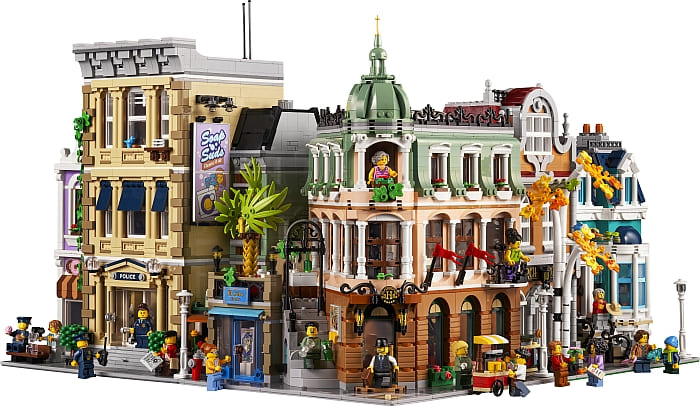
On top of all these hidden gems, the building sports some truly ambitious techniques. The diagonal interior wall of the model is especially something to take note of. Granted we’ve seen something similar in the #10264 LEGO Creator Expert Corner Garage, and perhaps this is a reference to a previous set as well. However, the garage had an external diagonal wall with only some small interior walls that were more decorative than supportive. So, I wanted to focus today’s breakdown on just what goes into these angled walls and how you might learn from them.
LEGO BOUTIQUE HOTEL – TRIANGULAR FOUNDATION
Diagonal walls are still a fairly new sight in the LEGO Modular scene. As mentioned above, we did see it pop up in the #10264 LEGO Creator Expert Corner Garage, mostly as exterior walls. The biggest difference between the garage and the boutique hotel is that in the hotel there is more consideration given to the look of the walls from both sides. The second floor is, in essence, a two-part floor with the hotel being distinctly different from the wine tasting outdoor space.
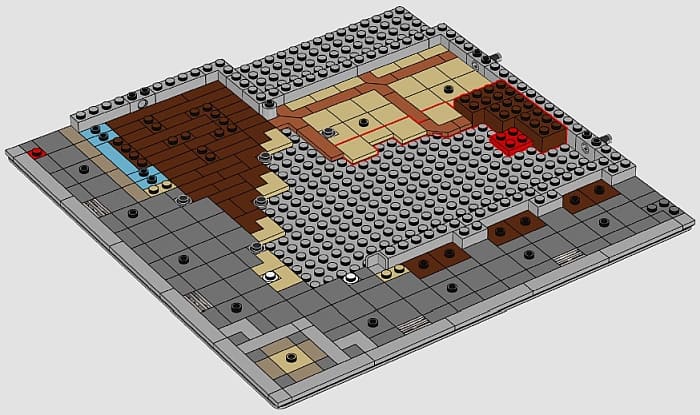
However, the foundations for both buildings are quite similar, based on mirrored Pythagorean Triples to make diagonal connections. In short, the method is all about creating right triangles on your baseplate. A right triangle is a triangle that has one corner that forms a 90-degree angle, or in other words, a straight box corner. However, that corner just gives you a starting point for your math. It’s the other two points that you want to put studs on to connect your wall.
While you are building the model, you can see this form a pattern by counting the studs down and then counting the studs over to each 1×1 round plate. It will be regularly either three down and four over or four down and three over depending on how you count. And this is actually the most important thing to remember. As long as you have an established pattern, you can start at any stud and count out the pattern in any direction. If you do, you can place a stud there for connection, since it will line up with anything else in the diagonal pattern.
The other factor to consider when forming a triangular foundation is how the walls will line up to the sections of the building that aren’t at an angle. For this, you have two options. One option works better on obtuse angles; really large open angles larger than 90 degrees. While the other method works better with acute angles; sharp angles under 90 degrees.
Large open angles often need some sort of filler to hide any gaps. You can see a stack of round bricks and plates serving this function inside the hotel. The rounded pieces help in avoiding collision between the square pieces. Fortunately, we now have a 1×2 rounded endplate that also makes it possible to interlock these types of transition points to different walls, no matter the angle they are at.
As for sharp angles, a good method is to extend your walls slightly and use the overlap. It is not the most efficient use of space, but it can be tricky when angles get a little too tight. You can see this method used at the front of the hotel where the front door transitions into the front bank of windows.
A third option can be swivel hinges. However, they work better when the positioning of studs is also angled oddly. Since we are talking about a foundational structure, you may want to save hinges for upper floors.
LEGO BOUTIQUE HOTEL – TRIANGULAR FLOORING
Now that you have your fancy foundation, how in the world do you build off of it? Welcome to the wide world of wedges! Each angled element has its own angle including left and right versions of some. The options for your angles only increase when you put diagonals next to one another.
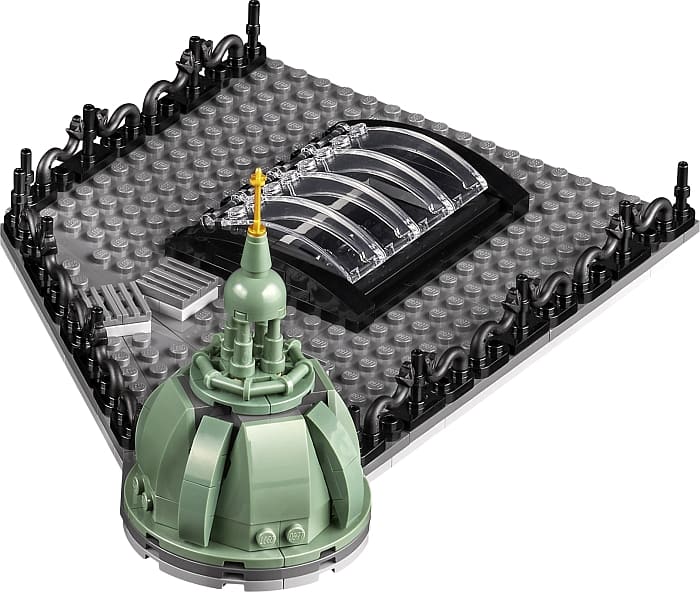
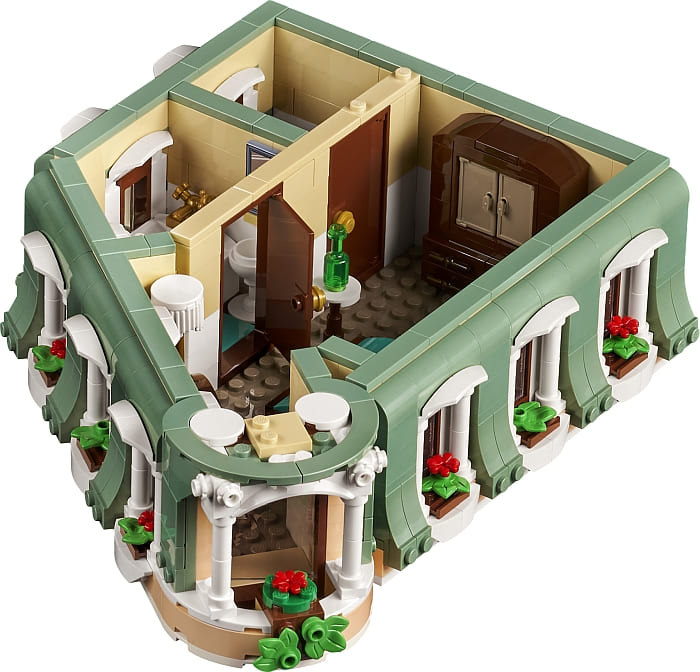
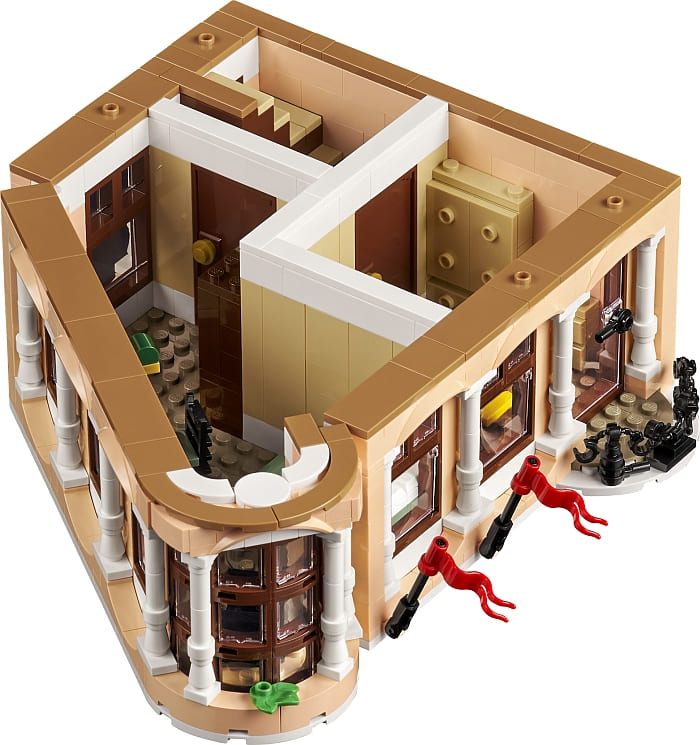
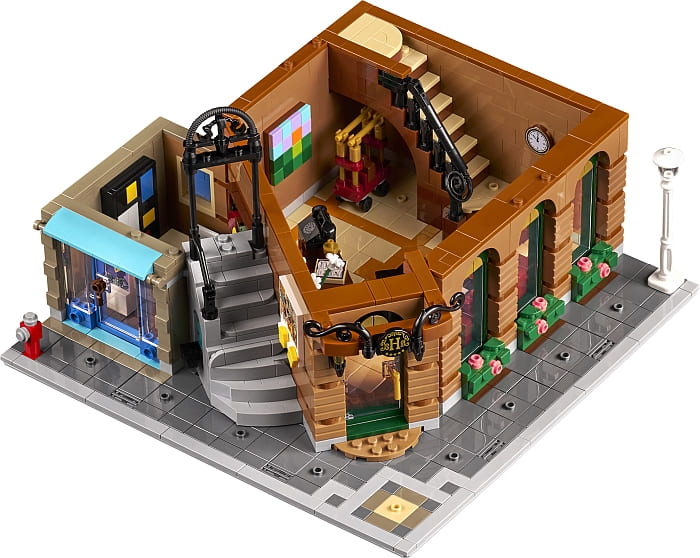
Most of the time, using diagonal wedges is something you naturally play around with. Then you can seam things together with a swivel hinge since it can accommodate odd stud placement. and it is possible to get very, very, precise. And, wouldn’t you know it, that’s what LEGO designers did here.
The entire process involves using a protractor. This is that half-circle shape math tool that lets us measure angles. It might also be handy to have something to write down all your measurements.
Start by measuring the largest angle you want to work with. In the case of the hotel, that would be the inner wall of the hotel right behind the reception desk. Now comes the un-fun part. Start grabbing wedges and measuring the angles they form. When measuring angles like this, it is important to focus on the sharp edges of each angle and not the square parts of the wedge.
Once you have your measurements, you can start putting them together like slices of a pizza. So, let’s say you have a large angle of 150 degrees. You can actually start with a square piece since that would count for 90 degrees of the angle, but you’re still 60 degrees short. But if you have a left and a right wedge with 30 degrees, they can be added, angle to angle, to make up the difference. This pattern can usually be repeated with the same wedge types to go out as far as you need them to.
Often all the math is hidden in the design of each wedge element. So, if you are like me and really don’t want a geometry lesson while you are trying to free-build with LEGO, you can do this instead; look at the entire section you need to cover and count all the studs the large triangle forms. Then try to build a triangle that size. More often than not, this gets you in the ballpark of what you need.
APPLYING WHAT YOU LEARN
The techniques discussed here are probably some of the most advanced found in the LEGO System. Elements in the LEGO System style have an inherent squareness to their design. That means, any time you wish to tackle a shape that is not square in nature, you will need to put in the extra effort.
Thanks to recently released new elements, this process is becoming not only possible but a bit easier. By understanding geometry, you can get a big leg up on other builders just based on the ability to break expectations of what is normal. But to do so, you will need to have a good grasp of what makes a strong foundation for this style of building. That is why I recommend studying and understanding the triangular foundation section first. It is what makes square stud placement compatible with angles.
Once you master that, then you may need to go shopping. Wedges have so many varieties that it is more likely you just don’t have the piece you need. It is easier for LEGO designers, as they can pull from the entire LEGO elements library, or even make a new wedge to suit a model. As fans, we only have what is in our collection. So, if you are serious about angling your floors in wild ways, making sure you have an ample supply of wedges will be key. Oh, and swivel hinges help too. The swivel hinge is the ideal part for connecting wedges together.
Sadly, playing with wedges is less of an easy to duplicate process than most of us can manage. But if we are truly interested in creating something next level, it definitely fits the bill. But that is one reason why the LEGO Modular Buildings have always been hard sets to pass up on. In the video below, I summarize my thoughts on the set, and if you’re interested to check it out, you can find it at the LEGO Creator Expert section of the Online LEGO Shop.
What do you think? Do you have the LEGO Creator Expert Boutique Hotel yet? How do you like the triangular floors and the building techniques to make them work? Are there any other interesting techniques you found in the set? Feel free to share and discuss in the comment section below!
And you might also like to check out the following related posts:


That wedge construction is an interesting technique, but it makes it hard to fit the modular seamlessly into a layout.
I would love to build this set to learn the techniques, but I don’t think I will add it to my city. It’s too colorful and weirdly shaped for my taste. A set like this almost needs its own block.
Those 1×2 plates with rounded corners are such a game changer. They allow angling plates in basically any direction. The issue is adding stability. I felt that the corner garage was roo flimsy until the last steps.
I plan to get this set at some point. It’s not my favorite modular, I think it’s too busy, but I’m intrigued by the techniques, including the ones you talked about.
I think another technique that could be talked about is color combos. I feel that they overdid it with this set. Too many soft colors and nothing to contrast them. I dunno. Just how I feel. And that palm tree is really out of place on the modular street.
The new triangle tiles made a big difference for flooring patterns. They are also great for lettering and other patterns.
Speaking of which, another technique that could be talked about is the artwork in the gallery. Neat techniques there too.