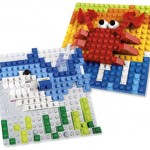
 Mosaic is the art of creating patterns or pictures with an assemblage of small pieces of colored glass, stone or other materials. It is one of the oldest forms of art, dating back several thousand years. You can read about the history of mosaics on Wikipedia here: All About Mosaics
Mosaics are a wonderful way to create pictures or just pleasing patterns of décor. They can be standalone pieces of art, or they can be incorporated into a larger creation (for example as floor or wall patterns). They can be small and simple, or very large. In fact the larger the mosaic, the more detailed it can be.
 LEGO is all about putting together lots of little bits and pieces to create something larger, so it is the perfect medium for creating mosaics! And because of LEGO’s amazing versatility there is more than one way to create a LEGO mosaic!
Here I will show you techniques used by some of the best LEGO mosaic builders! Hope they will give you some ideas and get your creative juices flowing! (Click on any of the pictures to take you to the creator’s own site for a larger view.)
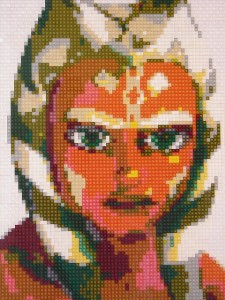
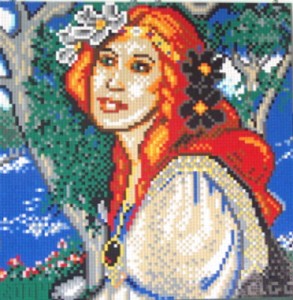 PLATES – ONE LAYER – SOLID COLORS: this is probably one of the most traditional ways to create a LEGO mosaic. They are built with basic LEGO plates in a single layer. To create great detail and intricacy usually the smallest 1×1 size plates are used. Some larger plates may be incorporated as well, depending on the size and design of the mosaic. (As an alternative, the same effect can be achieved by using bricks with studs facing out. The mosaic will thicker and heavier though.)
The little plates are usually attached to a baseplate, or several baseplates connected together to create a larger picture. LEGO itself released a few mosaic-sets between 2000 and 2003, with some very large baseplates. These are still available on Bricklink. For very large mosaics of this type, often a wood frame is attached for additional support and for giving a means to hang it on a wall. The picture or pattern created may use only a few colors (for example to create a black & white image).
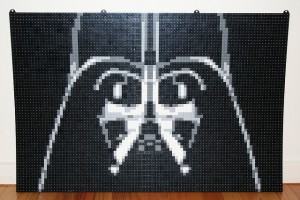
Or may be in full color, taking advantage of LEGO’s extensive color palette.
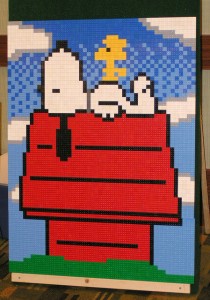
PLATES – TWO LAYERS – SOLID & TRANSLUCENT COLORS: LEGO also has plates in several translucent colors. By placing translucent plates over solid-color plates, a more extensive color palette can be created. The end result is a more fluid picture with subtler transition of colors.
PLATES & ROUND PLATES – MULTI LAYER: this is another technique to blend colors in a unique way. Because of the slight gap between the round plates on top and the regular plates below an interesting transition can be achieved between colors.
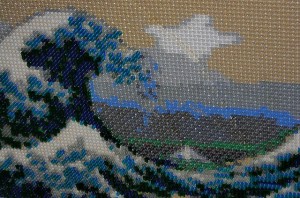
LEGO TILES: tiles are like plates, with no studs on top. Therefore you can create a very smooth surface.
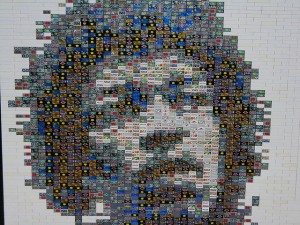
LEGO DECORATED TILES: some very interesting effects can be achieved by using LEGO’s decorated tiles!
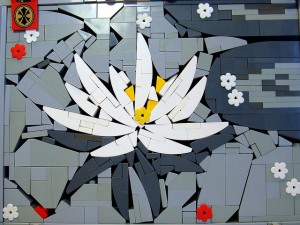
LEGO TILES & PLATES: You can achieve a subtle, slightly 3D effect by combining smooth tiles with plates.
BRICKS & PLATES – STUDS UP – SOLID COLORS: rather than having studs facing out (like with plates), you can have studs facing up to create a flat-surface mosaic. Another advantage of this technique is that since the bricks and plates are interconnected, the mosaic can solidly support itself. No need for a baseplate or other backing.

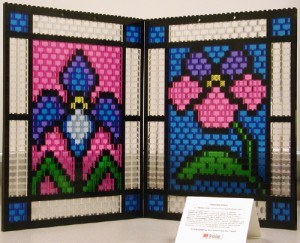
BRICKS & PLATES – TRANSLUCENT COLORS: here we are transitioning over to an almost stained-glass effect! You can create beautiful designs with this technique!
LEGO CHEESE SLOPES:in 2004 LEGO introduced a small, smooth-surface slope, often referred to as “cheese slope” for its slice of cheese-like shape. LEGO-fans have been experimenting with creating mosaics from these little pieces. Some really interesting designs can be achieved!
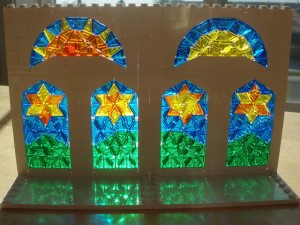
And because they also come in translucent colors, they are another great technique for a stained-glass effect.
The challenge is that the slopes have no studs, so they are mainly held together by friction. But by creating a strong frame around the designs, beautiful pieces can be created.
LEGO HEADLIGHT BRICKS: these little bricks are referred to as “headlight bricks” because they are often used as headlights on LEGO vehicles. However they can also be used as an interesting technique for mosaics. They are great for creating various designs that can work well for a floor or wall pattern in a larger creation. Because of the way headlight bricks interconnect on four sides, the end result is a very solid built.
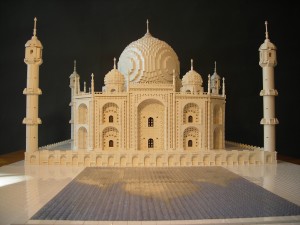
THREE DIMENSIONAL MOSAICS: although mosaics are usually flat surfaced, you can certainly expand them into the third dimension for a stunning effect!
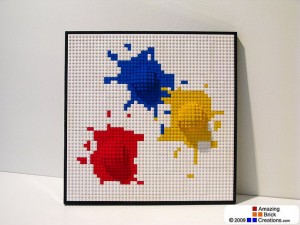
MIXED PARTS MOSAICS: you can create very beautiful designs with this technique, playing with the many shapes of LEGO pieces. However because the pieces are held together mostly by friction, they usually need to remain horizontal.
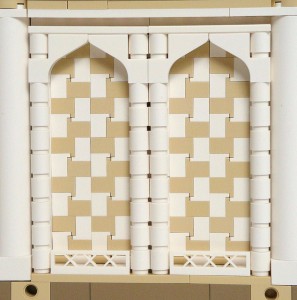
MOSAICS AS PART OF A LARGER PROJECT: mosaics can be incorporated into a larger project as intricate floor and wall designs, or even as a reflection or mirrored image! The possibilities are really endless once you get a hang of it!
I hope this review helps in your own LEGO mosaic building! You can also check out the LEGO Mosaic GALLERY, and the Resources for LEGO Mosaic Builders section. And if you come up with or know of some other great techniques let me know!




Thanks for this! Very inspirational! I think even people who otherwise don’t care about lego can appreciate the idea of building a mosaic. The examples posted here are just increadible!
Great inro! Thanks! The mosaics by Arthur Gugick are really amazing!
The round plates mosaics have a really unique effect. I have seen some in person, but I don’t think there is any software to build those! I have no idea how someone builds them!
Photobricks is a completely free, ridiculously easy-to-use mosaic creation software specialized to work with LEGO® bricks. With Photobricks, you can make beautiful mosaics from your favorite images with the push of a button. For those of us who like to have more control, you can further customize the mosaic by cropping and changing the colors of individual bricks. You can then view what types of bricks you’ll need to build your mosaic and, when you’re finished with your masterpiece, you can share it in a variety of ways with others thanks to the built-in publishing options.
I know i’m a little late on seeing this article, but i hate Obama
I agree,
i know nobody probably looks at this anymore, but i hate Obama.
Lloyd, please note that this is not a political blog. Here we talk about LEGO mosaics. Please stay on topic. 😉
yes sir
Sorry about commenting twice
Just learning about AFOL’s and mosaics. The Obama one; it doesn’t look like legos were used for his face, but some type of sticker application.
Daddy-O, nice to have you in the world of AFOLs! As far as the Obama mosaic, it is indeed LEGO. If you make the mosaic large enough you can get very detailed. This one is 48×72 inches. 😉
best one so far! imho. tyfs
The last image is a masterpiece.
Your article is nice, however it would be nice if you credited those of us whose mosaics you used.
Mariann, always nice to hear from ya! If you hover over any of the images, a little box will give you the title of the creation and the name of the artist, and if you click on any of the images they will take you to the artist’s flick gallery. Hope this helps. 🙂