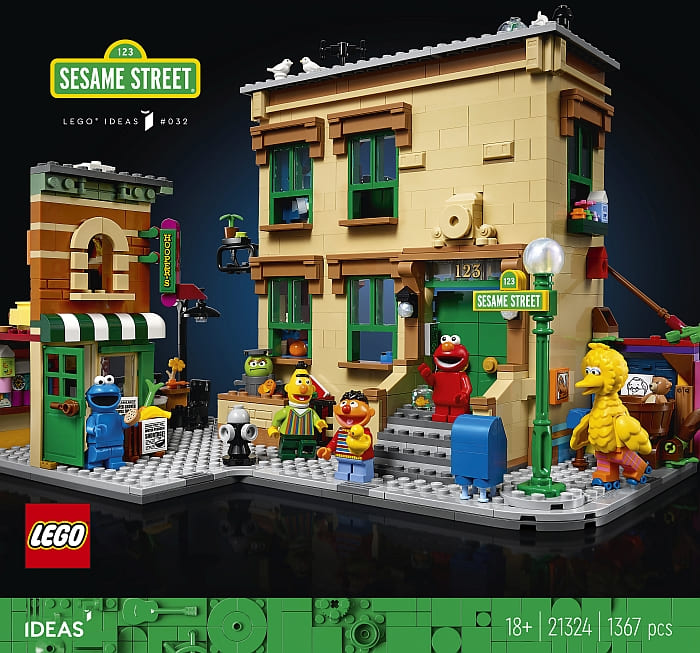
When the #21324 LEGO Ideas 123 Sesame Street set was announced last month (see: LEGO Ideas 123 Sesame Street Coming Soon!) I got so excited I had a hard time waiting until its official release on November 1st. It’s not just that I like Sesame Street, but also because I pay attention to all LEGO sets that come with buildings featuring well-detailed exteriors and interiors. I like to learn from the building techniques, which I then incorporate into my own LEGO city.
When a LEGO set only has a few features that I would like to copy, I just use the downloadable building instructions to learn how they were built, and when a set has a lot to offer (interesting techniques, lots of useful parts, minifigs I like, etc.) I will purchase the set. As Sesame Street wasn’t available until the beginning of this month, and building instructions weren’t available either, I attempted to build the set on my own from the pictures that were included in the press-release and posted at the Online LEGO Shop. Yes, I was that impatient.
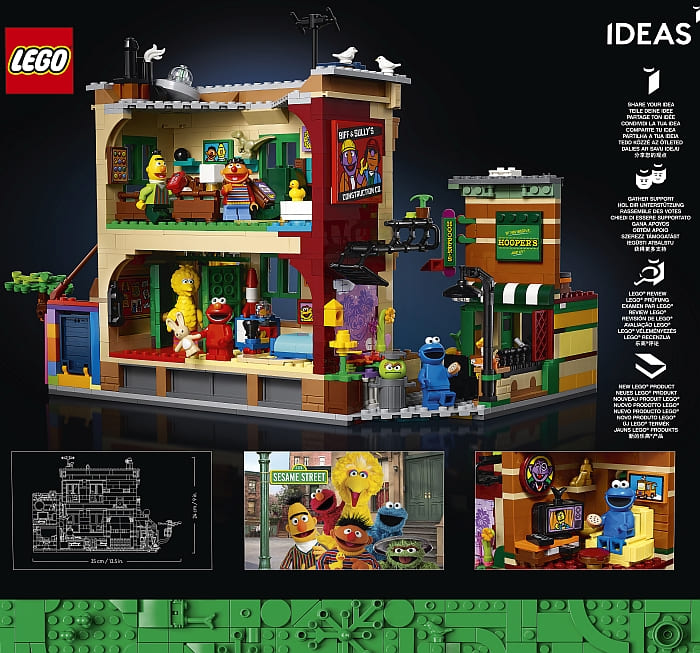
The buildings in the Sesame Street set are not what I would call pretty like the #10243 LEGO Creator Parisian Restaurant. or cute like the #10270 LEGO Creator Book Shop. It’s more like an old, rundown big city apartment. And this is exactly what I liked about it. Rundown buildings give so much character to a city. Every broken window, every patch of peeling paint has a story that you can weave through your city.

I was able to recreate most of the set from the parts I had on hand, however, I quickly realized that it is full of new pieces and new colors that are not available in any other set. So, as soon as it was released on November 1st, I purchased it, and when I received it a few days later, I started building immediately. Below are my thoughts on the set.
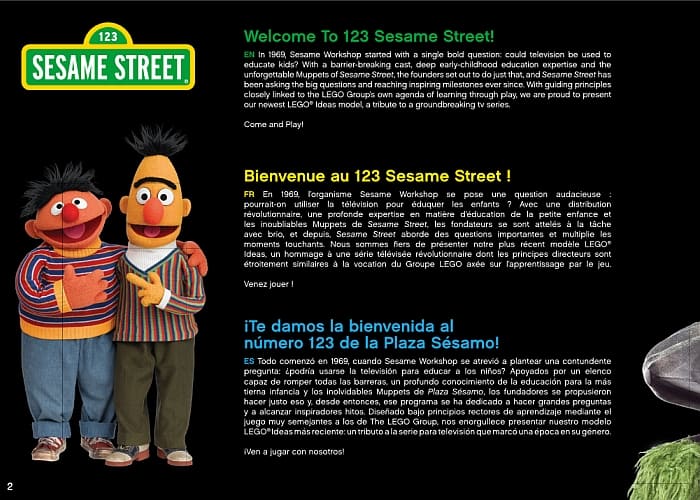
First things first, I like the box. It’s not too small and not too big – just the right size to hold all the parts and instructions. I’m getting a little tired of the black background of the 18+ sets, but in this instance, it works out well as the set itself is so colorful. The instruction manual is quite substantial with 255 pages and black pages. Many people pointed out that black instruction manuals are very hard to follow, especially when the set includes dark parts. I find this true as well, so good lighting for these types of instructions is important.

Like the box, the instructions also have a minimalist design with just the Sesame Street characters on a plain black cover. The first few pages include quite a bit of information on Sesame Street, Sesame Workshop, and the fan designer of the set Ivan Guerrero (who is a commercial filmmaker from the Philippines). And there are also quotes from LEGO designer Ollie Gregory and LEGO Graphic Designer Crystal Marie Fontan who worked on the set. I have been consistently impressed by Crystal’s work on LEGO minifigures and stickers, so it was nice to read some of her insights.

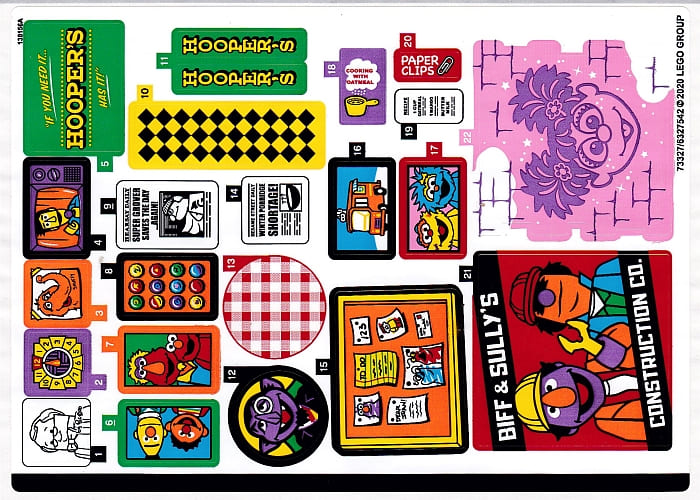
Speaking of stickers, one sticker-sheet is included with the set featuring 22 stickers. Every one of them is a nod to something from Sesame Street and contains quite a bit of Easter eggs.
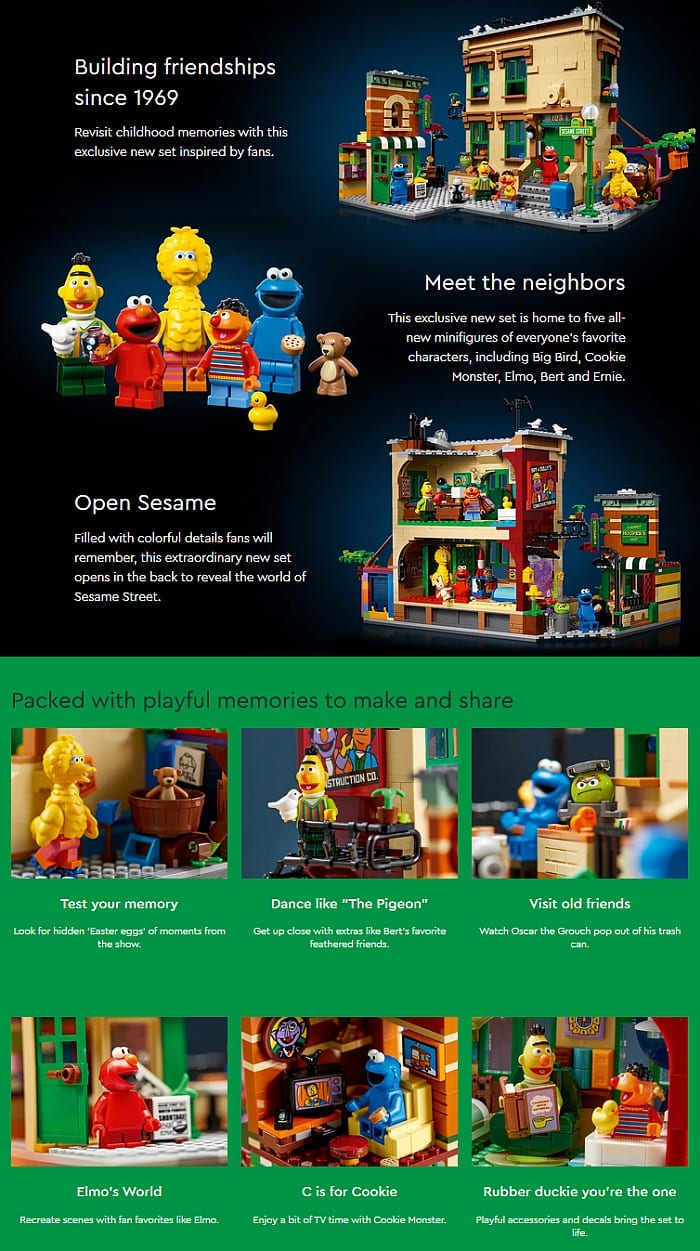
The set comes with six main characters; Elmo, Cookie Monster, Bert and Ernie, plus Oscar the Grouch, and Big Bird. Big Bird has an interesting upper body piece that’s slightly rubbery. I suppose this was done to make sure that the beak and tail wouldn’t break off easily. I like it. It’s also interesting to note that from the four short-legged minifigs, two have bendable legs, while the other two have fixed legs. The bendable legs are slightly taller than the regular short legs, so my guess is this is why they were mixed. Other non-minifig characters include Slimey the Worm (as a printed heart-tile… awww!), Dorothy the Goldfish (printed on a clear minifig head that serves as a fishbowl), Radar the Teddy Bear, and Rubber Ducky. And you also get a toy bunny and two white birds.

The parts are separated into six groups of numbered bags, plus an unnumbered bag with the largest plates. You build 123 Sesame Street from bags numbered 1-4, Hooper’s Store from bags numbered 5, and parts for additional decorations and accessories are in bags numbered 6.
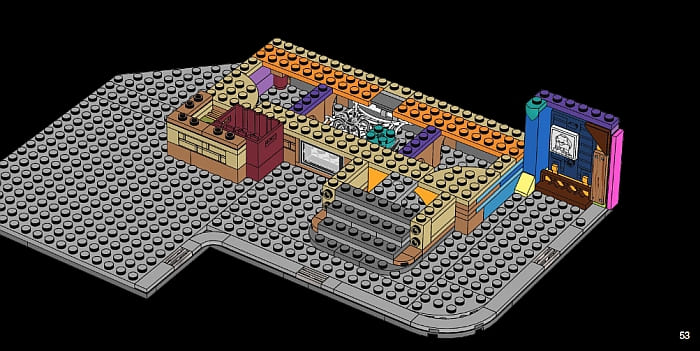
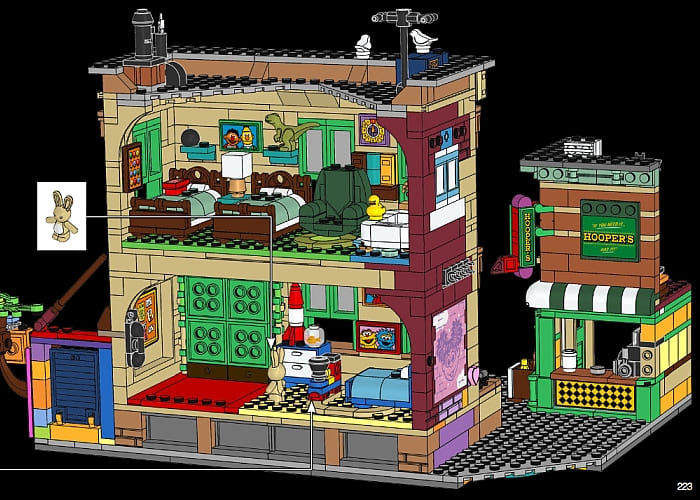
From the very beginning, you discover that this set is incredibly colorful! Even the base, which appears all gray from the top, contains tons of hidden colorful plates that provide additional support. Seriously, I can’t remember ever building a set with so many different colors. Yet, it all comes together perfectly at the end. In fact, I would say that this set is a perfect candidate to study color-mixing techniques. Below are a couple pictures from the instructions just to demonstrate how colorful this set is.
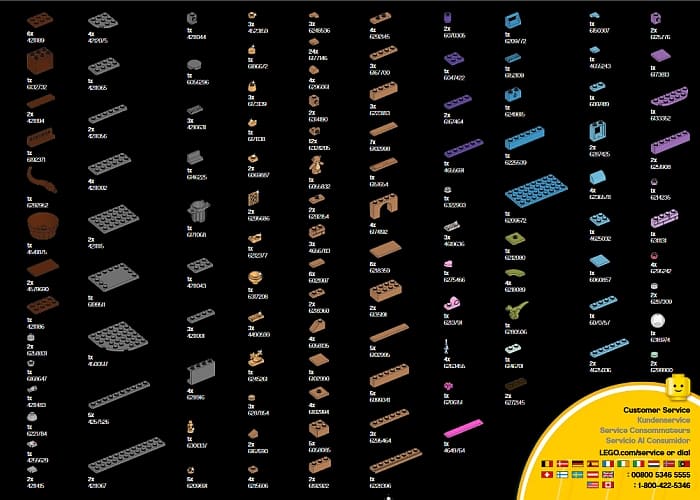
Another thing you will discover is how many unique parts this set includes. The parts list hasn’t been added to the BrickLink database yet, so I can’t verify, but based on my research when I tried to build the set myself, I came up with quite a large list of parts that aren’t available in any other set. Some examples are the unprinted Minecraft head in white (used as a lampshade), the new corner curved slope in white, a very small flower stem in tan I have never seen before, the small heart tile in tan, the lamp post in green, the small globe used for the lamp post in satin-trans-light-blue, 1×1 brackets in medium-nougat, the large crate in dark-red, several new pieces in light-yellow, and several more.
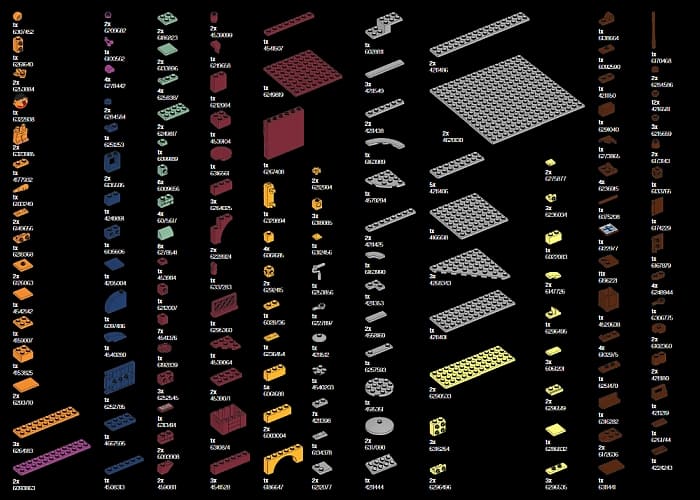
Some already existing but still rare parts are the 1x3x3 window frame in tan, the small 1×1 pyramid slopes in black, the 1x1x1 2/3 modified brick with two studs on one side in dark-green, the 2×6 tile in black, 2×4 jumper-plate in dark-orange, the 1×4 masonry brick in lavender. The set also comes with some exclusive printed parts, like the ones you see on the Sesame Street sign and the building number over the door, the 1×2 printed tile with peanuts, and the 1×2 tiles with VCR tape print is not new but still very rare.
One of the features I like most about this set is the great number of furniture pieces and accessories. The bed on the first floor with the little train running around, the two identical beds on the second floor, the large seats on the second floor of both buildings, the bathtub, the VCR player, the air conditioner on the roof, the little dove house on the roof, the random UFO (also on the roof), the mailbox, garbage can, and more. They are all delightful little builds and I definitely plan on reusing them in other settings.
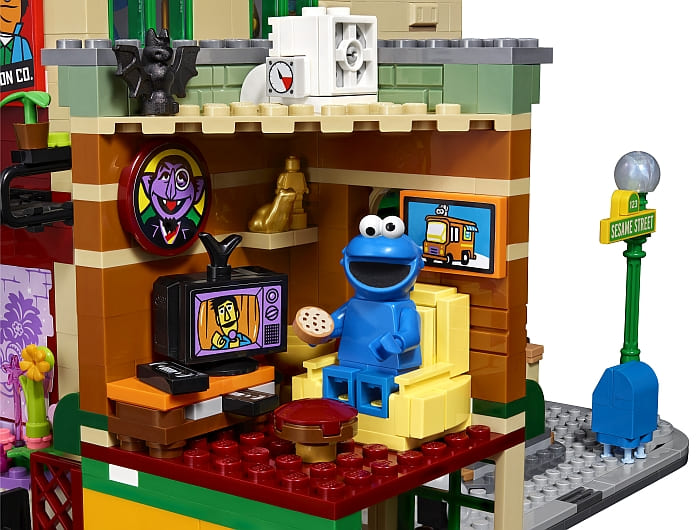
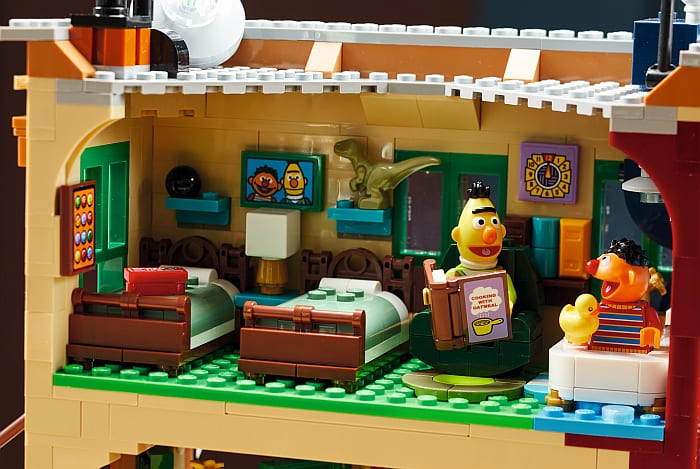
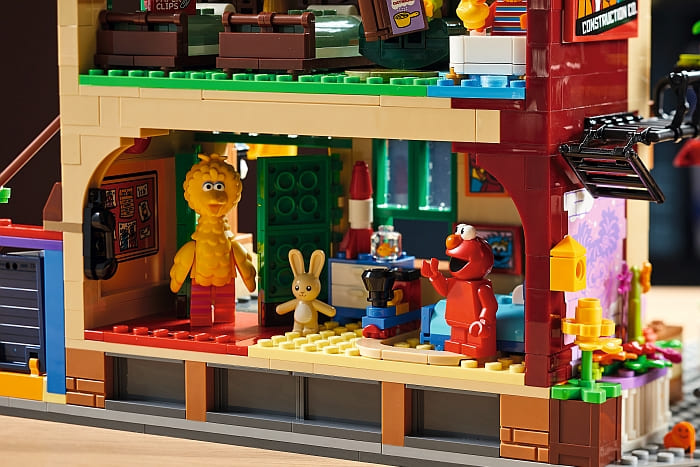
I also like the façade of both buildings. The colors work nicely together, and although the decorative elements are sparse, they are nicely done. And I’m very impressed by the simplicity of the large green door. The only thing I don’t like about the façade is the disproportionately large and protruding décor over the door. It’s a clever design, but it feels out of place. Fortunately, it’s very easy to make it smaller just by the included parts.
When the press-release came out, some fans mentioned that they feel there should be a third window on the second floor. In some images from original Sesame Street material it appears that the building had another window over the door, while other images show no window there, so I’m not sure which one is considered more correct, but seeing the set in person, I feel it’s perfectly balanced.
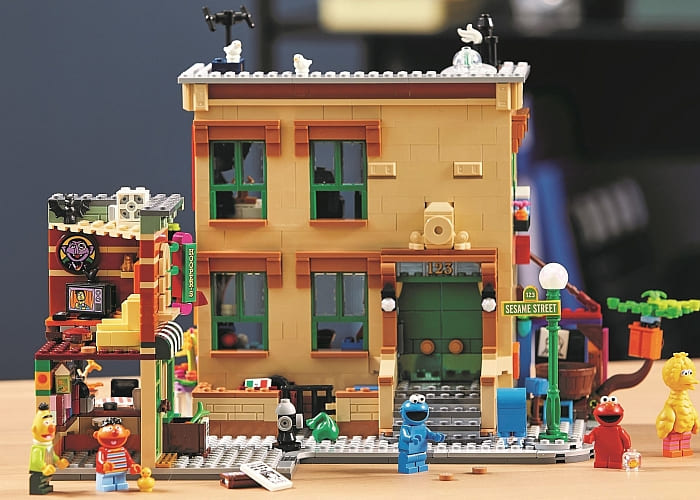
Another feature fans didn’t like from the press-release is that the side of the smaller building is open and fully exposed facing the front. Unfortunately, this looks even worse in real life than in images. I’m not sure why designers made this decision. The exposed interior, the thin or non-existing walls, the disjointed jumble of colors, and the oddly angled roof makes this building look chaotic and unfinished. This is unfortunate, as it looks great from the two finished sides. A couple of solutions I can think of are to turn the small building 45 degrees, so the prettiest side faces the front, or you can finish off the two sides and make a completed building.
Overall, I really like the set and I’m already working on some modifications. I believe both young and old Sesame Street fans will be very happy with it, LEGO City and Modular Building fans will be happy with it, and those who want a large number of useful and rare parts will be happy with it. Speaking of parts, I should also mention that the set comes with just about 100 extra parts. Sure they are small, usually 1×1 elements, but they are all very useful either to expand the set, or in some other application. If you are interested, #21324 LEGO Ideas 123 Sesame Street is available directly from LEGO at the LEGO Ideas section of the Online LEGO Shop.
What do you think? How do you like the LEGO Ideas Sesame Street set? Are you planning to get it? Or do you have it already? What features you like/don’t like? Feel free to share your thoughts and discuss in the comment section below!
And you might also like to check out the following related posts:


I have it and about halfway finish building it. It’s lots of fun and I can see why it’s 18+. The detail in the build is almost as advanced as a modular building. So, to all YouTubers out there that had all those negative comments about the 1-2-3 Sesame Street set. It does have it’s challenges in the build itself. The build is advanced enough to be a satisfying build. At least that’s my opinion. Oh, and just add to Thita (admin) , the smaller building with unfinished side. I would just move the wall from the back and put it on the side and add another wall on top so then the back is open and not the sides. I get to experience that I haven’t gotten that far but I think it could be done.🤔 maybe make the store look more like a store add some things to it.
Oh, it looks like we were building around the same time! Yes, that’s my suggestion too for the shop. Either move the walls, or just build up the missing walls with extra pieces. I have already modified the set into something else which I will write about later. Have fun building! I loved all the little details in this set! 🙂
I wonder what it would look like with dark green window frames and door. I think it’s more accurate to the show.
I have seen somebody do that. It looks good either way. I like the regular green because it’s more cheerful, and the dark-green is more accurate. Both are nice.
I have been seeing on facebook people converting this set into a modular. It looks great that way. Oh, and adding another window over the door looks great too. There are options.
Yes, I have seen people do that too. And it can be done in several different ways.
I didn’t realize it had so many rare parts. There goes my idea for building this myself. I like the colors a lot.
As I mentioned, I attempted to build this myself from spare parts as well, but I quickly realized it was not going to be possible without compromises. I like pretty much everything about the set, so I bought it anyway. If you do want to build it yourself, I suggest you wait a little until it gets parted out on BrickLink. If you want to keep the colors the same, you will need those nougat brackets for the windows.
Rare parts often tend to get quite expensive at Bricklink, though. Not sure if some of them would be sold through Lego Bricks and Pieces…
As more BrickLink sellers part out the set, prices will come down. This is not a very expensive set, so I’m sure prices on all parts will be reasonable by the end of the year or even sooner.
I normally don’t like stickers, but those are pretty nice. Still, I wish they were printed.
Yes, printed would be better, but I think in this application the sticker are not a bad choice. You can apply them or not, or add them to different parts. They provide options.
Oh, this is so tempting! We have absolutely NO room to display it or to turn it into a modular for our lego town, but……
I need a bigger house or to take down walls to make more room for lego display! This is a set I’d want to keep for nostalgia’s sake once we put it together. We often get sets with great pieces with the plan to take them apart once we find a need for those pieces, but no way would I be able to do that to this set! I just wish they’d been able to manage a Snuffalufagus in the set as well.
I’d guess you could do a custom Snuffleupagus, although the fuzziness could be tricky to implement…
May I suggest that you get more than one? One for parting out and one for keeping. Just saying. 🙄
Thanks for the review. Are you going to turn this into a modular? I know you like to make custom modulars.
Right now I turned it into a façade, which is a new project I’m working on. Basically semi-2D buildings that work as backdrops for my city. I will write about them in the near future. Frankly though, this building is so nice, I might turn it into a full-on modular at some point. I really like the entrance, the windows, and that lovely lamp post. 🙂
I’m wondering if it would be worth getting two, and sell the extra minifigs. I would love to make this into a full bulding. Maybe not as big as the modulars, but closed up.
If I would have the money, I would probably buy 3-5 of this set. The parts are so useful! So yes, you would probably be happy with two. Remember that you don’t have to turn it into a giant modular. It could take up just half a baseplate and put something else on the other half. A park would be nice.
And yes, you can sell the extra minifigs to recoup some of your investment. 😉
It’s so colorful! Love it! It brings back so many childhood memories. Do you have a suggestion for adjusting the decoration above the door?
The decoration above the door could be done in so many different ways. You can just take the parts from the current decoration and reuse them, or use other parts. I just took that 2×2 modified slope and turned it right side up and that’s it. The two little hearts could also make a nice decoration. There are so many options.
Those minifigs are perfect. My guess is that they will release either another set or a collectible minifig series with more Sesame steet characters.
Yes, that’s quite possible. From what I’m reading, this set is very popular already, so it would make sense for LEGO to offer additional options.
I like this sert more and more. It has so much potential for customization. One question; are those windows stable? It seems that the upper part of the window is only resting on two tiles. Am I seeing that right?
Yes, the two long window frames rest on the edge of two tiles. It’s actually a pretty strong connection. I haven’t had any issues with it. But if you want, you can also replace the gap with regular green window frames (the smaller kind).