(Written by William)
A unique set recently released by the LEGO Group is the #40649 LEGO Upscaled Minifigure. From its main picture, it doesn’t look like a whole lot. After all, blue pants, a red shirt, and a blue hat does not make the most interesting minifigure, no matter what size it is.

But this upscaled version is a fun variation of the regular size minifig wearing the same outfit in classic LEGO colors and it looked like it might be an interesting build, so I thought to check it out. so I thought to check it out. So, let’s see what this $50 USD upscaled minifigure offers.
LEGO UPSCALED MINIFIGURE – JOINT RESISTANCE
Given how plain the upscaled minifigure looks, I wasn’t expecting the number of LEGO Technic elements found in the set. However, this does make sense, since one of the building challenges in upscaling anything is how to handle the additional weight. With the arms and legs having only one attachment point to the body, it becomes crucial that the joint has resistance so that it is able to hold a pose.
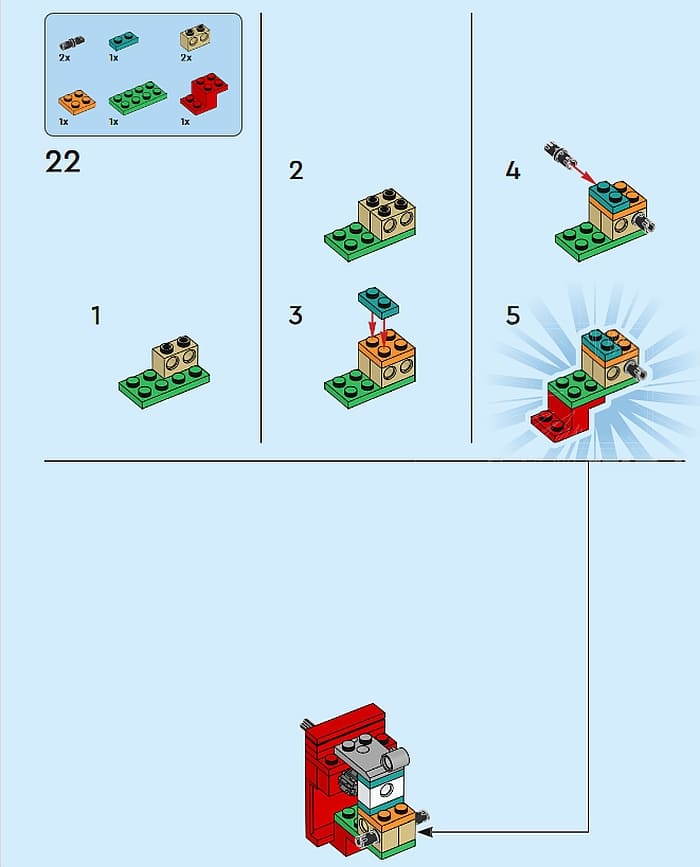
This reintroduced a technique I’ve seen before. In one of the Elves sets that had a dragon, I looked at how the legs used multiple large ball joints to multiply the friction and thus add more resistance. This technique is used again in the upscaled minifigure’s legs.
But how do you get a similar result in the torso where there’s not enough room for this technique? Well, LEGO designers surprised me with the use of gears. First, you have the central gear that holds the main axle. Then to either side, you add gears on pins that have a friction ridging built into the pin itself. By placing these two gears on either side of the main gear, it then lessens the stress placed on each pin by distributing out the weight.
Typically, when you upscale a model, you often end up with more room to work in. But thanks to odd shaping or placement, you can’t always count on that to be the case. So, it’s nice to have yet one more option in your toolbox, if you ever are in need for adding resistance to a joint.
LEGO UPSCALED MINIFIGURE – JOINT INNER SUPPORTS
Now that you have a joint that can handle the weight of a limb, all your problems are solved, right? Well, not necessarily. You see, some limbs are longer than others. Structurally this means the further out they go, the less stable they are. Fortunately, this model gives us two methods to solve this particular issue.
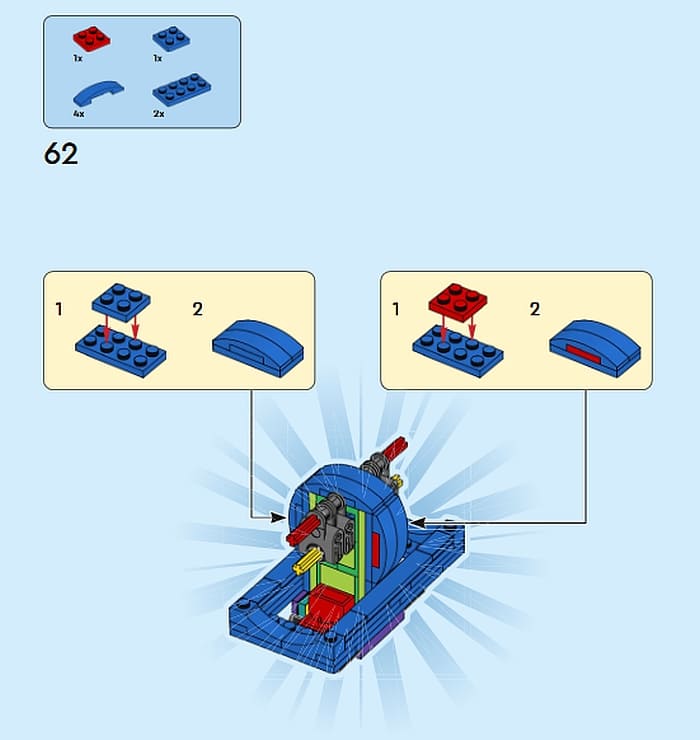
The legs of the upscaled minifigure are built solidly and have a longer reach than the arms. These two factors could make the legs highly unstable. However, if you reinforce the inner supports, you can make them handle the majority of the stress and leave the more decorative elements just for the looks.
The first inner support is something that fills up the inner portion of the leg. In this respect, it acts like a bone. It is also built in such a way that it is in a completely different direction than the leg. By changing the direction of inner support, you are strengthening the leg rather than exposing a potential weak point. It does this in part by making it so that the section would have to break entirely before it made the rest of the leg have to endure any stress.
The other way the inner supports were strengthened was by creating another connection point for the joint. This allowed the weight to be redistributed among two points on the joint rather than just one. As a general rule of thumb, the more opportunities you have to redistribute weight, the more stable your creation tends to be.
LEGO UPSCALED MINIFIGURE – UPSCALING
With all the fancy joint work aside, I think the feature that impresses me the most about this model is the upscaling process. LEGO designers were consistent enough that I know this model has been scaled up six times. I can confirm this fact with simple math.

A minifigure’s foot takes up a 1×1 stud space. That means if it is scaled up six times, then the large minifigure should have a foot that is 6×6 studs, and it does! Likewise, a minifigure is 2 studs wide. That means the large minifigure should be 12 studs wide, and it is! For the most part, the measurements are all true to scale.
There are a few issues with the forearms of the minifigure not being rounded all the way and the hat having a little extra bill on the sides and back, but honestly, it is the measurements that will determine how well or poorly you have scaled a model.
Ultimately, the trick is figuring out which detail you want to base the scale on since there will be details that you can’t possibly create. But as long as you have your initial measurement and choice of scale, everything else is just doing the math.
LEGO UPSCALED MINIFIGURE – FINAL THOUGHTS
Overall, this set was a bit more of a complex build than I was expecting. The robust inner workings as well as all the decorated elements getting prints instead of stickers indicates that this is a set meant for adults and collectors, but it also makes a great toy.
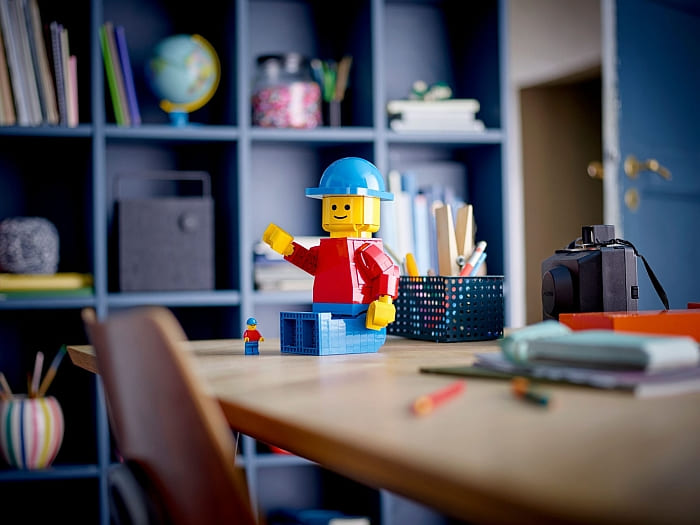 In the video below, I discuss the set in a bit more detail and also show you the features and functions.
Some years back, I picked up the LEGO Wooden Minifigure and I was incredibly disappointed. Sure, it was a large minifigure, but only its hands could move. This set not only can be posed, but it is a fun building experience and costs less than half what the wooden version did. Plus, you have the secret compartment with the minifigure driving in the top of the head. Put simply, this was a set I didn’t think was for anyone in particular, but it’s definitely a model I’d recommend to everyone. If you want to check it out, it’s currently available at the LEGO minifigures section of the Online LEGO Shop.
What do you think? Do you like the upscaled LEGO minifigure? Is this a set you already have or planning to get? And what do you think of the techniques we discussed here? Feel free to share in the comment section below!
And you might also like to check out the following related posts:


All of these sparks for the finished mini-builds in the instructions look a bit infantile, but maybe they’re felt as practical, while actually building…
The app and the paper instructions used to be different, but now that they are the same, they include those originally app-specific features. This is also the reason paper instructions now have more pages. The steps are simplified in the app because it’s easier to see on a small screen. At least that’s what we were told at a LUG meeting.
This is my first time seeing this new set; I agree that although intended for collectors, too, older kids will love this LEGO set! The launch timing makes this a perfect set for a future holiday gift. The secret compartment is a wonderful addition! Thanks for sharing the pictures and videos.
I really love the idea of this set and will definitely be picking it up. Probably going to have to put a skeleton in the driver’s seat, though.
I’m not a big fan of the cap, but I love how they sculpted the arms. Much better than the wooden minifigure from a few years back!
I really do not like the cap, they should have made that better and there should be a big red Lego Logo on the front, that would have made it much cooler…my thoughts..