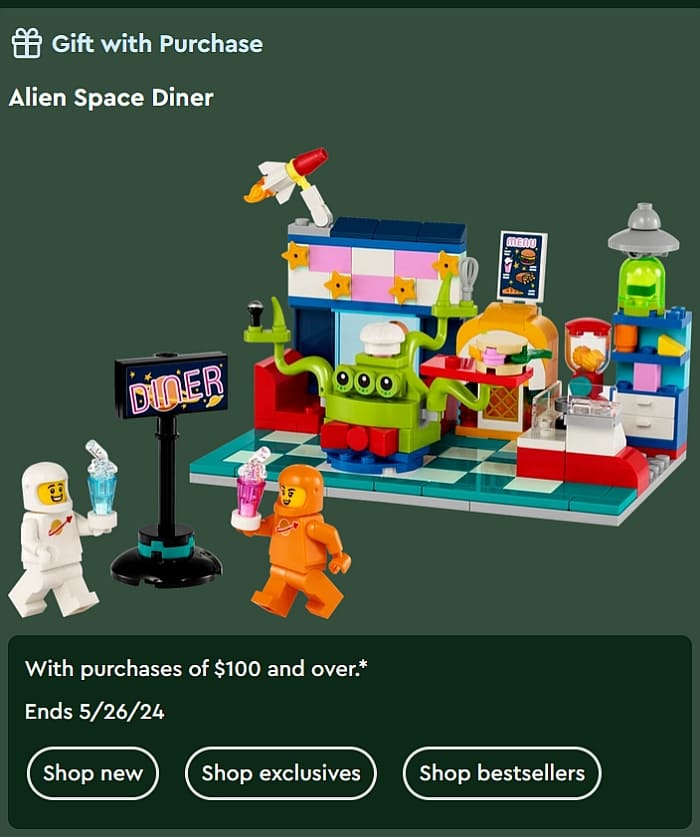
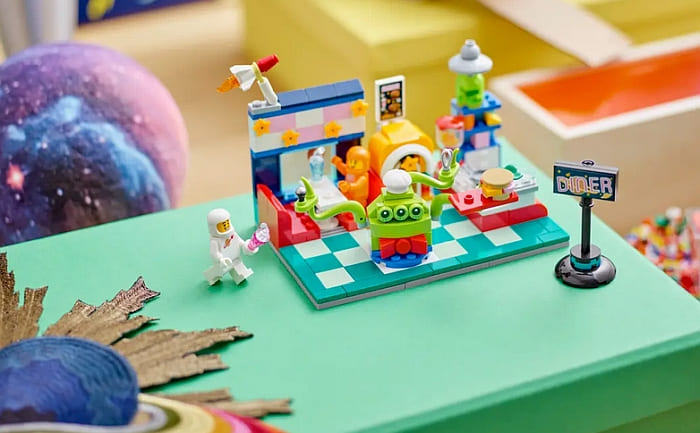
New promotion for LEGO Space fans! You can currently get the #40687 LEGO Alien Space Diner with purchases of $100 or more. This is a super fun set featuring two astronauts in a space diner, sipping space milkshakes and ordering tasty space burgers from an alien waiter. They can also enjoy dancing to a space jukebox. There is also a kitchen section with opening drawers and a menu card. The set comes with 239 pieces and measures over 5 in. (13 cm) high, 8 in. (20 cm) wide and 4 in. (10 cm) deep. It will be available until May 26th, but I wouldn’t be surprised it sells out before that.
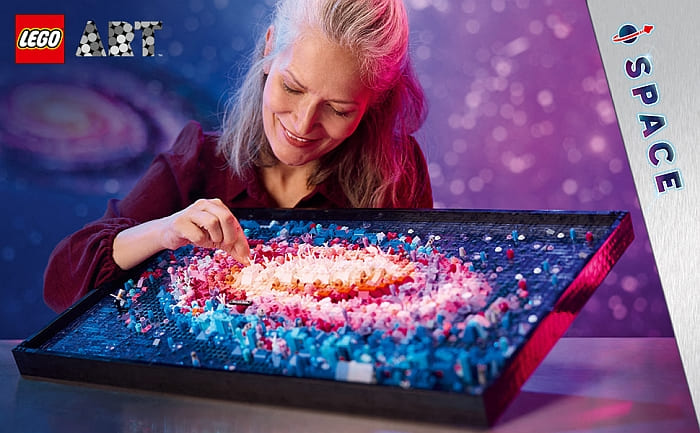
As you know, there are a large number of space-themed sets in a wide variety of themes, including the newly released #31212 LEGO Art The Milky Way, the #10341 LEGO NASA Artemis Space Launch System, a whole range of LEGO City Space sets, as space-themed sets in LEGO Creator, LEGO Ideas, LEGO Friends, LEGO DreamZzz, and LEGO Technic. This is a great time to be a LEGO Space fan!


So, if you want to take advantage of this offer and get the #40687 LEGO Alien Space Diner, take a look around at the LEGO Space-themed sets section of the Online LEGO Shop.

What do you think? How do you like the new promotional set? Feel free to share and discuss in the comment section below!
And you might also like to check out the following related posts: