Finally we have a chance to see the LEGO Lord of the Rings sets, thanks to LEGO-fans who have taken pictures and videos at the recent toy-fair in New York! Below you will find the first wave of LEGO Lord of the Rings sets coming out this summer. (Click images for larger view.) Enjoy! 😀
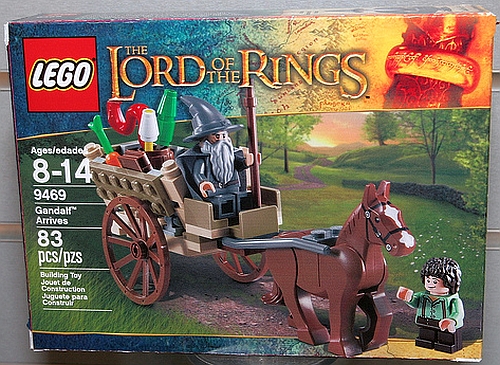
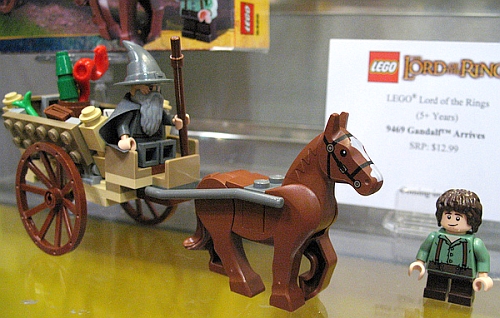
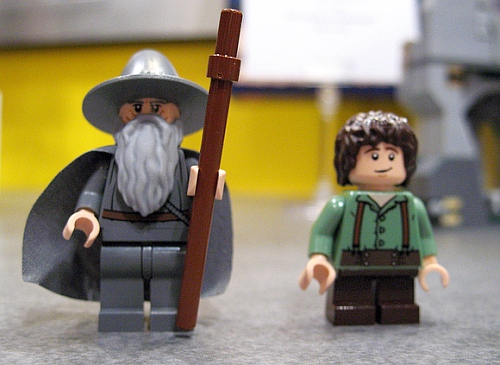
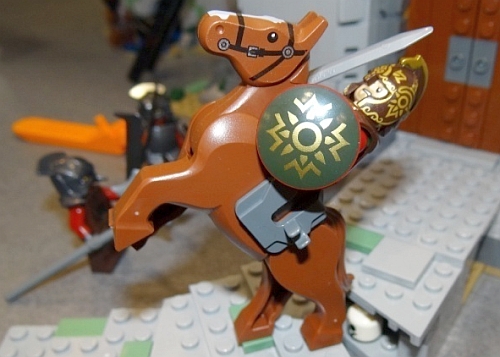
➡ #9469 LEGO LORD OF THE RINGS Gandalf Arrives – Relive the opening scene of “The Fellowship of the Ring” in LEGO form. As Gandalf the Grey makes his way through the Shire on his horse-cart, he meets an excited young hobbit, Frodo Baggins. Includes 2 minifigures: Gandalf the Grey and Frodo Baggins. (Please also note the new type of horse with movable hind legs!) 80 pieces. Available in June. Price: $12.99
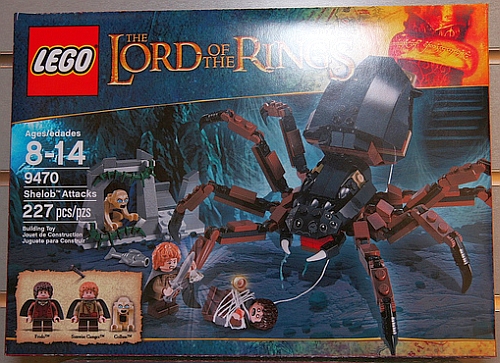
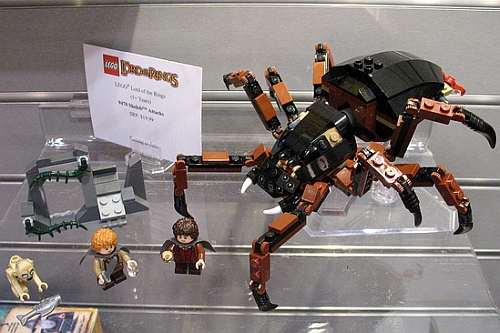
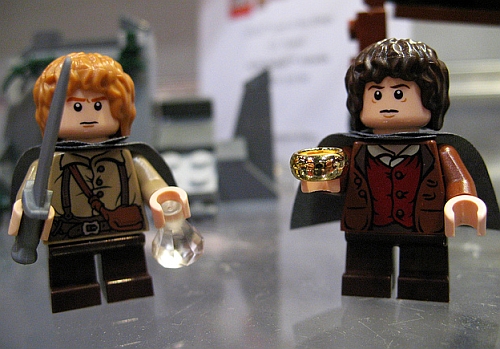
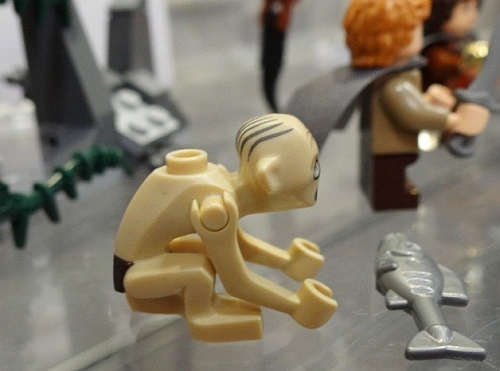
➡ #9470 LEGO LORD OF THE RINGS Shelob Attacks – Plotting to reclaim The One Ring, Gollum lures Frodo into the lair of the ancient giant spider, Shelob. Will Shelob cast her web and capture Frodo or can Samwise Gamgee rescue him in time? Includes 3 minifigures: Frodo, Samwise Gamgee, Gollum. 227 pieces. Available in June. Price: $19.99
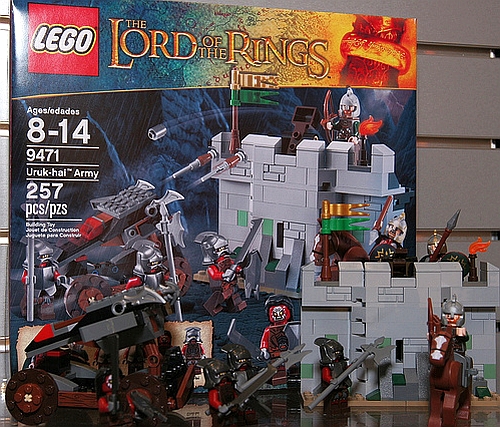
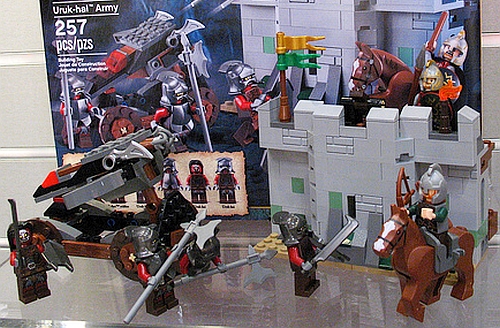
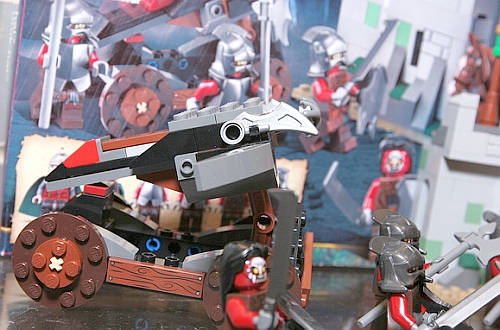
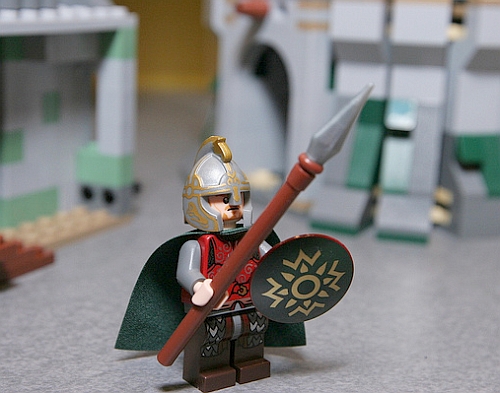
➡ #9471 LEGO LORD OF THE RINGS Uruk-hai Army – Under attack by the evil Uruk-hai army, the ancient fortress of Helm’s Deep is the last refuge for the people of Rohan. As the Uruk-hai draw near, they fire hooks from the armored hook-shooter and try to scale the fortress walls. Can Éomer and the Rohan soldier hold back the Uruk-hai and save the day? Includes 6 minifigures: Éomer, Rohan soldier and 4 Uruk-hai. 257 pieces. Available in June. Price: $29.99
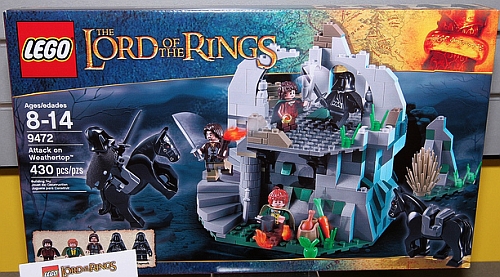
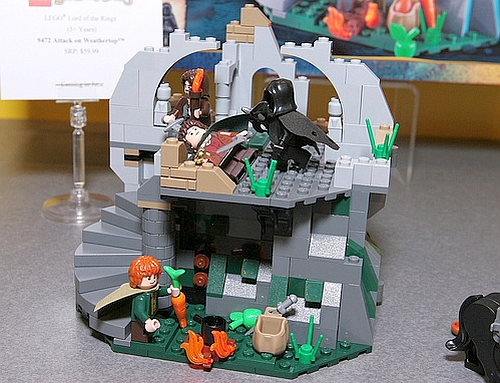
➡ #9472 LEGO LORD OF THE RINGS Attack on Weathertop – Resting in the ancient fortress ruins of Weathertop, Aragorn, Frodo and Merry are suddenly attacked by the Ringwraiths. Will they take The One Ring from Frodo or can Aragorn stop them in time? Includes 5 minifigures: Aragorn, Frodo, Merry and 2 Ringwraiths. 430 pieces. Available in June. Price: $59.99
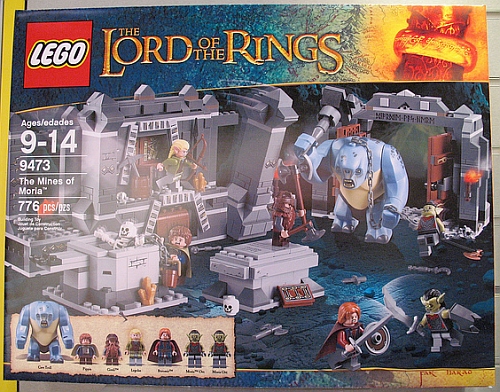
➡ #9473 LEGO LORD OF THE RINGS The Mines of Moria – On their epic journey across the lands of Middle-earth, the heroic Fellowship of the Ring travels through the abandoned Mines of Moria. Pursued by the evil Moria orcs and a giant Cave Troll, Pippin, Boromir, Gimli, and Legolas make a stand in Balin’s Tomb. Includes 6 minifigures: Pippin, Boromir, Gimli, Legolas, and 2 Moria orcs along with a giant cave troll and 2 skeletons. 776 pieces. Available in June. Price: $79.99
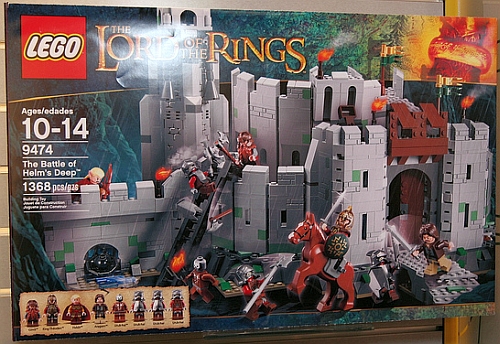
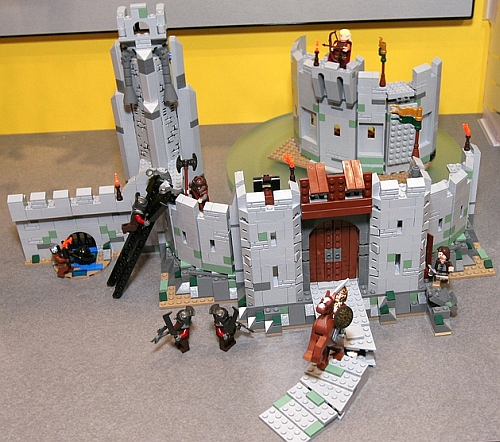
➡#9474 LEGO LORD OF THE RINGS The Battle of Helm’s Deep – The walled fortress of Helm’s Deep is under attack by the mighty Uruk-hai army and the forces of men, elves, and a dwarf must do everything they can to stop them from breaching the fortress walls. Includes 8 minifigures: Aragorn, Gimli, Haldir, King Théoden, Berserker Uruk-hai and 3 Uruk-hai. 1368 pieces. Available in June. Price: $129.99
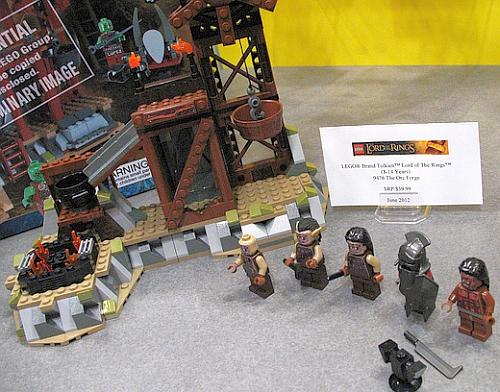
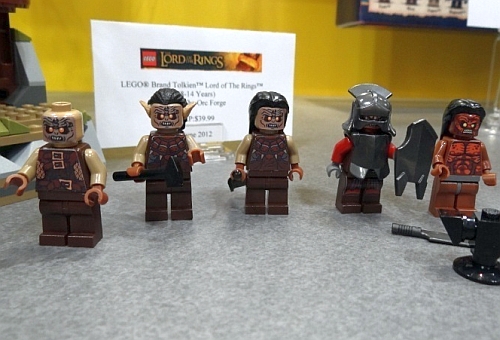
➡ #9476 LEGO LORD OF THE RINGS The Orc Forge – The first time the Orc Forges are seen in the Lord of the Rings movies is when Saruman is creating a group of Uruk-hai to pursue the Fellowship. The second time the Orc Forges are seen is in The Two Towers when Saruman is creating a 10,000 strong army to kill Theoden and his men at Helm’s Deep. Please note that the set-box shown below is a preliminary image. Also, you will see that the minifigs have stickered faces as the final print was not ready for the toy-fair. My understanding is that this is going to be a Target exlusive set. 366 pieces. Available in June. Price: $39.99
So, there you have it! All the sets in the first wave of LEGO Lord of the Rings! What do you think? Is this a LEGO theme you are planning to get? 😉
If you would like to learn more about LEGO Lord of the Rings, check here:


