(Written by Sarah)
Welcome back to my LEGO Master Builder Academy (LEGO MBA) journey! If you haven’t read my post about the LEGO Master Builder Academy Kit 1 – Space Designer, you can read it here: Joining the Academy.
After I finished with the LEGO MBA Kit 1, I was very anxious to get the LEGO MBA Kit 2 – Microbuild Designer. I had big ideas for small buildings roaming around my mind. If I had my way, I’d have the rest of the LEGO MBA kits mailed all together to me right away. Sometimes, I’m not a very patient person. 😛
I was pleasantly surprised to get the LEGO MBA Kit 2 less than two weeks after I ordered the LEGO MBA subscription. I thought the kits were going to be mailed every two months, but what is happening is that you get the MBA Kit 2 immediately after ordering and then September you get Kit 3 Robot, November is Kit 4 Flight, January is Kit 5 Creature and March is Kit 6 Auto. I’m not sure how long these kits will be available to order so I don’t know what will happen later on if you buy after September. I can only assume that if these kits are still available to order, you’d get whatever has been released up to that point.

Speculation aside, I can tell you that the LEGO MBA Kit 2 comes in a padded envelope. You get the book and a bag of pieces. This doesn’t make me too happy as the book can get damaged this way. Thankfully, my book only had a small crease at the bottom of the spine.

I hate to start with disappointments, but as soon as I started building the first design, the Airport, I realized that they did not use parts from the LEGO MBA Kit 1 in the Kit 2 designs. I moped for a moment until I realized that this allows me to keep together the creation I built from Kit 1. The next moment had me grinning as I imagined all my LEGO MBA creations sitting proudly on a shelf.

Feeling better about it all, I dove right into building, trying to understand and learn the two techniques that this kit presents – Size-Scaling and Building with Small Elements.

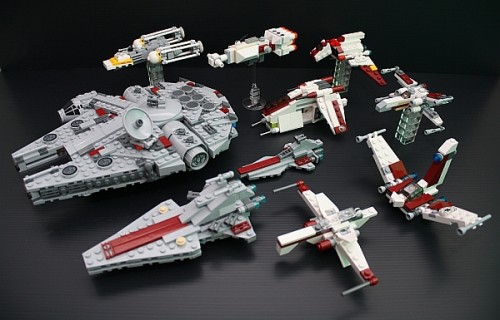
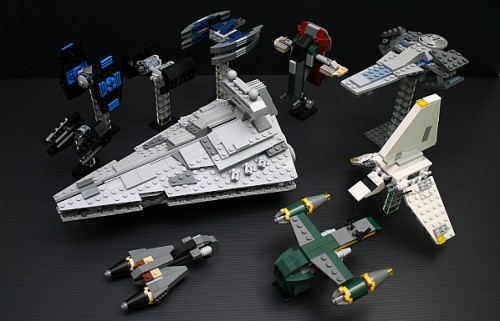
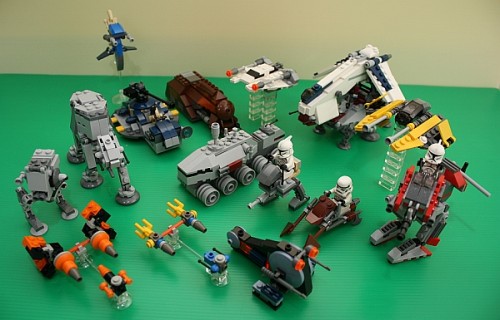
Size-scaling is much as it sounds – scaling your LEGO creation to the thing you’re trying to model. You can either scale up or down, but since this kit is about microbuilding, the focus is on making things smaller.
One way they suggest to be accurate is find pictures of what you want to scale down. Then you have to decide on the important identifying marks because as you scale down, you have fewer pieces to work with.
So you need to capture a few elements that allow someone to look at your microbuild and know exactly what it is supposed to be representing. The book also points out that you can build in minifigure-scale first to get a better idea of what you want and then scale it down.

Building with small elements was a bit hard for me to understand at first because it’s so simple. It’s not just using small elements in your creations, but using small elements in microbuilding to capture the features of what you’re modeling. This is much like detailing a larger creation, except for microbuilding you have to use small elements in new ways, to represent things that they don’t represent in larger creations.
For example, the grill plate is often used on the front of cars, but in microbuilding, it can be used to create windows on the side of skyscraper. Levers that are normally used in vehicles to drive it now become communications antennae on the top of a micro tower. These are just a few of the ways that you’ll be using small parts in new ways when microbuilding.

One thing that I feel I must mention is just how hard it is to get these small LEGO pieces apart. Most of the pieces can’t be pulled apart with the brick-separator as there are mostly tiles, small slopes and the plates are tightly packed into small areas. I bent and chipped my fingernails and almost broke a nail trying to take apart the designs to build the next one. 🙁
On to more fun things now; each LEGO Master Builder kit gives you new accessories for your minifigure!


In Kit 1, your minifig got a helmet and jet pack. In Kit 2, your minifig gets a white cap, a magnifying glass and a micro-sized space-shuttle. I really didn’t think much of the minifigure before, but now I’m looking forward to what will be in Kit 3 for him. Can’t forget that there will be a new minifigure in Kit 4, so there will be two minifigures to play with in the end. 😉

Online activities give the new top-down LEGO brick paper, but no fourth build. There was a page called “Combo Model: 1 Spaceship, 2 Models” about one LEGO Master Builder who took the pieces from Kit 1 and 2 and built the same LEGO space ship-in two different scales. I was excited that this would be an awesome build, but alas, no instructions! Nonetheless, here’s the top-down brick-paper to download: LEGO Brick-Paper 2

So after doing the online activities, including looking at other people’s creations, I tackled making my own. I bantered about a lot of ideas, including making a castle since I love the theme so much, but the pieces didn’t lend themselves to castle-building. In the end, I came up with the idea of a battle between a ship and a sea-serpent after looking at Brickley on my shelf.

Temple of Ogra’la – In a magical world where several gods reign, there is Ogra’la, god of the sea and wealth. His temples abound on rocky shores, filled with riches for those brave – or foolish – enough to try to take it. One such pirate-ship nears the western temple, only to find the rumors of its guardian true – a vicious sea serpent blocks their path!
For this build, I didn’t use any reference material other than wanting to make a sea-serpent like Brickley. I did follow the guidelines in the book, deciding which part would be the largest and trying to make the rest of each build fit its size. Also, I wanted to challenge myself to use only pieces from the LEGO MBA Kit 2, though I did use the canopy from Kit 1. I thought it ironic that I had so much trouble using it for a space ship, but it fit so well for my temple.

The sea-serpent’s head was the largest part of its body. I built many versions until settling on the final one. My first inclination was to make a head with a jaw, but the hinge pieces in the MBA Kit 2 weren’t quite right and it made the head too heavy. I didn’t have enough pieces left to make a decent-sized body to fit so I went with the smaller version.

This is the only part of the build that I’m still not very happy with. I had to compromise a lot on this so it doesn’t look exactly how I wanted. However, as much as I don’t like the sail being off-center, I am rather happy with the striping effect.

Ironically, the temple was an afterthought, though it became the name of the creation. I just felt that the battle needed a background. So I contemplated what a sea-serpent might be protecting and a cave came to mind. However, after I built the first version of the cave, which didn’t have any of the top part, it looked too smooth to be a natural cave. So I started adding slopes and ended up with a more man-made structure.

The finishing touches on the temple, including the use of the canopy from the LEGO MBA Kit 1, were born from collaboration between me and my husband Will. I showed him one version with a few slopes, but told him I wasn’t very happy with it. He suggested a change so I did it and then added another element. He moved a piece and then I moved another piece. Through this back-and-forth, we built the final product together, which, I must say, is better than what I could have done alone. It’s really hitting home how beneficial it can be to build with someone else. I can still be proud of my own work, but also be proud of how well we work together.

The challenge of using such a limited pool of LEGO pieces really made me think hard about how I could achieve what I wanted with less than ideal pieces. I feel that I succeeded pretty well. I’m now confident that when I go to make a LEGO microbuild using my whole collection that I’ll make an excellent design. And I can’t wait to build collaboratively with my husband again. It’s a very enjoyable process with great results.
Though, I must admit that I’m still a little miffed that my husband has this great natural talent at LEGO building while I have to work at it. While I was building my little scene, he was building his own ship and sea serpent using the left-over pieces from the LEGO MBA Kit 1 – the pieces I didn’t use in my Star Defender. In my opinion, he did a great job.

Now that I’m done with the LEGO MBA Kit 2, I’m very excited to start on the next kit! Unfortunately, Kit 3 won’t come out until September. So I will bide my time, building with the lessons I have learned, improving my skills and anxiously waiting to learn more and build new LEGO Master builder Academy creations.
To wrap up as I usually do, I’m quite curious to know what you’ve built in micro-scale. I’d love to see images of what you’ve built or hear the story of the process you went through.
Please feel free to post in the comment section below, including links to your creations. And for those who have the LEGO MBA Kit 1 and/or 2, please let me know how you’re enjoying it. What challenges are you facing? What are your favorite or least favorite parts or lessons? Also, if you are interested in LEGO micro-building, check out: Introduction to LEGO Microscale
If you would like to sign up for the LEGO MBA Program go here: