 LOCATION: South Africa
STORE: eBay, BrickLink (UPDATE: closed)
PRICE: pricey, but amazing!
SHIPPING: $5.50 worldwide (includes tracking)
SHIPPING TIME TO USA: 10-15 days
Today I will introduce you to a lesser known, but amazing LEGO-customizer, Christo, located in South Africa. (You may have also heard of him under the name of CAB Custom Design Technologies, or Custom Bricks & Minifigs.)
Christo’s unique custom products have been sought after and collected by the most serious LEGO-fans from around the world. Christo’s minifigs are usually from the Star Wars universe, although he also released minifigures from other movies and superhero lines.
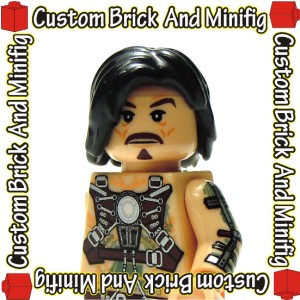 Christo was one of the first customizers to machine-print directly on LEGO parts, with brilliant colors including gold and silver. Also, Christo was first to have printing on minifig arms, legs, and backs, even before LEGO got into it more widely.
But printing is not all that Christo can do! He also makes unique molded parts to fit LEGO minifigures, thus expanding the LEGO universe greatly!
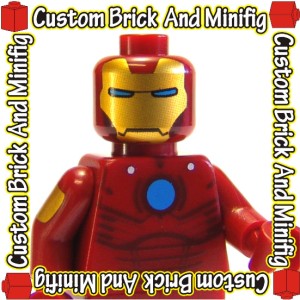
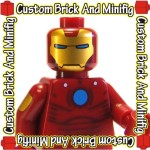
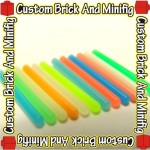
 In fact several of the currently available Star Wars LEGO minifigures were first made by Christo! Some of his minifigs like Cad Bane and Ironman are legendary! Oh, and I almost forgot to mention his great selection of excellent quality custom-capes as well as glow-in-the-dark light-saber blades!
QUALITY: Christo’s print quality is the same as LEGO’s. I mean; you really have to see it yourself! Especially if there is gold and silver in the print! Very beautiful! The minifigs are fully playable, although they are so gorgeous, most LEGO-fans just display them in a prominent place as their prized possessions! The quality of molded parts is also excellent. Machine-designed and molded from ABS-plastic, just like LEGO parts.
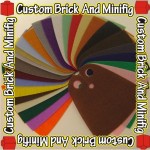
COLORS: Christo matches LEGO colors, so your custom minifigs will perfectly blend into your LEGO collection.
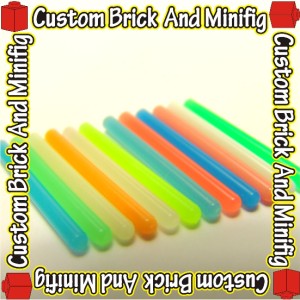 PRODUCTS: Christo’s signature products are his custom minifigures. Some of Christo’s minifigs have custom printing all over their bodies, some are regular LEGO minifigs with custom accessories and/or body parts. With each minifig Christo specifies which parts are custom and which are official LEGO. In addition Christo also provides custom parts in bulk, like the glow-in-the-dark light-saber blades and capes.
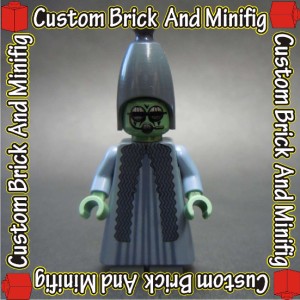 Christo is also open for all kinds of custom work. For example I have gotten several headgear pieces and long rope-pieces (like you see on the Neimoidian Pilot figure) in various colors, as well as printed heads.
When placing a custom order just keep in mind that it may take longer for your order to arrive (in my experience just about a month). However Christo is a super-nice person and will keep you updated on the progress of your order. Christo also offers custom printing; you give him the artwork and the LEGO parts you want printed, he does the printing and sends the parts back to you.
AVALABILITY: Although Christo does have a Bricklink store, he mainly sells his custom items through eBay. His store changed names a few times; going from CAB Custom Design Technologies to Custom Brick & Minifig, and currently to Custom Bricks & Minifigs. (UPDATE: stores closed)
PRICES: Such unique custom items are not cheap. Fully equipped custom minifigs can run anywhere between $15-$50 or more, depending on the complexity of the design. Custom parts can be $3-$10. Keep in mind that most of Christo’s eBay listings are auctions, so if you are interested in any of his items, you may luck out and get an excellent deal! (Click on the eBay-banner items to check out Christo’s listings):
SUMMARY: If you are a Star Wars or superhero minifig collector, Christo’s customs are a must. Seriously! Don’t miss out on them! You will thank me!
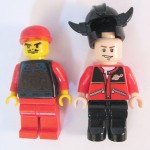
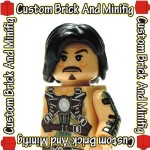
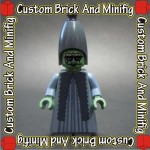
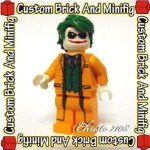
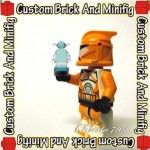
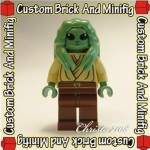
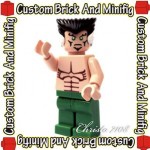
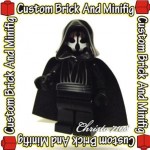
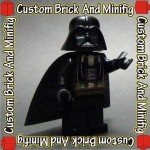
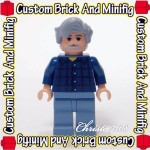
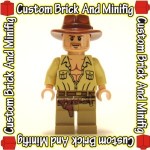
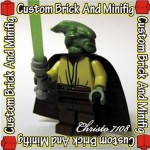
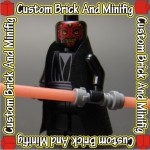
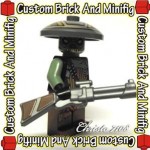
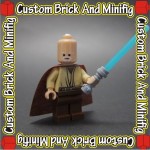
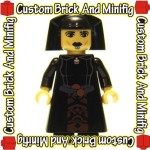
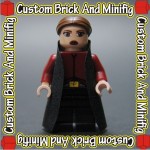
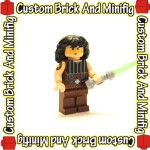
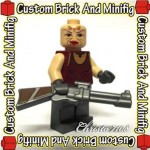
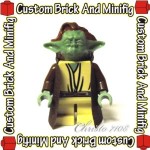
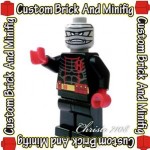
And now, for your enjoyment, here is a gallery of some of Christo’s minifigs past and present (you can click on any of the images for a larger view):









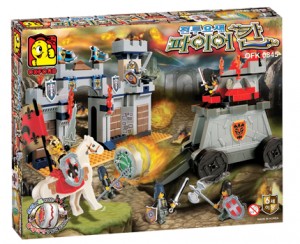

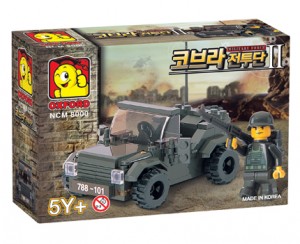

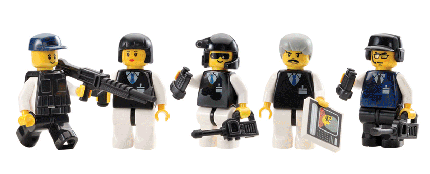
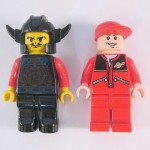 OXFORD minifig-heads are fully compatible and interchangeable with LEGO heads. In addition LEGO-headgear fits perfectly fine on OXFORD heads. However please note that OXFORD headgear (at least the ones I have) have a stem that fits inside the hole on the minifigs head. The stem is a tad too long to fit the hole on LEGO minifig heads. This can be remedied easily with a little modification, but I just wanted to warn you so there are no disappointments.