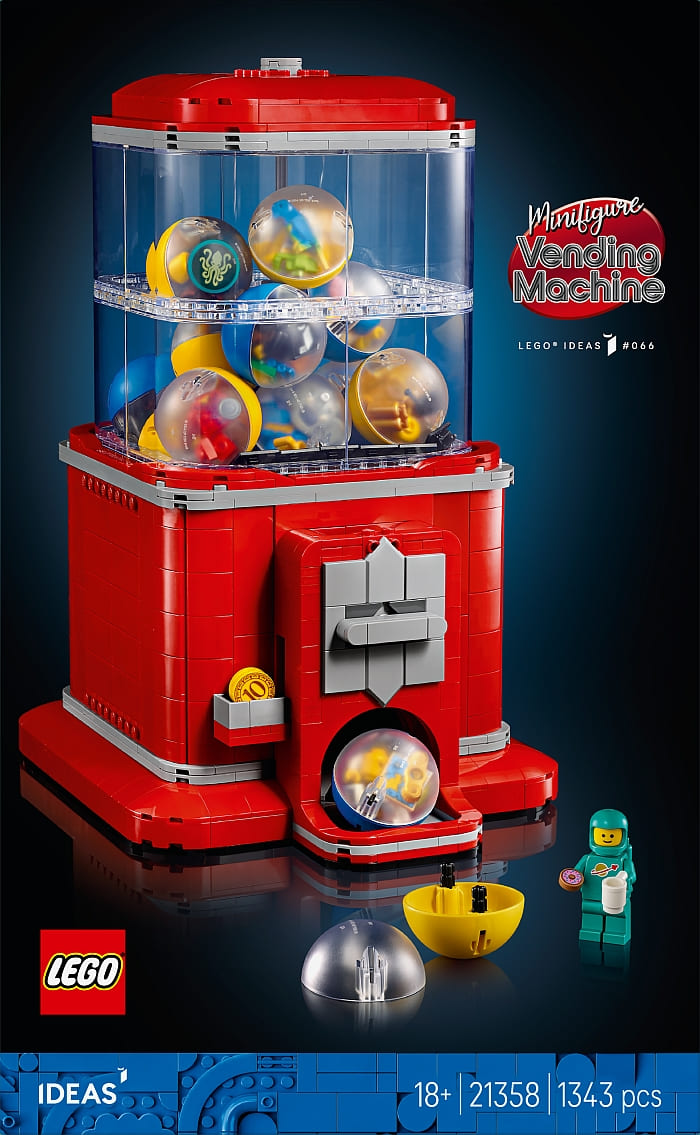
The last month of summer is upon us! Can you believe it? There are close to a hundred new LEGO sets available this month, so let’s take a look!

As far as promotional items, until August 11th, you will get the #40760 LEGO Fortnite BrickHeadz Adventure Peely & Cuddle Team Leader free with all purchases of $130 or more at the Online LEGO Shop.
You can also get the #40765 LEGO Star Wars Kamino Training Facility with the purchase of the new #75409 LEGO Star Wars Jango Fett Firespray-Class Starship. This promo will expire tomorrow, August 2nd at the LEGO Star Wars section of the Online LEGO Shop.

NEW LEGO ANIMAL CROSSING SETS:
- #77056 LEGO Blather’s Museum Collection – Price: $79.99
- #77057 LEGO Creative Houses: Season of Fun – Price: $89.99
- #77058 LEGO Animal Crossing Goldie’s Cosy House – Price: $22.99

NEW LEGO ARCHITECTURE SET:
- #21063 LEGO Architecture Neuschwanstein Castle – Price: $279.99

NEW LEGO BATMAN SET:
- #76304 LEGO Batman Forever Batmobile – Price: $99.99

NEW LEGO BOTANICALS SETS:
- #10372 LEGO Botanicals Hibiscus – Price: $69.99
- #10373 LEGO Botanicals Mini Bonsai Trees – Price: $64.99


NEW LEGO CITY SETS:
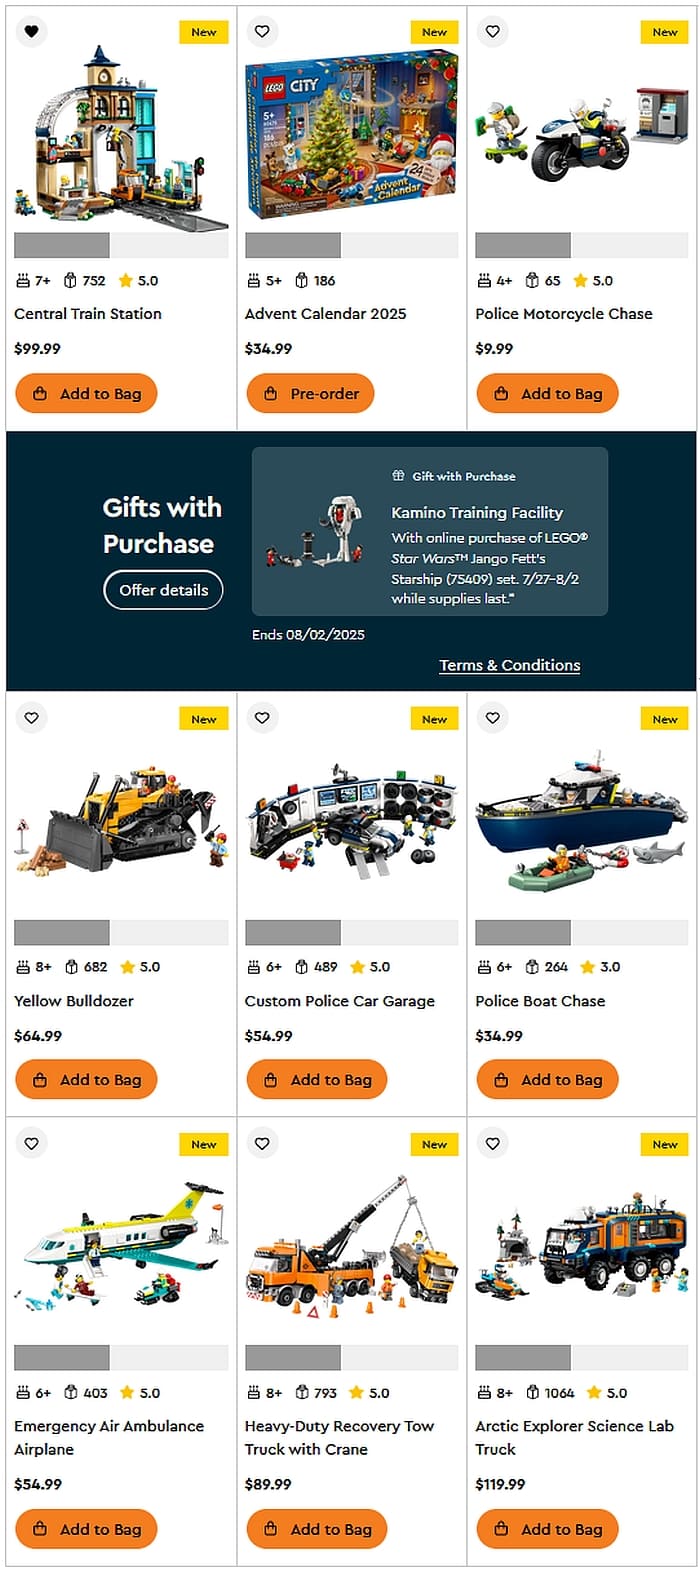
- #60455 LEGO City Police Motorcycle Chase – Price: $9.99
- #60456 LEGO City Police Boat Chase – Price: $34.99
- #60457 LEGO City Custom Police Car Garage – Price: $54.99
- #60465 LEGO City Emergency Air Ambulance Airplane – Price: $54.99
- #60466 LEGO City Yellow Bulldozer – Price: $64.99
- #60467 LEGO City Heavy-Duty Recovery Tow Truck – Price: $89.99
- #60469 LEGO City Central Train Station – Price: $99.99
- #60471 LEGO City Arctic Explorer Science Lab Truck – Price: $119.99
NEW LEGO CREATOR SETS:
- #31166 LEGO Creator Beautiful Horse – Price: $54.99
- #31167 LEGO Creator Haunted Mansion – Price: $89.99
- #31168 LEGO Creator Medieval Horse Knight Castle – Price: $129.99
- #31171 LEGO Wild Animals: Majestic Rhino with Birds – Price: $59.99
- #31173 LEGO Creator Tropical Toucan – Price: $17.99
- #31174 LEGO Creator Retro Telephone – Price: $29.99
- #31175 LEGO Creator Unicorn Castle – Price: $44.99

NEW LEGO DREAMZZZ SETS:
- #71492 LEGO DreamZzz Mateo’s Fire Chameleon – Price: $54.99
- #71494 LEGO DreamZzz Zoey’s Time Owl – Price: $29.99
- #71495 LEGO DreamZzz Mateo vs. Cyber Brain Mech – Price: $34.99
- #71499 LEGO DreamZzz Mateo’s Spray Paint Truck – Price: $99.99
- #71500 LEGO DreamZzz Nightmare Shark Submarine – Price: $149.99

NEW LEGO FORTNITE SETS:
- #77078 LEGO Fortnite Mecha Team Leader – Price: $249.99

NEW LEGO FRIENDS SETS:
- #42642 LEGO Friendship Movie Night – Price: $14.99
- #42648 LEGO Panda Sanctuary Animal Care – Price: $29.99
- #42653 LEGO Music Store & Apartment – Price: $49.99
- #42654 LEGO Pony Ranch & Stable – Price: $69.99
- #42658 LEGO Unicorn & Flamingo Pool Party – Price: $9.99
- #42659 LEGO Friendship Road-Trip Travel Car – Price: $19.99
- #42661 LEGO Costume Party with Unicorn & Fairy – Price: $39.99
- #42664 LEGO Travel Boat Adventure – Price: $74.99
- #42665 LEGO Puppy Playground – Price: $9.99
- #42666 LEGO Cat Birthday Party & Tree House – Price: $29.99
- #42671 LEGO Plant Cafe & Flower Shop – Price: $99.99
- #42673 LEGO Family Vacation Beach Resort – Price: $129.99

NEW LEGO GABBY’S DOLLHOUSE SETS:
- #11204 LEGO Mermaid Gabby’s Aquarium Adventure – Price: $22.99
- #11205 LEGO Sweet Treat Mountain & Kitty Garden – Price: $54.99

NEW LEGO ICONS SET:
- #10358 LEGO Icons Transformers Soundwave – Price: $189.99

NEW LEGO IDEAS SET:
- #21359 LEGO Ideas Italian Riviera – Price: $299.99

NEW LEGO MARVEL SETS:
- #76317 LEGO Peter Parker’s Apartment – Price: $54.99
- #76319 LEGO Captain America vs. Thanos – Price: $39.99
- #76320 Iron Man & War Machine vs. Hammer Drones – Price: $22.99
- #76321 Spider-Man vs. Doc Ock Subway Train Scene – Price: $54.99
- #76322 LEGO Avengers: Endgame Thor vs. Chitauri – Price: $54.99
- #76324 LEGO Spider-Man vs. Oscorp – Price: $139.99

NEW LEGO MINECRAFT SETS:
- #21274 LEGO Minecraft Warden Encounter – Price: $19.99
- #21275 LEGO Minecraft TNT Jungle House – Price: $29.99
- #21278 LEGO Minecraft Pillager Outpost and Ravager – Price: $79.99
- #21279 LEGO Minecraft Enderman Tower – Price: $99.99

NEW LEGO NIKE PRODUCTS:
- #5009868 LEGO Nike x LEGO Collection T-Shirt – Price: $35.00
- #5009869 LEGO Nike Air Max Dn x LEGO Collection – Price: $155.00
- #5009870 LEGO Nike x LEGO Collection Basketball – Price: $40.00

NEW LEGO NINJAGO SETS:
- #71838 LEGO Kai’s Motorcycle Speed Race – Price: $9.99
- #71839 LEGO Arin’s Spinjitzu Battle Mech – Price: $22.99
- #71840 LEGO Rogue vs. Drix Race Car Duel – Price: $22.99
- #71842 LEGO Rontu the Master Dragon – Price: $49.99
- #71843 LEGO Rogue’s Mech Dragon Rider – Price: $74.99
- #71844 LEGO Ninja Combat Vehicle – Price: $99.99
- #71845 LEGO Lloyd’s Jet Mech – Price: $109.99
- #71848 LEGO The Temple Bounty – Price: $199.99

NEW LEGO ONE PIECE SETS:
- #40799 LEGO Monkey D. Luffy Figure – Price: $9.99
- #40800 LEGO Buggy the Clown Figure – Price: $9.99
- #75636 LEGO Windmill Village Hut – Price: $29.99
- #75637 LEGO Buggy the Clown’s Circus Tent – Price: $54.99
- #75638 LEGO Battle at Arlong Park – Price: $79.99
- #75639 LEGO The Going Merry Pirate Ship – Price: $139.99
- #75640 LEGO The Baratie Floating Restaurant – Price: $329.99

NEW LEGO SEASONAL SETS:
- #40811 LEGO Altar of the Dead – Price: $14.99
- #40822 LEGO Jack-O’-Lantern Pickup Truck – Price: $14.99
- #40825 LEGO Halloween Wreath – Price: $39.99

NEW LEGO SONIC THE HEDGEHOG SETS:
- #77005 LEGO Knuckles vs. Dr. Eggman Egg Crusher Mech – Price: $44.99
- #77006 LEGO Team Sonic Command Truck – Price: $69.99
NEW LEGO SPEED CHAMPIONS SETS:
- #77238 LEGO Lamborghini Revuelto & Huracan STO – Price: $49.99
- #77239 LEGO Porsche 911 GT3 RS – Price: $26.99
- #77240 LEGO Bugatti Centodieci Hyper Sports Car – Price: $26.99

NEW LEGO STAR WARS SETS:
- #75413 LEGO Star Wars Republic Juggernaut – Price: $159.99
- #75414 LEGO Star Wars The Force Burner Snowspeeder – Price: $54.99
- #75417 LEGO Star Wars UCS AT-ST Walker – Price: $199.99
- #75430 LEGO Star Wars Wicket the Ewok – Price: $129.99
- #75431 LEGO 327th Star Corps Clone Troopers Battle Pack – Price: $44.99
- #75432 LEGO Star Wars V-19 Torrent Starfighter – Price: $64.99
- #75433 LEGO Star Wars Jango Fett’s Starship – Price: $69.99
- #75434 LEGO Star Wars K-2SO – Price: $89.99
- #75435 LEGO Star Wars Battle of Felucia Separatist MTT – Price: $159.99

NEW LEGO SUPER MARIO SETS:
- #72038 LEGO Wario & King Boo – Price: $49.99
- #72039 LEGO Bowser’s Castle – Price: $89.99
- #72040 LEGO Captain Toad’s Camp – Price: $14.99
- #72041 LEGO Party at Toad’s House – Price: $29.99
- #72042 LEGO Prince Florian & Castle Bowser – Price: $99.99
- #76043 LEGO Interactive LEGO Mario & Standard Kart – Price: $54.99
- #72044 LEGO Piranha Plant Power-Up Pursuit – Price: $49.99
- #72045 LEGO Shy Guy & P-Wing – Price: $19.99

NEW LEGO TECHNIC SETS:
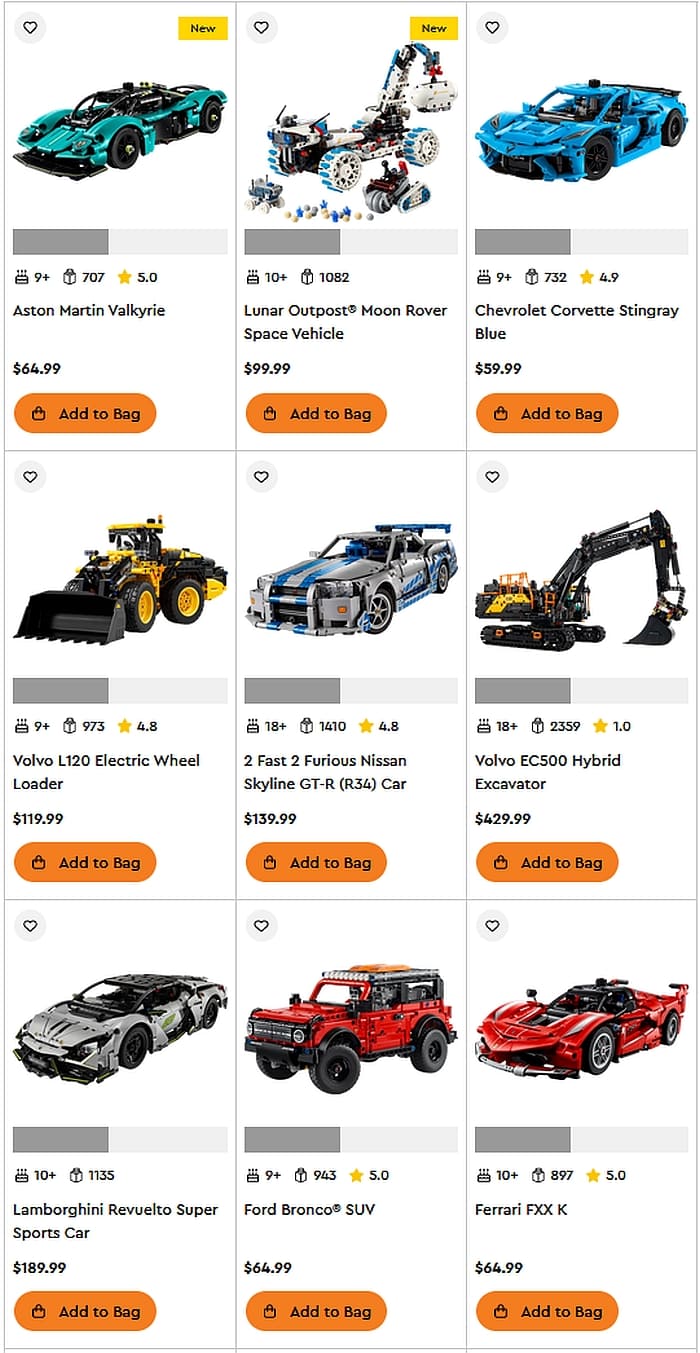
- #42208 LEGO Technic Aston Martin Valkyrie – Price: $64.99
- #42211 LEGO Lunar Outpost Moon Rover Space Vehicle – Price: $99.99
- #42213 LEGO Technic Ford Bronco SUV – Price: $64.99
- #42214 LEGO Lamborghini Revuelto Super Sports Car – Price: $189.99
- #42215 LEGO Technic Volvo EC500 Hybrid Excavator – Price: $429.99
NEW LEGO WEDNESDAY SET:
- #76784 LEGO Wednesday Black Dahlia Flower – Price: $27.99

I hope you find something you like this month! There is so much to choose from! Have fun, and feel free to share your favorite new sets and what you’re building in the comment section below!
➡ LEGO SHOP IN USA: Online LEGO Shop USA
➡ LEGO SHOP IN CANADA: Online LEGO Shop Canada
➡ LEGO SHOP IN UK: Online LEGO Shop UK
➡ LEGO SHOP AUSTRALIA: Online LEGO Shop Australia


