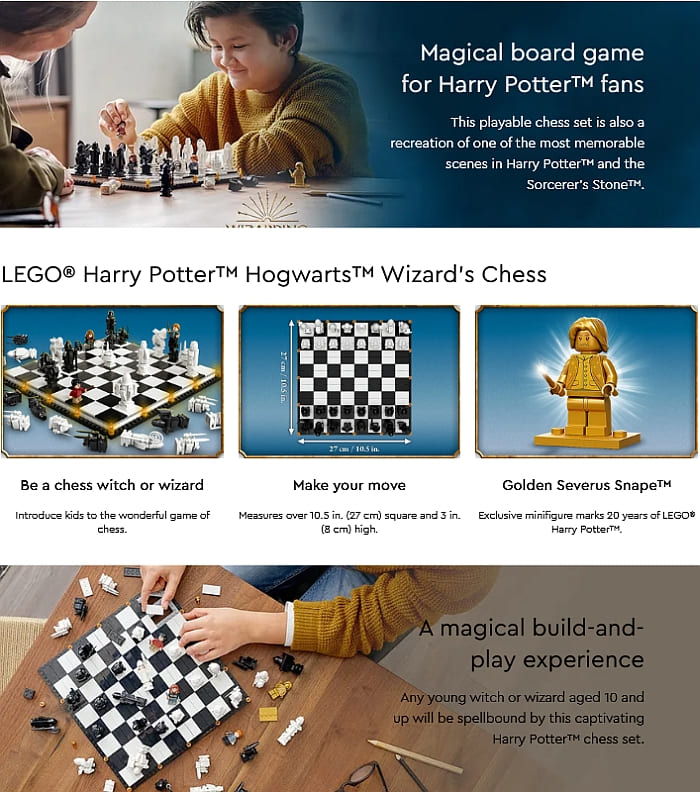
One of the most memorable scenes from Harry Potter and the Sorcerer’s Stone is when Harry, Ron, and Hermione played their way across an animated chessboard to pass the White players in a dangerous game of Wizard Chess. Wizard’s Chess is the magical variant of the classic board game, in which the pieces were enchanted to move of their own accord when commanded by the player. When a piece was taken, it was removed by the attacking piece, often in a barbaric manner where the losing piece was smashed violently by the winning piece.
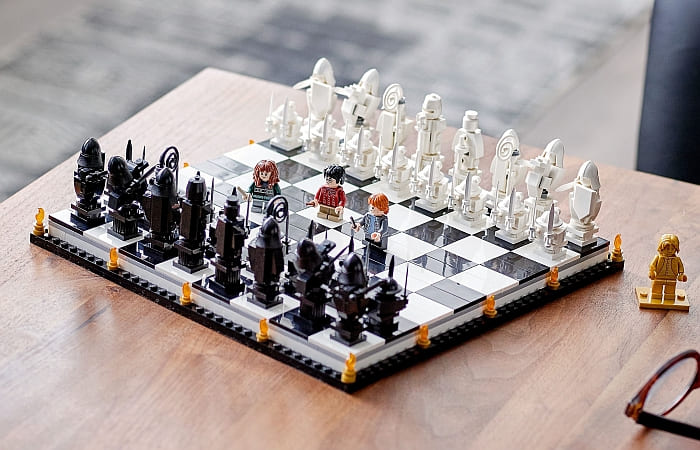
In the recently released #76392 LEGO Harry Potter Hogwarts Wizard’s Chess set, this scene is recreated with many authentic details. The chessboard sits on top of a 34×34 stud frame, with the surface of the board covered by black and white 2×4 tiles (you get 64 of each!). The overall size of the chessboard is just about 3 in. (8 cm) high, 10.5 in. (27 cm) wide, and 10.5 in. (27 cm) deep.
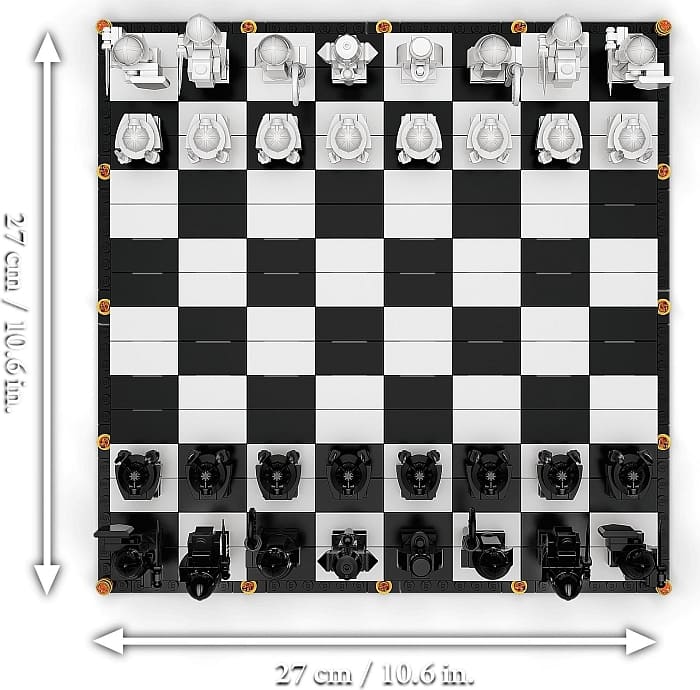
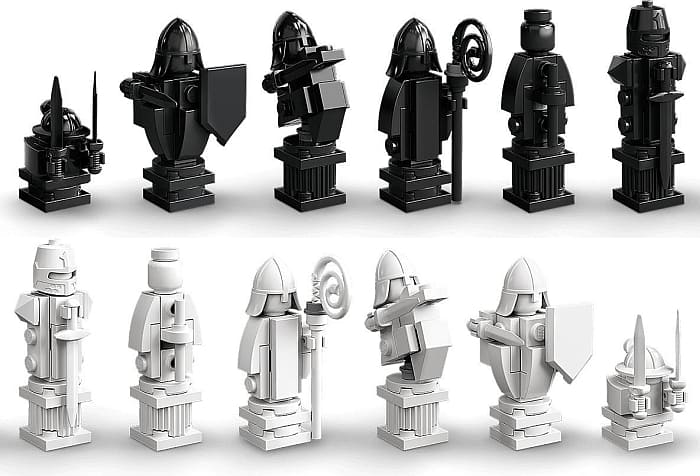
The chess pieces are brick-built and could be smashed just like in the film, and could be rebuilt easily. One of the highlights of this set is all the helmet pieces and weapons in white and black. It’s interesting to note that the pawns wear a miner’s helmet backwards (you get 8 of each color), which seems like an odd choice, but it actually looks pretty accurate compared to the movie. In addition, you get 6 white and 6 black old style knight helmets, and one of each color of the newer style closed helmets. You also get 20 black and 20 white short swords and a longer sword (one of each color). Another interesting piece is the blank minifig heads (you get 8 white ones and 8 black ones). All the players are built the same on each side.
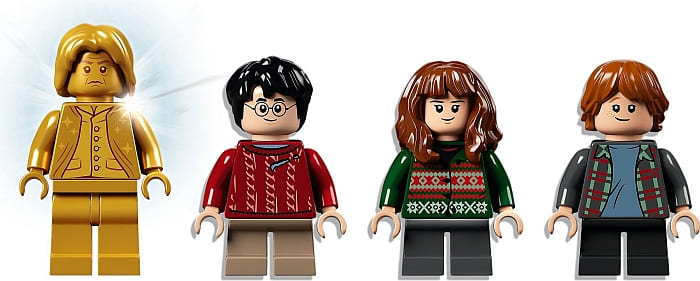
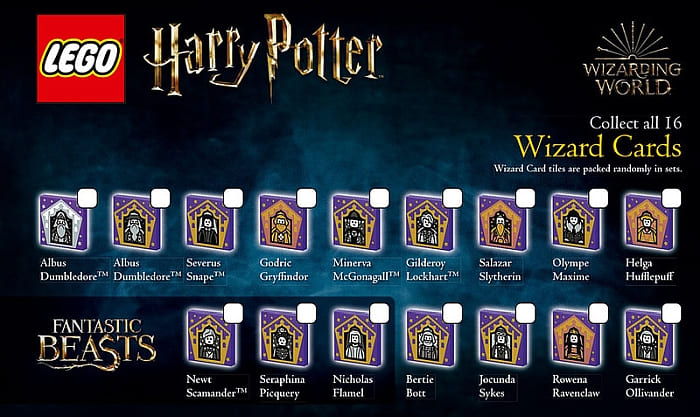
Besides the chess pieces, you also get the three characters that played out the iconic scene; Harry, Ron, and Hermione. And because this is one of the sets that celebrates the 20th anniversary of LEGO Harry Potter, the set also includes an exclusive, golden Professor Severus Snape minifigure and 3 random wizard card tiles to collect. (At the back of the instruction booklet, you can see all the collectible tiles that are spread across the new LEGO Harry Potter sets.) All four minifigure designs are exclusive to this set.
The #76392 LEGO Harry Potter Hogwarts Wizard’s Chess is basically a 2-in-1 set. You can use it as a normal chess set, as it has a standard looking board and chess pieces. And, you can also play out the scene from the movie on an enchanted chessboard with the included minifigs. Perhaps the only thing missing is that Ron can’t really ride the knight’s horse like he has done in the film. In the video below, you can see the set in more detail.
Overall, I think this is a successful set in many ways. It faithfully recreates a popular scene from the Harry Potter lore, it is a functional chess set, a chess battle set, and it features exclusive parts and minifigs. The price is also very reasonable at $69.99. If you want to check it out it’s available at the LEGO Harry Potter section of the Online LEGO Shop.
What do you think? How do you like the LEGO Harry Potter Hogwarts Wizard’s Chess set? Do you have it already? Or are you interested to get it? Feel free to share your thoughts and reviews in the comment section below!
And you might also like to check out the following related posts: