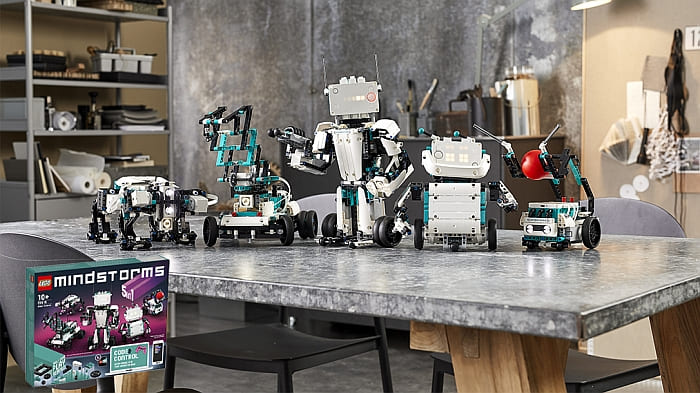
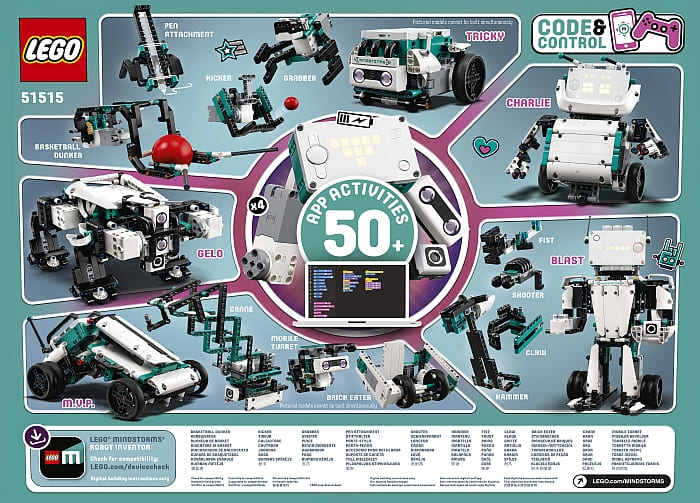
The LEGO Ideas team is running a new contest for teen and adult LEGO fans. They are asking fans to build a sixth model for the newly released #51515 LEGO MINDSTORMS Robot Inventor set. There are several ways to enter and win, so no reason not to get involved. Below are the details.
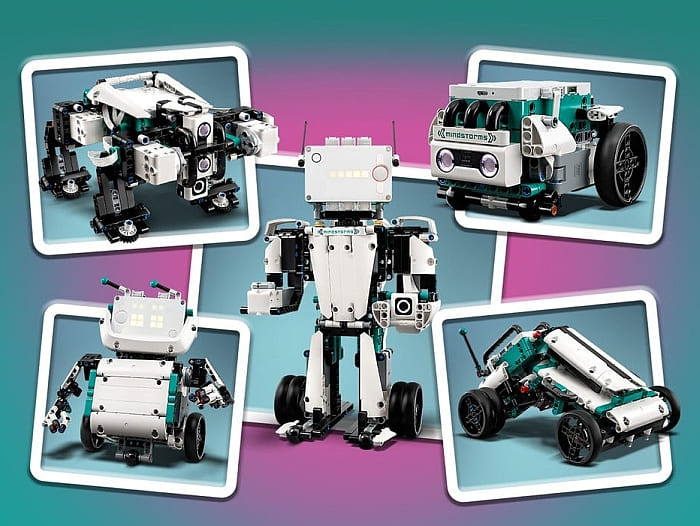
You can submit an idea for a new model by either building a new/6th robot using the old #31313 LEGO MINDSTORMS EV 3 set or the new #51515 LEGO MINDSTORMS Robot Inventor set. If you don’t have either of the sets, you can also submit a drawing or design concept, but these entries need to include either the EV3 main module, or one of the modules from the Robot Inventor set.
All entries must include a description of what your model does as well as the key functions/features. The LEGO Ideas team would love to see videos of your submissions working, or maybe animations of your drawing/design coming to live. Or even some code! When you submit your model, build entries should start with the title “Build…” and drawing or design entry titles should start with “Concept…”.

The contest will consist of three phases: 1.) Submission Phase – Build and submit your entry before December 8th, 2020 at 6:00 a.m. EST. 2.) Judging Phase – LEGO Ideas judges review the entries and choose the winners by December 15th, 2020. 3.) Winners Announcement – The grand prize winners, two runner up winners, and two bonus winners will be announced on LEGO Ideas no later than December 22nd, 2020.
Submissions may be in either physical bricks or by using a digital building tool such as LEGO Digital Designer. You’re welcome to use image editing tools, such as Photoshop, to enhance your photos/presentation. You are also welcome to draw your designs physically or digitally. Videos in your submissions are also accepted. Add a title and short description to your submission, and upload your entry to the contest using the blue Submit Your Entry button on the contest entry page. The usual LEGO Ideas contest rules apply, which you can also read on the contest entry page. Remember that this is a contest for teen and adult LEGO fans, so you must be at least 13 years of age to participate.
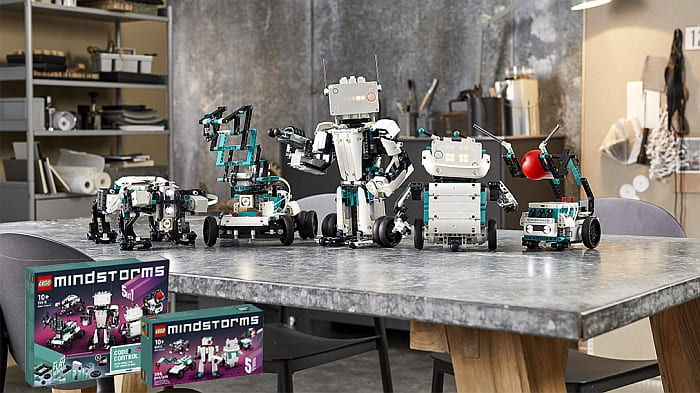
Each of the two grand price winners will receive the #51515 LEGO MINDSTORMS Robot Inventor set, and the #40413 MINDSTORMS Mini Robot set. Each of the two runner up winners will receive the #51515 LEGO MINDSTORMS Robot Inventor set. And in addition, two randomly drawn entries will also receive the #51515 LEGO MINDSTORMS Robot Inventor set.
Even if you never played with LEGO robotics before, but you fancy yourself as an inventor and have ideas for cool robots, this is a great opportunity to present your concepts and have a chance to win awesome prizes.
What do you think? Do you have either of the older or newer LEGO MINDSTORMS set? Have you ever built your own robots? Are you planning to enter the contest? What will you build or draw? Feel free to share your thoughts and discuss in the comment section below!
And you might also like to check out the following related posts: