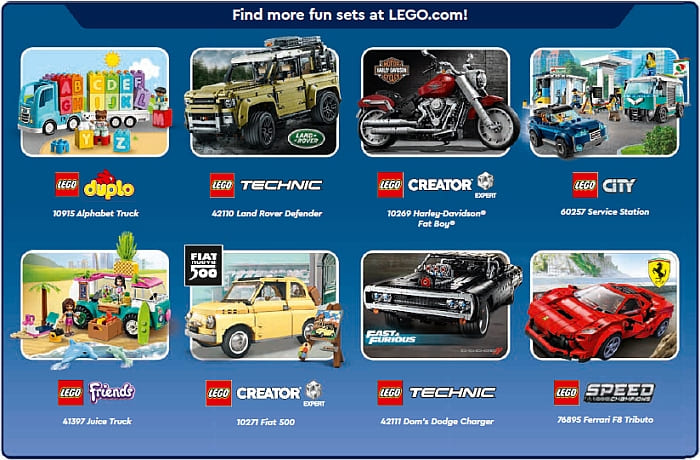
It looks like LEGO decided that June is all about cars! In the June LEGO Store Calendar they feature the recently released #10271 LEGO Creator Fiat 500, the #76895 LEGO Speed Champions Ferrari F8 Tributo, and the #42111 LEGO Technic Dom’s Dodge Charger. Even the freebie set this month is a super nice Hot Rod! Details all what’s new this month are listed below.

➡ FREE LEGO HOT ROD: The #40409 LEGO Creator Hot Rod is free with purchases of $85 or more until June 21st. This is a fantastic minifig-scale replica of the #5541 LEGO Model Team Blue Fury from 1995. This is a fantastic little set, especially for a freebie! This offer is valid on all purchases at official LEGO stores and the Online LEGO Shop.

➡ LEGO TECHNIC LAMBORGHINI NOW AVAILABLE: The #42115 LEGO Technic Lamborghini Sián FKP 37 is now available. We talked about this set previously (see press-release here: LEGO Technic Lamborghini Sian FKP 37 Coming!). Prices are as follows: US $379.99 – CA $489.99 – DE €379.99 – UK £349.99 – FR €379.99 – DK 2899DKK (Euro pricing varies by country). To purchase this set, visit the LEGO Technic section of the Online LEGO Shop.
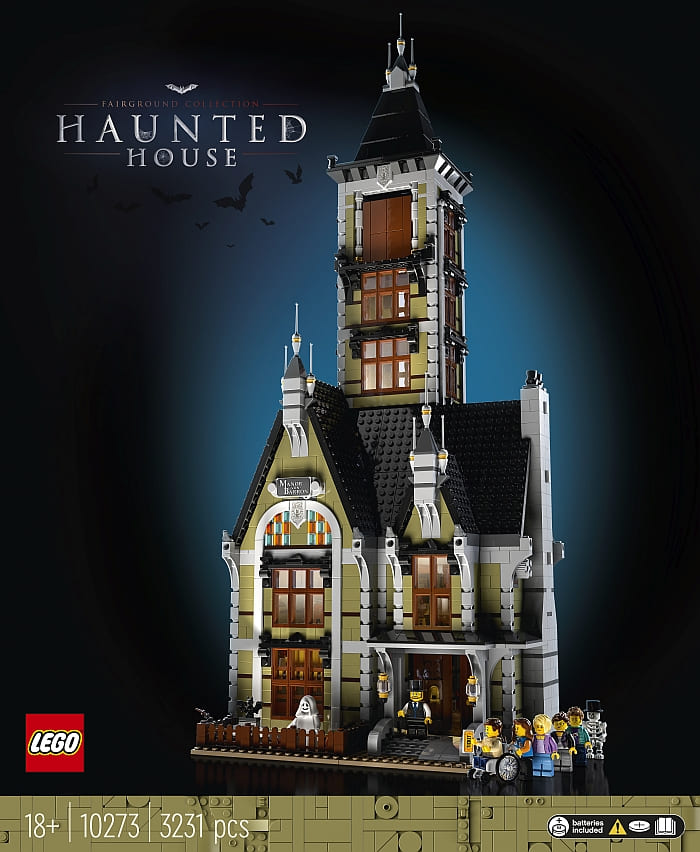
➡ LEGO CREATOR HAUNTED HOUSE AVAILABLE: The #10273 LEGO Creator Expert Haunted House is now available for everyone, not just LEGO VIP members. This set combines the spookiness of a haunted house with an awesome fairground ride. Find it at the LEGO Creator Expect section of the Online LEGO Shop.

➡ NEW LEGO MINECRAFT SETS AVAILABLE: Two new LEGO Minecraft sets have been added to the collection; the #21161 LEGO Minecraft Crafting Box 3.0, and the #21163 LEGO Minecraft the Redstone Battle. You can find them both at the LEGO Minecraft section of the Online LEGO Shop.

➡ LEGO HARRY POTTER SETS AVAILABLE OUTSIDE THE U.S.: The new LEGO Harry Potter sets are available in select countries. In the U.S., the sets will be available on August 1st. You can check them out at the LEGO Harry Potter section of the Online LEGO Shop.
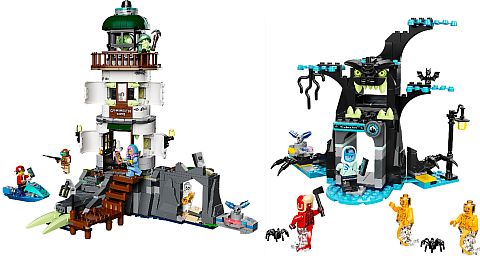
➡ OTHER LEGO SUMMER SETS: There are a number of LEGO sets coming this summer and already listed at the under the coming soon section. This includes LEGO Super Heroes, LEGO Star Wars, LEGO Friends, LEGO Jurassic World, LEGO Hidden Side, and more, however no date has been given as far as their released. My guess is that they may be delayed due to the COVID-19 situation. However, you can already add them to your wanted list, so when they become available, you can purchase them at the Online LEGO Shop.
Also, as we discussed previously, (see links at the end of this post), many LEGO stores are now open or at least have curbside pickup available. Selection is limited and many restrictions have been put in place to keep visitors safe. If you have a LEGO store near you, I would suggest to give them a call to find out what are their current policies.
What do you think? What building projects are you working on this summer? Do you have any recently released favorite sets? Are you planning to get anything this month? Feel free to share your thoughts and discuss in the comment section below!
And you might also like to check out the following related posts:
- LEGO Technic Lamborghini Sian FKP 37 Coming!
- Press-Release: LEGO Haunted House Coming Soon!
- LEGO Creator Expert Fiat 500 Designer-Video
- LEGO Technic Fast & Furious Dodge Charger
➡ LEGO SHOP IN USA: Online LEGO Shop USA
➡ LEGO SHOP IN CANADA: Online LEGO Shop Canada
➡ LEGO SHOP IN UK: Online LEGO Shop UK