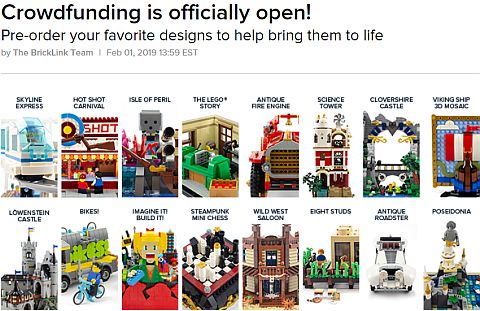
At the end of last month, we discussed the latest updates on the collaboration between the LEGO Group and BrickLink.com for the AFOL (Adult-Fans-Of-LEGO) Designer Program (see: AFOL Designer Program Second Phase Begins). A fun part of that update was that you could guess the prices for the approved models for a chance to win the upcoming sets. Now, the crowdfunding stage of the AFOL Designer Program is officially open, so you can pre-order your favorite projects and help bring them to life. Below are the details. 🙂

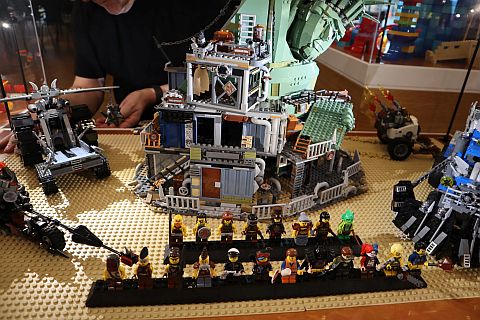
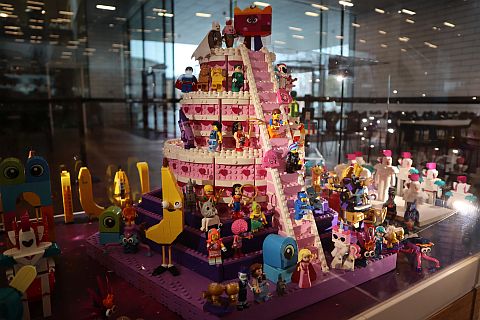
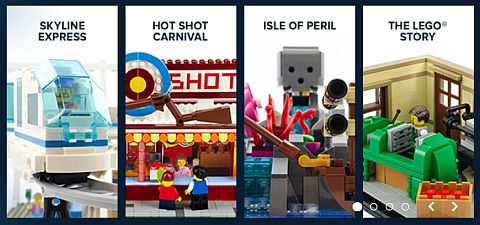
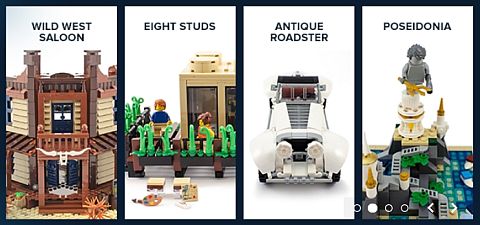
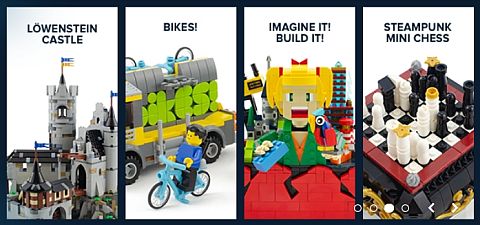
To recap, BrickLink and the LEGO Group are celebrating 60 years of the LEGO brick with the AFOL community by realizing unique projects with truly original themes. They received over 400 submissions, and 16 finalists were chosen from 9 different countries. And now, can pre-order these projects from the AFOL Designer Program to help bring some incredibly creative designs to the market in a way never before possible.
During the crowdfunding phase, you can pre-order your favorite projects to help them reach 100% funding. Once successfully funded, the project is packaged with instructions to become a limited edition 60 Years Anniversary set exclusively available via BrickLink. You may pre-order a maximum of 3 sets per project, and you will also receive free shipping. Free shipping applies to both domestic and international buyers and is available for pre-orders only. (Keep in mind that if you are a backer from the UK and Europe, you may need to pay VAT charges and processing fees, so check your postal regulations.)
If the project you backed during the crowdfunding phase is successfully funded, your payment method will be charged the full amount after April 15, 2019. If the project is not successfully funded, you will not be charged. BrickLink will begin shipping orders in May 2019.
At the time of this writing, five of the projects are already fully funded, which means that they will definitely get produced. Four of the projects are very close to achieving their funding goals, and the rest of the projects are still gathering support. There is still plenty of time for all the projects to be 100% funded, and I expect that all of them will do very well. After all, these are going to be unique exclusives and a significant part of LEGO’s history.
To check out all the projects, and their current funding stage, go the AFOL Designer Program Crowdfunding Page. If you like some of the projects but you are not yet ready to pre-order, you can click the bookmark icon next to each project (looks like a little flag), and BrickLink will send you a reminder before pre-orders close.
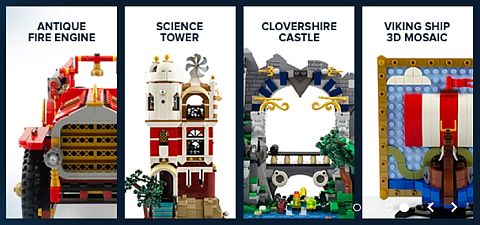
In the player below, I have included the introductory videos for all 16 projects, so you can see them from all angles. The same information and more details are available at the project pages.
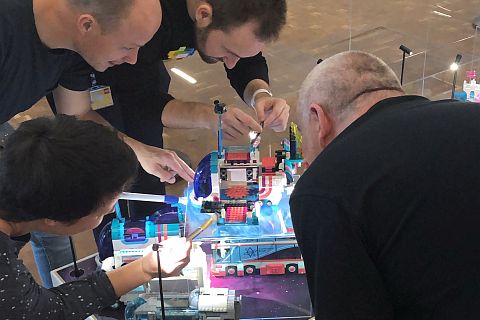
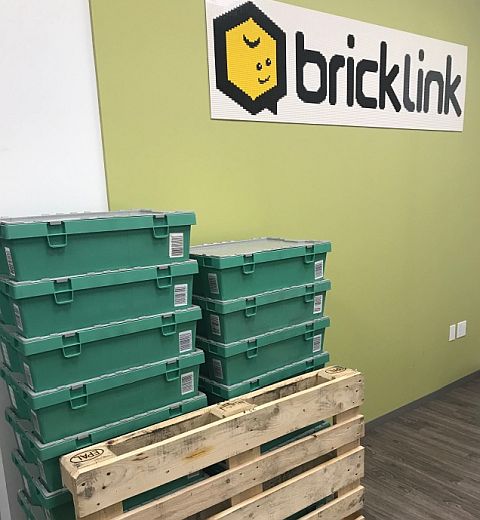
Please keep in mind that there is a 2,500 production-limit for each set. As mentioned above, those who pre-order the sets during the crowdfunding phase will get free shipping, and those who order after April 15 during the general sales period will have to pay for shipping. The sales period will last until the end of June. So, keep your eyes on the number of sets sold. It looks like some of these projects might sell out even during the crowdfunding period. In the meantime, the first batch of parts already arrived at BrickLink’s office to start assembling the sets. That’s exciting!
What do you think? How do you like the AFOL Designer Program projects? Are you planning to support and pre-order any of them? Also, if you participated in “Guess the Price Challenge”, how did you do? Are you expecting to win any of the sets? Feel free to share and discuss in the comment section below! 😉
And you might also like to check out the following related posts: