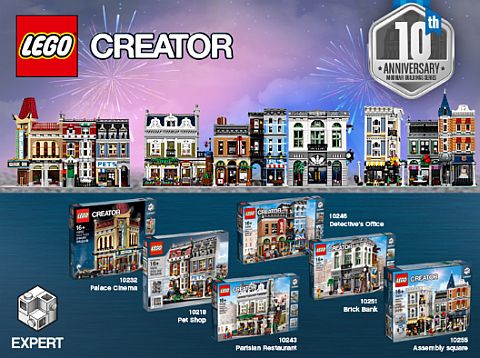
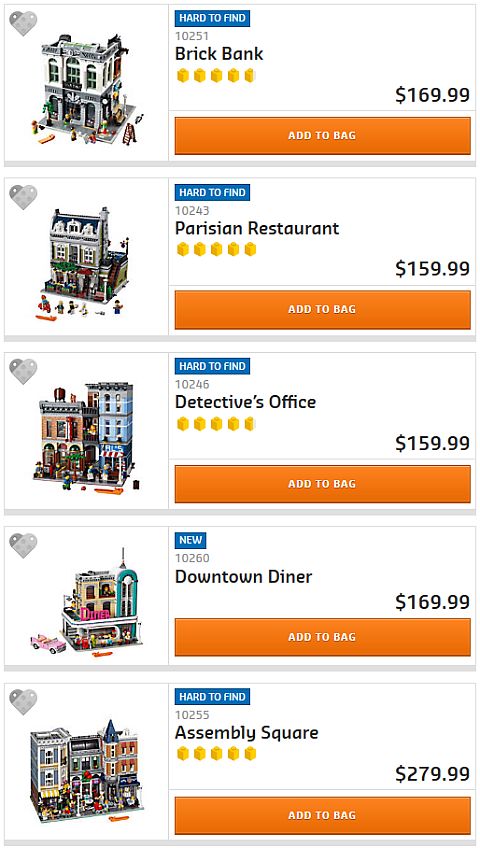
Most of the LEGO Modular Buildings are made in such a way that they can be lined up and connected in a row. This makes them especially suitable for shelf displays. There are also some corner buildings (#10182 LEGO Creator Cafe Corner from 2007, #10211 LEGO Creator Grand Emporium from 2010, #10232 LEGO Creator Palace Cinema from 2013, #10251 LEGO Creator Brick Bank from 2016, and #10260 LEGO Creator Downtown Diner from 2018) that can be used to finish the corners of a row of buildings, or to turn corners to build deeper displays with entire city blocks. In other words, there are lots of ways to display them! 🙂
While the LEGO Modular Buildings can be configured in a number of different ways, there is one type of display situation that LEGO designers haven’t addressed as of yet; inverted corners. In other words, if you have a shelf system on two connecting walls creating a 90-degree angle, none of the official LEGO Modular Buildings can fill the corner of the L-shape.

LEGO fans have been addressing this situation be either leaving a gap between the two sides of the L, pretending there is a street or alleyway going through, or creating some type of dummy building to fill up the corner without being in the way of the various extensions (roofs, canopies, windows, doorways, etc.) of the buildings closest to the inverted corner.
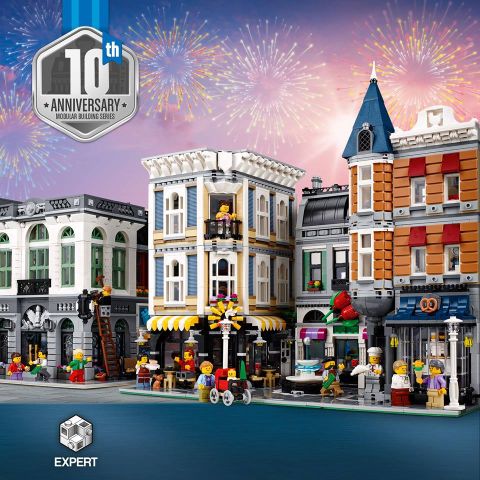
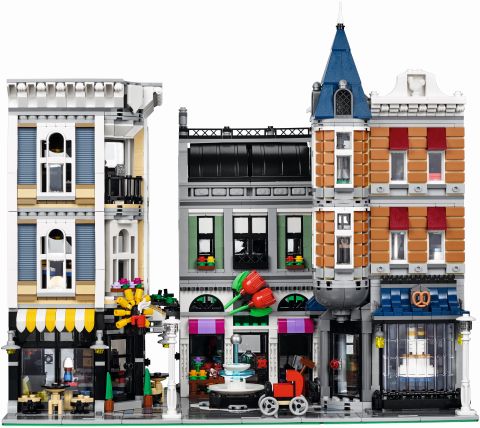
The #10255 LEGO Creator Assembly Square released in 2017 shows two examples of how inverted corners can be handled. The set features three distinct buildings next to each other. The sand-green building in the middle sits further back than the two surrounding buildings, creating two inverted corners. Between the sand-blue building on the left and the building in the middle, there is a gap with an alleyway. The other side of the sand-green building is pushed against the building on the right creating an L-shaped construction. This second type of solution is what LEGO fans have been looking for but in a larger scale to be able to turn corners.
Since there is no official LEGO Modular Building to make a 90-degree inverted turn, LEGO fans have to design and build their own structures to create a smooth transition from one side of the street to the other. As LEGO Modular Buildings are quite large and complex, designing such a transitional building can be a bit intimidating both in terms of designing them and the cost of getting the necessary parts.
Usually the cheapest way to create a custom LEGO Modular Building is to modify one of the official sets in the collection. They give you plenty of pieces to work with, and you can copy many of the design solutions already used in the set. Still, designing a custom building can still be a daunting task, especially when working on an idea that you can’t find an example for in an official set. However, it is likely that other LEGO fans have grappled with the same problem, and may have already come up with a solution.
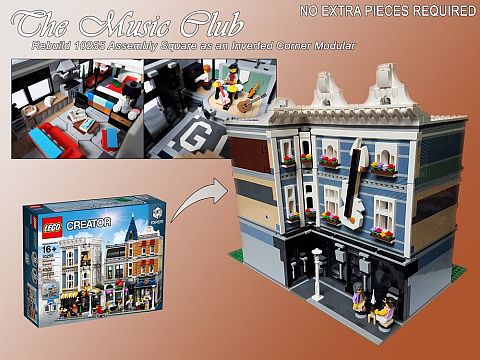
To address the issue of turning at an inverted corner with the LEGO Modular Buildings, LEGO fan Huaojozu came up with an elegant solution. Interestingly, he used the #10255 LEGO Creator Assembly Square as the base model for the alternate structure, even though his custom building looks very different from the official set. Most importantly, Huaojozu shares detailed pictures, as well as downloadable instructions at Rebrickable.com. (The instructions are a little pricey, but you may not even need them once you study the pictures.)

Hoaojozu didn’t just successfully turned the corner with his custom building, but he also fully designed and furnished it inside. The structure is mainly a music club, with the first floor housing the stage and dance floor. There is also a jukebox for when there’s no live performance, and a couple of tables for drinks. There is a bar on the second floor, and a fully furnished apartment on the third floor. Only pieces from the #10255 LEGO Creator Assembly Square were used, so no extra parts are needed. If you are interested to download the instructions, there are available in two formats; either as a LEGO Digital Designer file or as a PDF. You can download them here. Hoaojozu designed a number of alternate models for LEGO Modular Buildings, so you might want to check those out as well.

It is possible that in the future LEGO will release a set that will allow us to easily fill an inverted corner in a LEGO Modular Buildings display, but in the meantime, we can create our own solutions, or use the solutions provided by other LEGO fans. Rebrickable.com is a great resource for finding alternate builds for official LEGO sets, and for the current selection of LEGO Modular Buildings, visit the LEGO Creator section of the Online LEGO Shop.
What do you think? Do you collect the LEGO Modular Buildings? How do you display them? Do you have an inverted corner in your display? What solution do you use for it? Feel free to share and discuss in the comment section below! 😉
And you might also like to check out the following related posts:
- LEGO Modular Building Post Office & More!
- Modifying the LEGO Creator Downtown Diner
- LEGO Downtown Diner Designer-Video
- LEGO Creator Assembly Square Review
- LEGO Modular Buildings 10th Anniversary Video
- LEGO Mecha Townhouse Modular Building!
- LEGO Modular Buildings Alternate Colors
- How to Expand the LEGO Modular Buildings