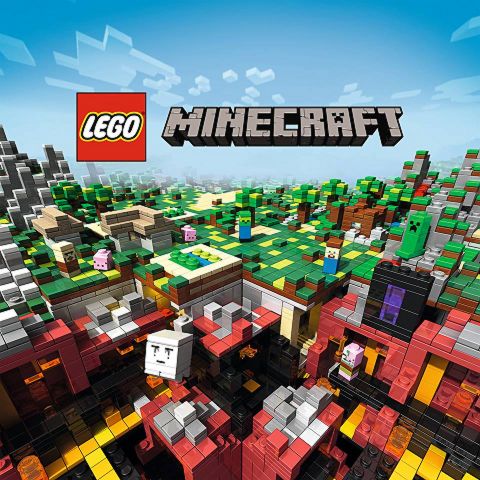
Interesting piece of news for LEGO Minecraft fans; the latest set in the LEGO Minecraft series has been revealed at the LEGO Minecraft Facebook Page. They have been hinting at the new set at various teasers, but this is the first time we have a chance to see the actual set. It’s the LEGO Minecraft Micro World: The End. 🙂
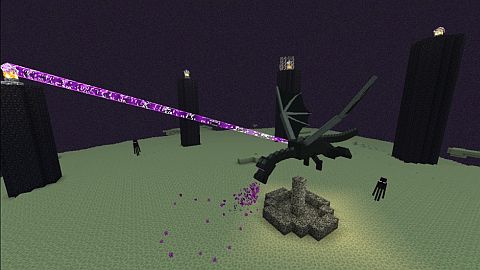
Below you can see LEGO designer Steen Stig Andersen, with the new LEGO Minecraft Micro World: The End set. This is the only image we have right now, but it looks like everything is there. The set is made up of tan pieces, which is accurate to the look of the End Stones in the Minecraft game. The Obsidian pillars are on the top level, although they are quite smallish, and there is a portal (the gray thingy on the top level). And of course we got an Ender Dragon and lots of Endermen. 😀
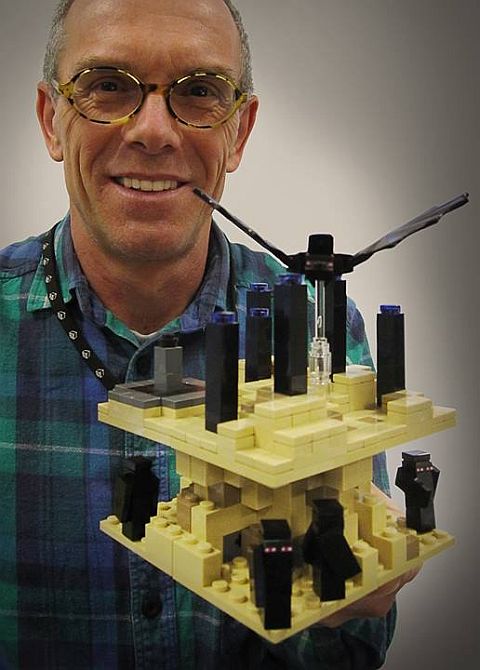
The LEGO Minecraft Micro World: The End set is modular (meaning it is made up of four removable and interchangeable sections) like the other LEGO Minecraft sets, although it is quite an open design compared to the previously released sets.
In case you are not familiar with Mincraft, here is some info from the Minecraft Wiki about The End: “The End is a dimension with a stark, empty plane containing a single floating planet-like island made of a unique material known as End Stone, dotted with Obsidian pillars. These islands float in the Void. This dimension is populated by a vast number of Endermen, who spawn considerably more often than in the Overworld, and a lone Ender Dragon, the boss of the End.” Killing the dragon cues the game’s ending credits. Players are then allowed to teleport back to their original spawn point in the overworld, and will receive The End achievement.
So far the response from LEGO fans has been quite mixed in regards to this set. Minecraft fans are mostly happy with it, however LEGO fans who are not that much into Minecraft are only looking at it as a poor selection of mostly common LEGO elements. I’m definitely getting this set as I really like all of the previous LEGO Minecraft sets and wouldn’t want my collection to be incomplete. I don’t think this set is exciting as the previous LEGO Minecraft sets however; no interesting colors, pieces, etc., but it does represent a very desolate place, so I’m not sure how it could have been better. I do like the look of the Endermen, and those trans-purple pieces. I’m not sure about the dragon yet as it is hard to see on this picture. I think this set won’t be so interesting on its own, but will ride on the popularity of the previous LEGO Minecraft sets. What do you think? 🙄
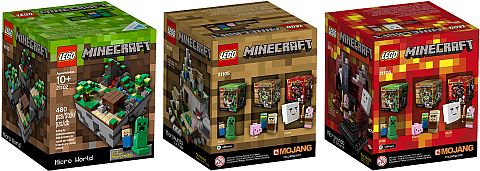
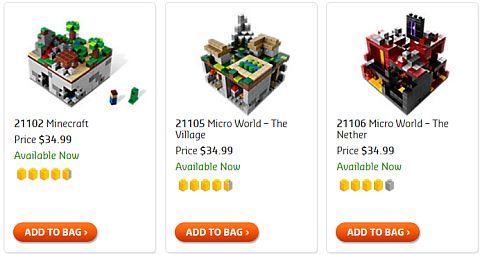
The LEGO Minecraft Micro World: The End set will be available sometime this summer. There is no final piece-count or price revealed yet, but I assume it will be similar to the other LEGO Minecraft sets. In the meantime you can check out the three previously released LEGO Minecraft sets at the Online LEGO Shop.
What are your thoughts on the LEGO Minecraft Micro World: The End set? Do you think it is accurate to the game? Could it have been made better? Are you planning to get it? Feel free to share and discuss in the comment section below! 😉
And you might also like to check out the following related posts: