(Written by Steve Garraway of Fab-Bricks)
I have been a reader here for a while, and today I thought to share with you a bit about how our own LEGO business was born, and how we became the #1 providers of personalized LEGO in the United Kingdom. It was only a short while ago when my young son and I were in our workshop together. He was sitting opposite to me playing with his LEGO, while I was engraving some pens, mirrors and other boring stuff for our business. All of a sudden I got an idea; could we use our engraving equipment to personalize LEGO? 🙂
A lot of trial (and a bit of error!) later we were ready to hand out some sample personalized LEGO bricks and key-rings to friends and family to get some feedback. We were blown away with the positive comments, and that’s how our LEGO engraving company, Fab-Bricks, was born. 😀
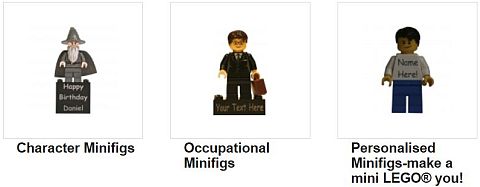
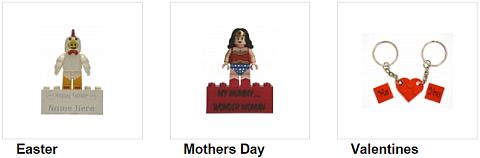
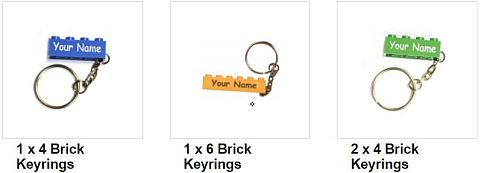
Now that we have perfected our LEGO engraving methods, we can engrave all types of LEGO elements; LEGO bricks, LEGO minifigs and key-rings. We also make personalized LEGO cake-toppers using different minifigs such as Harry Potter, Superman, Batman, Teenage Mutant Ninja Turtles characters, birthday boy and girl, etc. – all with custom engraved messages.
As we can engrave LEGO elements using pretty much any font style and type, we are able to personalize LEGO parts exactly how you want them. For example we now have available a bride & groom set which can be personalized with names, date, and a message both on the minifigures as well as on their display-stand.
One of our most popular item we carry are the personalized minifigs. You can choose the hairstyle, head, and the color of the torso and legs to make a mini version of yourself or someone you would like to surprise. Then you can add a name or message on the minifig’s torso to make it perfect.
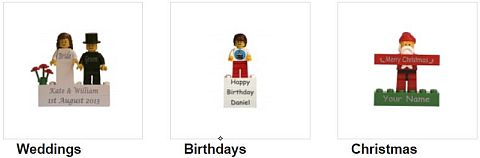
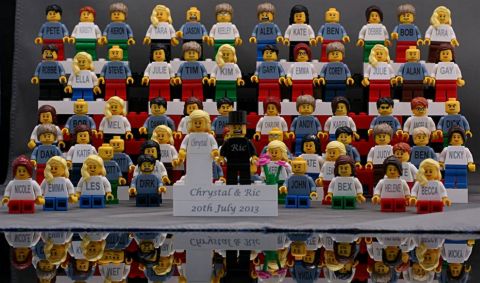
As our company have become popular we have completed several bulk orders for thousands of LEGO key-rings as corporate giveaways (yes, we can engrave logos too!), and hundreds of personalized minifigs for LEGO themed weddings and other events.
As I mentioned we are located in the UK, but we can ship pretty much anywhere in the world. Shipping inside the UK is free, and for the rest of the world it’s just £4 regardless of the size of the order. So come on by our store at fab-bricks.com. Also, here is a short video on what we can do!
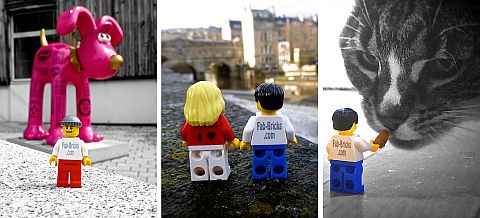
We also enjoy LEGO photography (a.k.a. “legography”) and we take fun pictures of LEGO minifigs in everyday situations. These can be seen at our Facebook Page, if you would like to check them out.
Thanks for reading our LEGO story and let me know what you think! If you have any questions about our products or what we could do for you feel free to contact me through our website, Facebook page, or just ask in the comment section below. 😉
And you might also like to check out the following related posts: