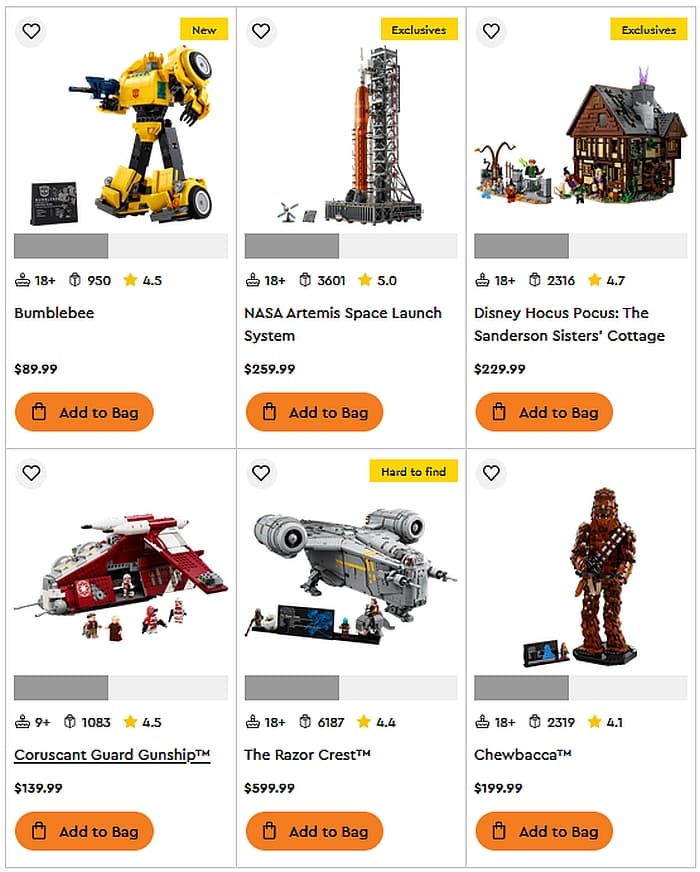
Awesome news for LEGO fans! LEGO is currently offering double points on six very popular and highly desirable sets. This offer is valid until August 16th. Below is the list of the six sets.

#10338 LEGO ICONS BUMBLEBEE:
Craft a meticulously detailed model of the iconic 1980s robot action figure that converts from Autobot to vehicle mode. The Autobot comes with articulated joints, an ion blaster, and a jetpack. A display plaque listing power statistics adds the finishing touch for a captivating display. This set retails for $89.99 and is available at the LEGO Icons section of the Online LEGO Shop.
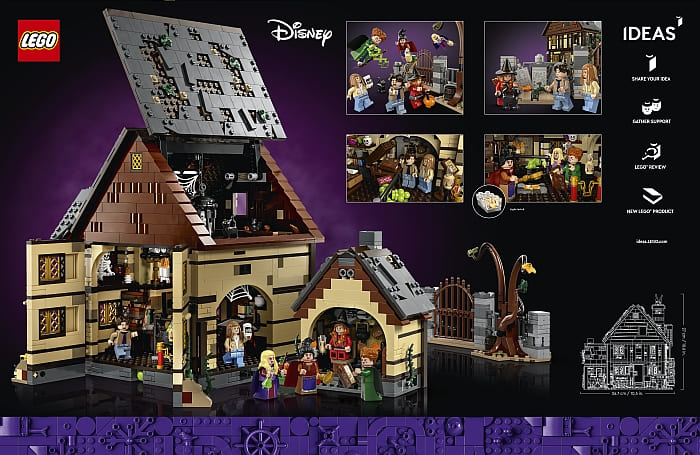
#21341 LEGO IDEAS DISNEY HOCUS POCUS – THE SANDERSON SISTERS’ COTTAGE: The cottage can be opened in multiple ways for easy viewing of the interior details, including the museum gift shop, cauldron with a LEGO light brick to illuminate the fire underneath, Book of Spells and the witches’ bat-infested bedroom. Detach the side room where Dani Dennison was captured by the witches and turn the water wheel outside to make pink ‘smoke’ puff out of the chimney. This set retails for $229.99 and is available at the LEGO Ideas section of the Online LEGO Shop.
#10341 LEGO ICONS NASA ARTEMIS SPACE LAUNCH SYSTEM: This accurate replica depicts real launch systems and includes retractable launch tower umbilicals, rocket support and crew bridge, detachable solid-fuel boosters, and separating rocket stages. The set also includes a model of the Orion module with foldout solar panels, which can be placed inside the rocket or on a separate display stand. A printed plaque adds the finishing touch to this impressive model, perfect for home and office decor. This set retails for $259.99 and is available at the LEGO Icons section of the Online LEGO Shop.

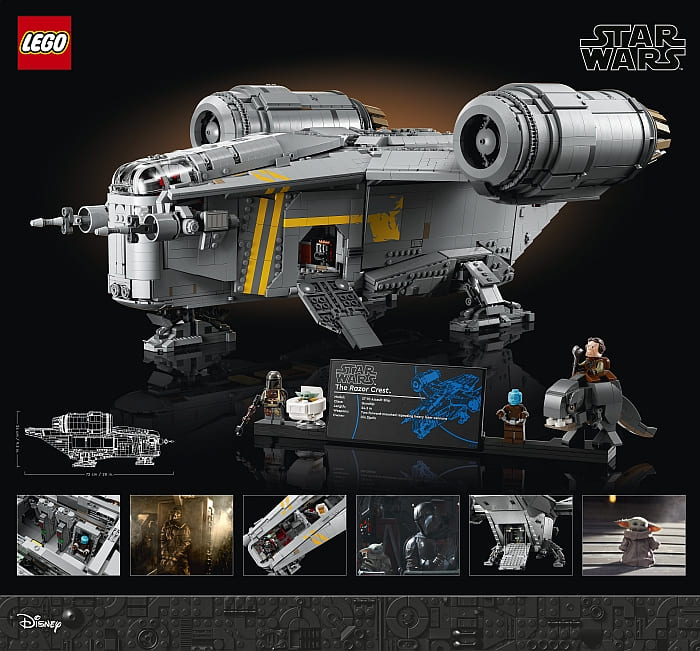
#75331 LEGO STAR WARS THE RAZOR CREST: Measuring over 28 in. (72 cm) long, it is packed with authentic details that reference memorable Star Wars: The Mandalorian moments. The top of the starship and its huge engines lift off for easy viewing of the detailed interior, and the cockpit is removable for access to the sleeping quarters. It has side hatches and a cargo compartment with a weapons cabinet, a minifigure-size carbon-freezing chamber, and more, plus a detachable escape pod. This set retails for $599.99 and is available at the LEGO Star Wars section of the Online LEGO Shop.
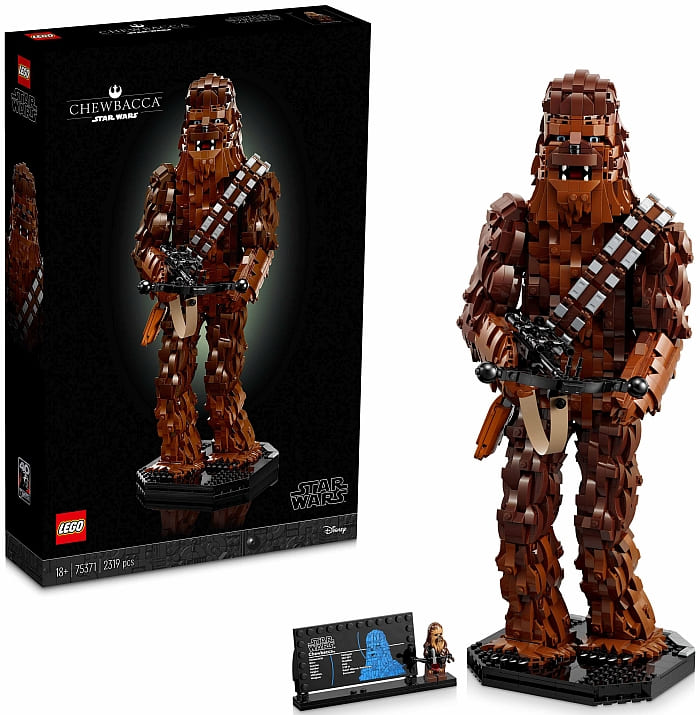
# 75371 LEGO STAR WARS CHEWBACCA: This impressive buildable LEGO figure stands over 46 cm (18 in.) tall and has a built-in display stand. The set also includes a plaque with information about the character, plus a Chewbacca LEGO minifigure with a stud-shooting bowcaster. This set retails for $199.99 and is available at the LEGO Star Wars section of the Online LEGO Shop.
#75354 LEGO STAR WARS CORUSCANT GUARD GUNSHIP: It features 2 pilot cockpits, 2 stud shooters, 2 adjustable cannons, and a handle for flying. The rear hatch and sliding side panel give easy access to the cabin where there is space for troopers. The set also includes 5 minifigures, including Commander Fox, Chancellor Palpatine, and Padmé Amidala. This set retails for $139.99 and is available at the LEGO Star Wars section of the Online LEGO Shop.
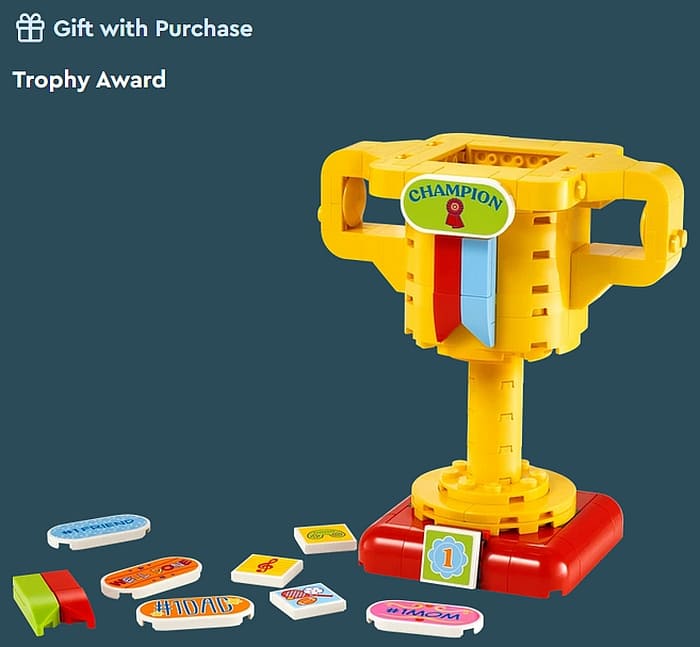
In addition from August 8th – 16th, shoppers will get a free #40588 LEGO Trophy Award with purchases of $85 or more. And remember all the new exclusives released this month! This offer is valid on all purchases at the Online LEGO Shop.
#42172 LEGO TECHNIC MCLAREN P1: Drive your passion for McLaren with this immersive building project packed with authentic details! Build the 7-speed gearbox with shifter drum and V8 piston engine, then test the opening butterfly doors and adjustable rear wing. This set will be a rewarding build for car-lovers and retails for $499.99. Available at the LEGO Technic section of the Online LEGO Shop.

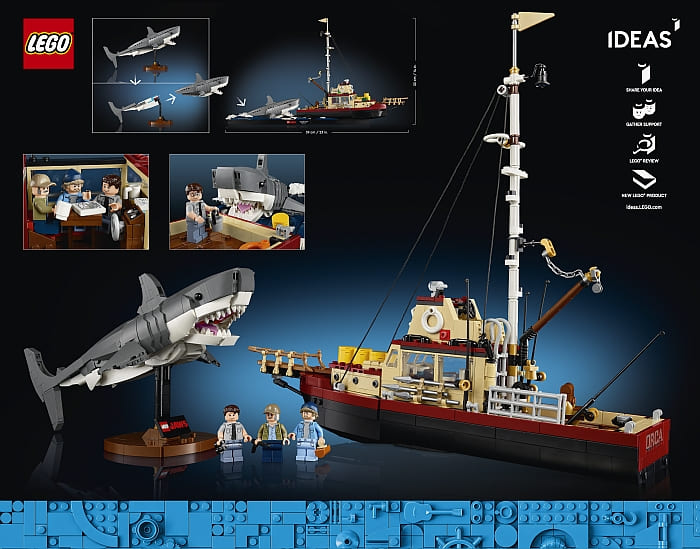
#21350 LEGO IDEAS JAWS: A fun gift for Jaws fans, classic film lovers or movie memorabilia collectors, the set features the Orca boat model, which has a detailed cabin with a removable roof, an adjustable boom and rigging, plus lots of iconic accessories. This set retails for $149.99. Available at the LEGO Ideas section of the Online LEGO Shop.
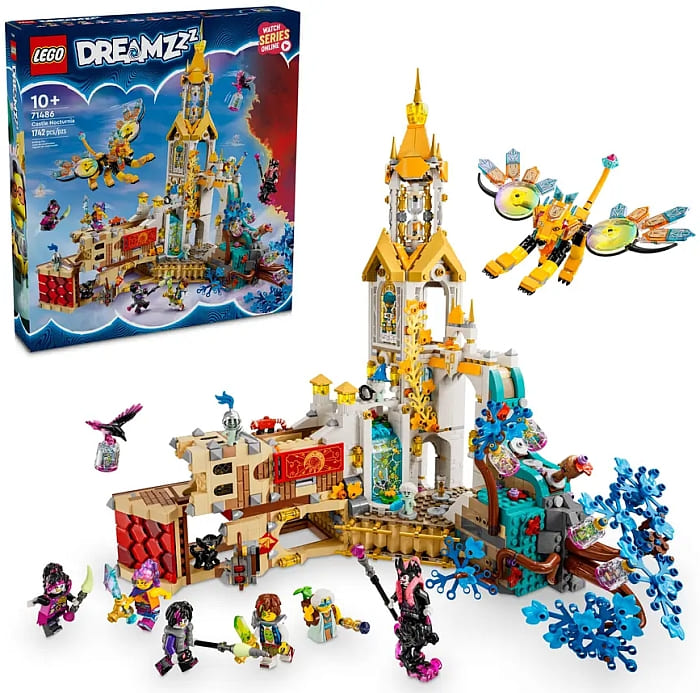
#71486 LEGO DREAMZZZ CASTLE NOCTURNIA: Unleash your creativity and build Castle Nocturnia, an awesome castle inspired by the LEGO DreamZzz TV show. Build the castle, explore its 3 detailed sections, and then defend it against the Never Witch and her nightmare creatures! This set retails for $199.99. Available at the LEGO DreamZzz section of the Online LEGO Shop.
#41838 LEGO TRAVEL MOMENTS: Celebrate exciting family travel moments together! Create the World Wonderliner jet and the world map, then show off favorite mementos and pictures using the photo holders and add the micro-build vehicles and decorative tiles to fully customize the map. This set retails for $149.99. Available at the miscellaneous items section of the Online LEGO Shop.

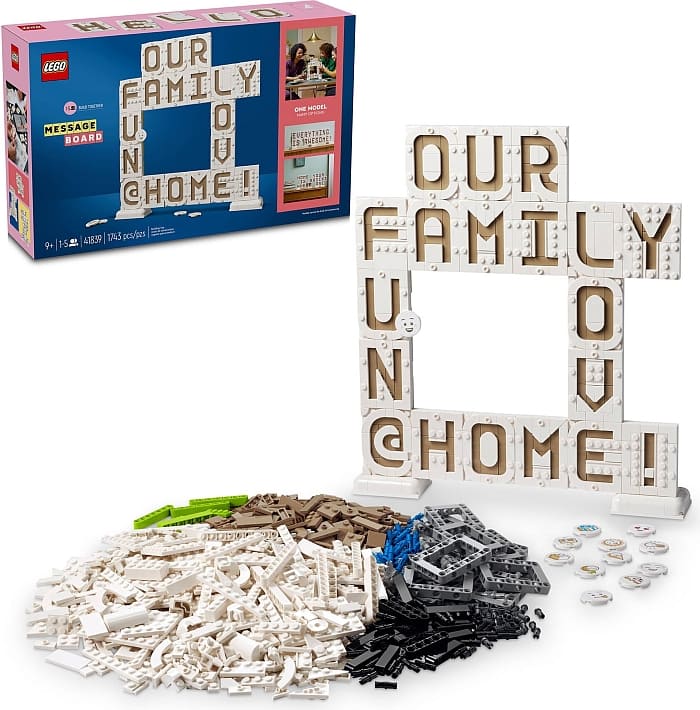
#41839 LEGO MESSAGE BOARD: Inspire a family tradition of building fun, personal messages with this home decor set featuring a word board with changeable letters and emoji stickers. This set retails for $99.99. Available at the miscellaneous items section of the Online LEGO Shop.
I hope you find something fun to build during these last summer days! What do you think? Do you have any of the above-mentioned sets already? How do you like them? Feel free to share your thoughts and own reviews in the comment section below!
And you might also like to check out the following related posts:
- LEGO Technic McLaren P1 Supercar Press-Release
- LEGO Build Together Sets Encourage Family Time!
- Brick Breakdown: LEGO Hocus Pocus Cottage
- LEGO Milky Way & NASA Space Launch System
- LEGO Transformers Bumblebee Video-Review
- LEGO Ideas JAWS Set with Boat & Shark!
- August 2024 – New LEGO Sets & Promotions
➡ LEGO SHOP IN USA: Online LEGO Shop USA
➡ LEGO SHOP IN CANADA: Online LEGO Shop Canada
➡ LEGO SHOP IN UK: Online LEGO Shop UK
➡ LEGO SHOP AUSTRALIA: Online LEGO Shop Australia