If you collect the LEGO minifigure series, or even if you just have a large collection of minifigs from various themes, sooner or later you will ask yourself the question; what is the best way to store them and display them?
Of course there are many great LEGO storage solutions; from simple storage boxes, to advanced storage systems, and we talked about these before in the Care & Feed of LEGO section. However most likely you wouldn’t just want to keep your minifigures hidden away in a storage box, but would like to have them on display.
Ideally, the best solution would serve the dual purpose of both showcasing and protecting your most cherished LEGO minifigures. Below I will show you some LEGO storage and display ideas LEGO-fans came up with for their minifigures. Also, there are some LEGO storage solutions provided by LEGO for minifigure displays, and I will show you those as well.
➡ LEGO-BUILT MINIFIGURE DISPLAY SOLUTIONS:
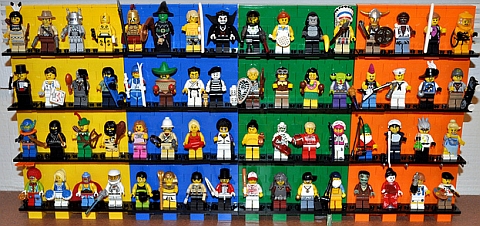
One way to display your LEGO minifigures is to build them a simple display-stand from LEGO bricks. The nice feature of the display-stand made by Doctor Mobius (see below – click image to enlarge) is that he used the package-color for each of the collectible minifigure series as the color of the background – yellow for Series One, blue for Series Two, etc.
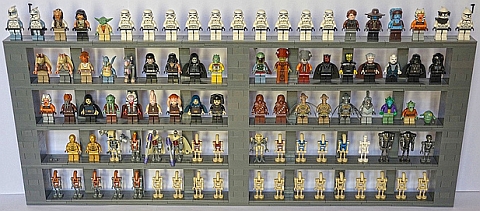
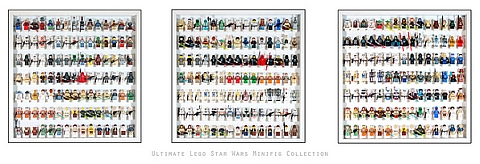
Here is another brick-built LEGO display by Lukas Sogor. He uses a similar brick-built technique for displaying his LEGO Star Wars minifigures.
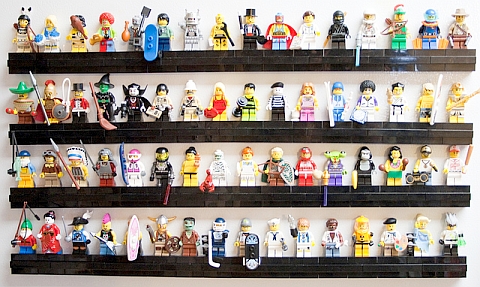
And here LEGO magnets are used (readily available from the magnet sets) to display minifigures on a metal surface (i.e. refrigerator door):
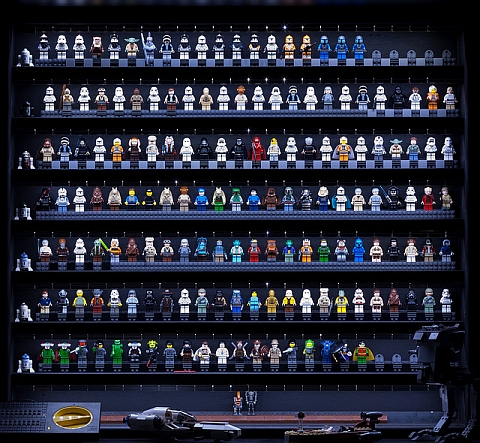
This last picture is from Ernesto Carrillo, displaying his LEGO Star Wars minifigures. He also uses the LEGO magnets, as well as small LED lights (available on eBay: see here) to build the ultimate LEGO Star Wars minifigure storage and display case.
The benefit of a LEGO brick-built display case is that you can always expand it or change it according to your needs, and build it in any shape, size and color you want. I also like the open design which makes the minifigures easily accessible for playtime. The downside is that you would need to dust of your collection from time to time. Although I’m sure you could add some LEGO windows or clear doors if you really want.
➡ CLOSED LEGO MINIFIGURE DISPLAY SOLUTIONS:
You can also use display-cases from other hobbies that work quite well for LEGO minifigures. For example take a look at these cheap, but very nice wooden boxes originally made for displaying coffee-pads. 🙄
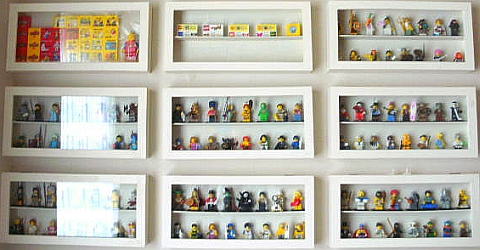
Here is another nice LEGO minifigure storage solution using IKEA display-cases, some LEGO bricks, and a little glue. (Click image for larger view.)
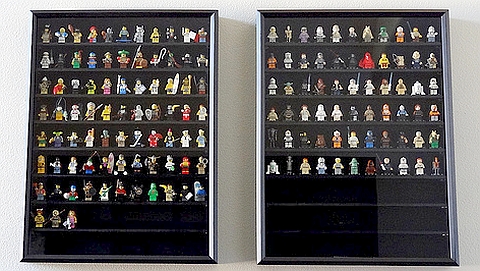
And how about this one; using a golf-ball display-case! This cabinet is available on Amazon.com in black, cherry, oak and walnut finishes. Here is the link: 49 Golf Ball Display Case Cabinet Holder Rack w/ UV Protection
The benefit of closed display cases is that they will protect your LEGO collection from dust (also, as you see on the golf-ball cabinet, it even protects your minifigures from UV rays!). And if you get the right kind of display-case, you should still have easy access to your minifigs by simply opening a door. The downside of these display-cases is that their shape and size is fixed, so it is a good idea to do a bit of thinking ahead before making a purchase. It would also be smart to buy several of the cases at one time if you think that your collection will grow – this way you can ensure that you will have them available when you need them.
💡 If you are handy with tools you can make your own LEGO storage and display case. Here is a nice tutorial on how to make one: How to Make a LEGO Minifigure Display Case.
➡ LEGO-BRAND MINIFIGURE DISPLAY SOLUTIONS:
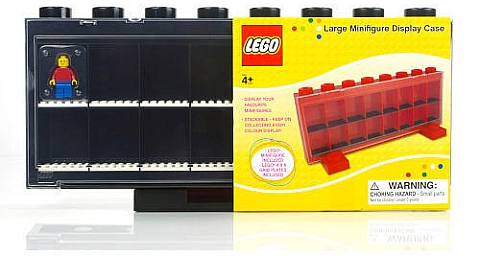
Recently LEGO also came out with their own LEGO minifigure storage and display cases. They come in several sizes and colors, they are stackable, and provide a wonderful solution to display your collectible LEGO minifigures and other minifigs. The best prices for these are on Amazon.com. See here: Lego Minifigure Storage Case
So what is your LEGO minifigure storage and display solution? Do you use one of the methods mentioned above, or something entirely different? If you like, you can share your own LEGO minifigure storage and display ideas in the comment section below. 😉
You might also want to check out the Care & Feed of LEGO section for other LEGO storage solutions, or just pick from the posts below:


