LEGO is currently running a Double Points period, lasting until January 24th. This is a great time to pick up some of the new LEGO sets from your wish list as the offer is valid on all purchases at official LEGO stores and the Online LEGO Shop.
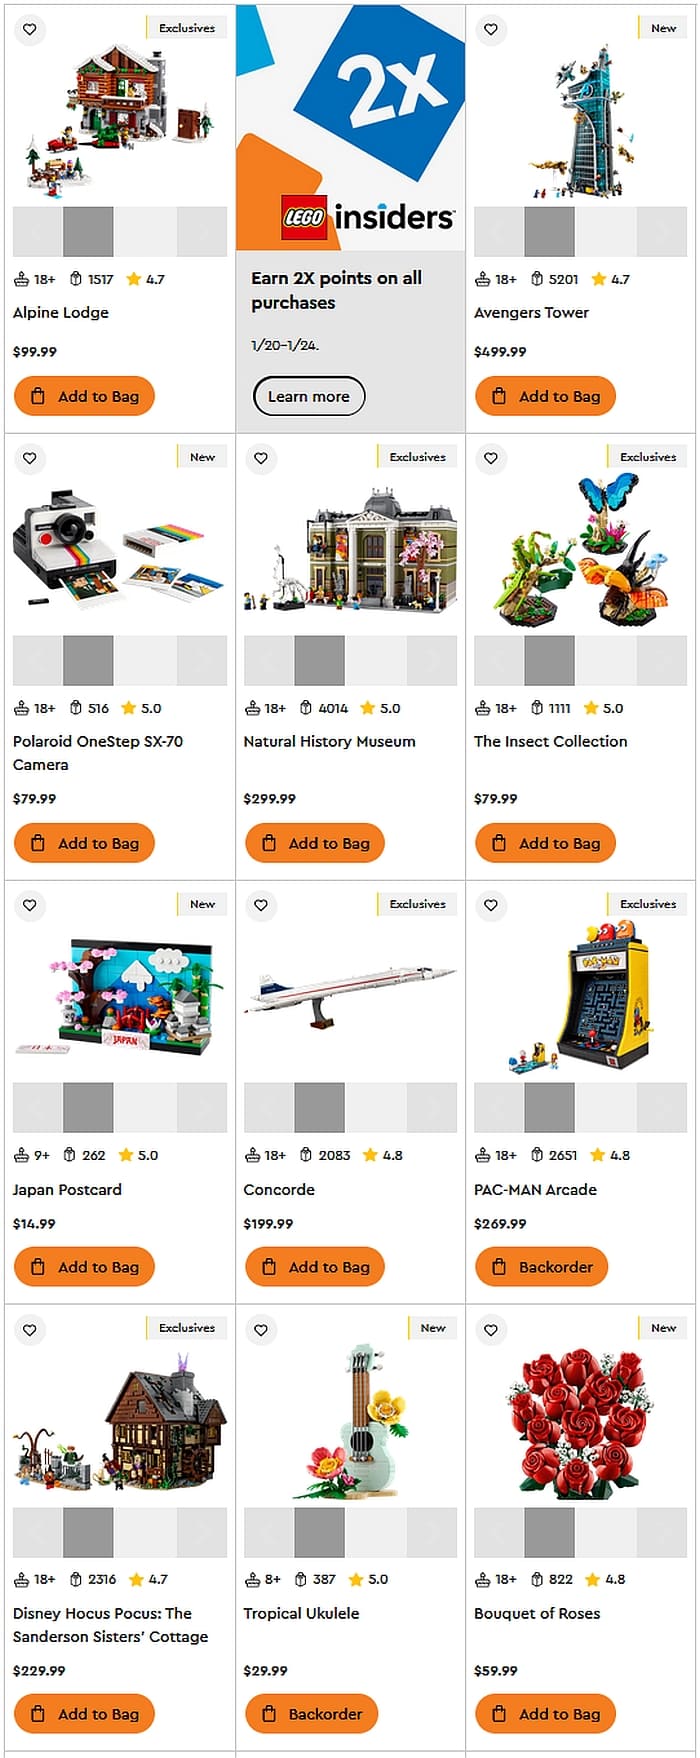
Points earned from a purchase in an official LEGO store will be added to your account immediately. For orders placed online or over the phone, your points will only be added within 24 hours once your order has shipped and payment has been made. Offer is not valid at LEGOLAND Parks, LEGOLAND Discovery Centers, LEGO Certified Stores, Target stores, or on Target.com. To see the full list of currently available LEGO sets, visit the Online LEGO Shop.
You will be able to redeem your collected LEGO Insider Points at the LEGO Insiders page for discounts on future LEGO purchases or various other perks. You can visit the LEGO Insiders page for more details.

There is also a freebie available until the end of January. You will get the #40611 LEGO Year of the Dragon set free with purchases of $85 or more. Pick-A-Brick (Standard) orders are not valid for this promotion. One set per household. It cannot be applied to previous purchases. Offer is not valid at LEGOLAND Parks, LEGOLAND Discovery Centers, or LEGO Certified Stores. This offer is also valid at official LEGO stores and the Online LEGO Shop.

What do you think? Are you planning to get anything during the Double Points period, or did you already get some of the new LEGO sets you wanted this year? Feel free to share and discuss in the comment section below!
And you might also like to check out the following related posts: