Here is an interesting press-release from LEGO that was posted a few days ago; the LEGO Group launches BETA ‘Build Together’ experience, a fan-built innovation that provides new ways to physically build LEGO sets together as a group. Details below.

The LEGO Group unveiled a new BETA building experience that will soon be available on the LEGO Building Instructions app, called Build Together. The innovative feature opens a new dimension of interactive building, designed to multiply play value while turning LEGO building into a social, cooperative activity, that both families and friends can enjoy together.
LEGO Fan Dominik Brachmanski from Germany is the mastermind behind the idea, which is now being rolled out globally as a BETA version with the aim of testing and gathering valuable insights on how to optimize this interactive experience before potentially scaling and adding more products. The BETA experience currently supports six LEGO sets (with more to come) and will be available in all languages supported in the LEGO Building Instructions app. The experience is going to be promoted to English-speaking markets only.
“I originally started playing with the idea of a new co-building experience back in 2017, and since pitching it to the LEGO Group in early 2020 it’s been an honor to oversee the many iterations that have helped shape the feature to where it is at now. It’s been a long time coming and I’ve been fully determined to see this project through, but it’s only been possible thanks to support from members of the AFOL community, close friends, and people within the LEGO Group who believed in the idea and contributed to it,” says Dominik Brachmanski, LEGO Fan and Inventor of Build Together.
“There’s a saying: If you want to go fast, go alone. But if you want to go far, go together. I am excited to discover, where the journey will go from here and I hope “Build Together” will entertain and inspire many people out there,” Brachmanski continues.
The experience can cater to a group of players of up to five people. Each builder needs their own smart device, either a phone or tablet with an active data connection to download the Building Instructions app if they don’t already have this installed. The team will need one of the Build Together Enabled SKU’s to connect to a session. Players will then have to scan the QR code on the physical building instructions booklet to join together as a team. Once everyone has joined the session they can start building together!
The Build Together experience personalizes the steps to each connected builder and will continue to give new tasks as soon as they have finished one. During the build, each person will be told to pass a mini build on to one of the other builders for them to then progress the build. In the end, the final model will be exactly the same as if had it been built the traditional way.
“When Dominik shared the idea of enabling LEGO sets to be built together with more people in a new social and engaging way, we immediately thought this was a great invention that we wanted to make available to many more fans. It’s been a pleasure maturing the experience in close collaboration with Dominik who during the development phase provided his technical skills and understanding of the algorithm behind the experience to evolve the concept further with our consumer insights and design support,” says Sisse, Open Innovation Insights Manager, the LEGO Group.
Sisse adds: “Thanks to a strong collaboration with Dominik it’s been a really smooth and fun ride getting to this point, and we can’t wait to see how fans take to this new experience. We hope that the learnings and insights from this BETA will show that there is a real appetite from our fans to scale Build Together.”
The forthcoming holiday season makes for the perfect occasion for friends and families to try the experience out by having fun whilst unlocking essential skills such as collaboration and communication along the way. The BETA will be live from December 13th and fans can read more about the experience here. Here is the list of products supported during BETA:
- #60307 LEGO City Rescue Camp
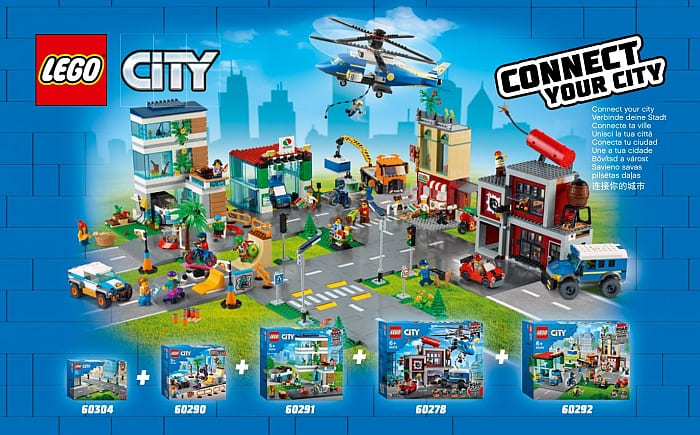
- #60292 LEGO City Town Center
- #60291 LEGO City Family House
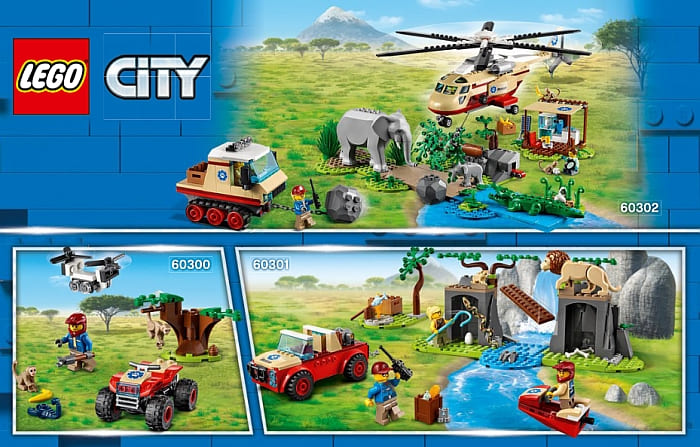
- #60302 LEGO City Wildlife Rescue
- #10270 LEGO Creator Expert Bookshop
- #31097 LEGO Creator 3-in-1 Townhouse Pet Shop & Café
What do you think? How do you like the idea of building together with others using the LEGO Building Together app? Is this something you see yourself using? Feel free to share and discuss in the comment section below!
And you might also like to check out the following related posts: