Back in 2020, the LEGO Ideas team held a contest titled Music to Our Ears. One of the winning entries was the LEGO Legendary Stratocaster by Tomás Letenay (see image below). It originally placed 7th in the fan vote part of the contest, but the LEGO Ideas review board liked it so much they picked it over the other projects to become an official LEGO set.
 Then, at the beginning of September, LEGO revealed the final design of the upcoming set. You can read the press-release here: LEGO Ideas Fender Stratocaster Guitar Coming Soon!


The #21329 LEGO Ideas Fender Stratocaster & 65 Princeton Reverb Amplifier set comes with 1,074 pieces, and it allows you to build the body of the guitar in either red or black. The guitar features a poseable whammy bar, pickup switch and tuning pegs, six strings, Fender logo stickers, and a textile strap. A foldable display stand is included as well. The guitar measures over 14 in. (36 cm) long, 4 in. (11 cm) wide, and 1 in. (3 cm) deep, which is smaller than many LEGO fans expected, but still a nice size display set.

The set comes with twelve sets of numbered bags. The first eight numbered bags contain the parts for the guitar, and the rest are for the amplifier. There are also a couple of sticker sheets. One is with a Fender logo that you can stick anywhere you want, one of the small stickers is for the back of the guitar, and the remaining three are for the amplifier.

All the other decorated elements you see on the guitar are printed. This includes three identical 1×3 white tiles for the pickups, four different brown tiles for the fretboard, and a tan slope printed with the Fender logo for the headstock.

Aligning the strings is a bit finicky, which is kind of like the experience of stringing a real guitar. Once you finish building the neck and part of the body, you need to decide if you want to build the red or black version. You don’t even have to open the bags with the other color if you don’t want to.

The body of the guitar uses various sideways building techniques using slopes to recreate those lovely curves.

The strap for the guitar is made of a textile similar to minifig capes, and is printed with both LEGO studs and the Fender logo.

The buildable amp has removable panels for easy viewing of the motherboard, reverb tank, speaker, and other interior details, plus rubber cables to connect it to the guitar and footswitch. It looks fantastic!

An interesting feature of the amp is the technique of wedging small tiles between studs, which was previously considered an “illegal technique”, putting stress on the elements.

Of course, the guitar cannot be played for real, but it does make a nice display, and the interchangeable body provides some customization options. This set may not appeal to LEGO fans that prefer more interactive sets, but I believe collectors will appreciate it. Especially those who have an interest in both music and LEGO.
The price of the #21329 LEGO Ideas Fender Stratocaster is $99.99, which feels about right for such a unique novelty item. If you’re interested, you can purchase it starting on October 1st at the LEGO Ideas section of the Online LEGO Shop.

Something else that’s interesting is that shortly after LEGO announced that they were going to make this project into a LEGO set, Mega Construx announced that they were going to release their own Fender Stratocaster set. It appears that Fender collaborated with the two companies right at the same time!
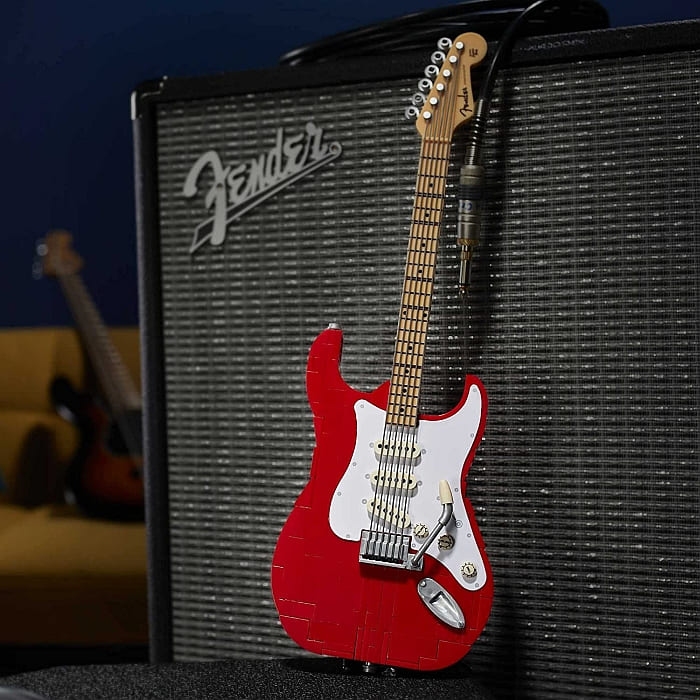
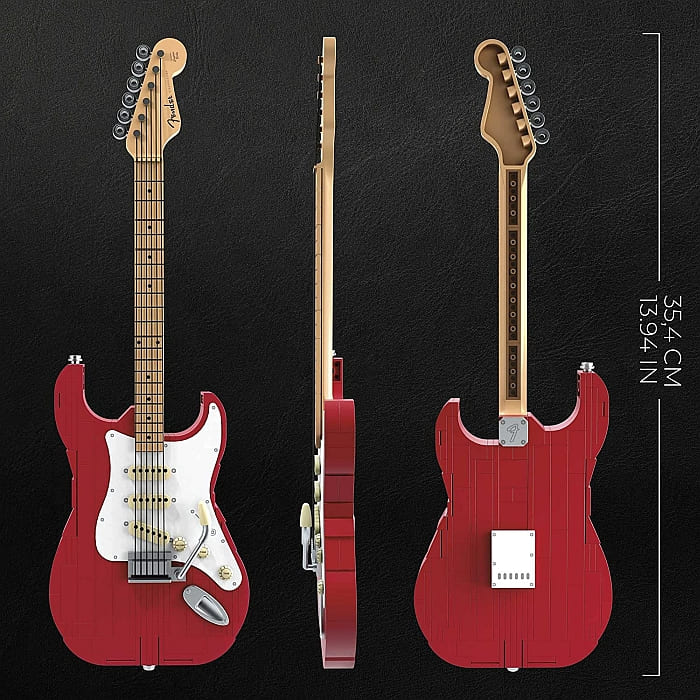
The Mega version of the guitar is also 14 inches long, but it comes with a lot less parts as many of the elements are specialized larger pieces. Still, at least the body is brick-built, and it’s interesting to compare the building techniques and the parts used in the two models.

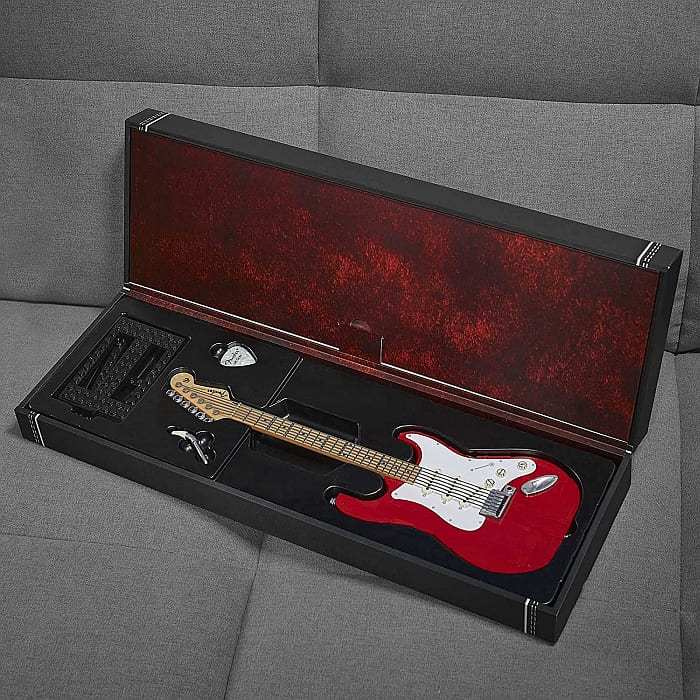
All the decorated parts you see in the Mega version are printed, and the set also comes with a real Fender guitar pick, and a foldable brick-built display stand. The set’s box doubles as a really nice carry-case with moulded areas for the guitar, the accessories, and the instruction booklet. In the video below, JANGBRiCKS will show you this set in detail.
If you’re a collector, you might consider picking up both sets just because it’s such an interesting historical fact that two rival companies made the same model at the same time. The Mega Construx Stratocaster is usually available on Amazon for about half price as the LEGO version. You can find it here: MEGA CONSTRUX FENDER STRATOCASTER ON AMAZON
What do you think? How do you like the LEGO Fender Stratocaster? And what do you think of the Mega Construx version? Which one do you prefer? Are you planning to get either of them? Or both? Feel free to share your thoughts and discuss in the comment section below!
And you might also like to check out the following related posts: