November is the beginning of the Christmas shopping season leading up to Thanksgiving and the weekend of Black Friday. According to the November LEGO Store Calendar, LEGO is offering a couple of new freebies, and we should be getting even more promotional offers later in the month. Also, several new sets just became available, so we will talk about those as well.
➡ FREE LEGO HIDDEN SIDE SET: This promotion started at the end of last month and expires today, November 1st. You get a free #30464 LEGO Hidden Side El Fuego’s Stunt Cannon with purchases of $35 or more. This offer is valid on all items at official LEGO stores and the Online LEGO Shop.

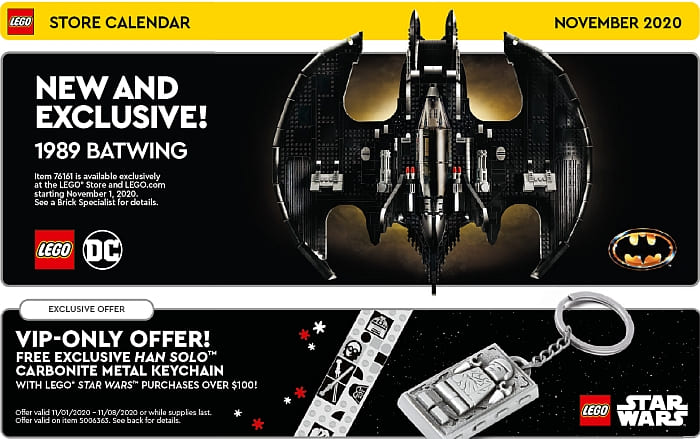
➡ FREE LEGO STAR WARS KEYCHAIN: From today until November 8th, you get a free #5006363 LEGO Han Solo Carbonite Metal Keychain with LEGO Star Wars purchases of $100 or more. This offer is valid at official LEGO stores and the LEGO Star Wars section of the Online LEGO Shop.
➡ LEGO BLACK FRIDAY PROMOTIONS: The details of the Black Friday promotions (November 27-30) are not yet known, but if they are like in previous years, we should be getting freebies and discounts. We will talk about this event more when information becomes available. One of the promotional items is likely going to be the really nice #40410 LEGO Seasonal Charles Dickens Tribute set pictured below.

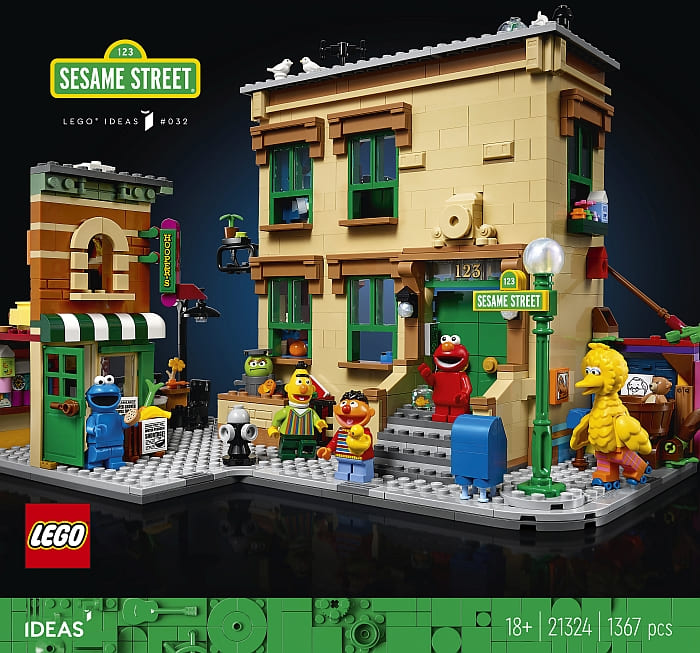
➡ LEGO SESAME STREET SET NOW AVAILABLE: The #21324 LEGO Ideas 123 Sesame Street set is now available! We talked about this set in detail in the press-release (see: LEGO Ideas Sesame Street Coming Soon!) It features Bert and Ernie’s apartment, Elmo’s bedroom and Bert’s rooftop bird house, and is packed with authentic details and accessories to delight fans. To complete the iconic street corner scene, there is Hooper’s Store, Big Bird’s nest, Oscar the Grouch’s trashcan, and much more. Characters include Elmo, Cookie Monster, Bert, Ernie, Oscar the Grouch, and Big Bird. Comes with 1,367 pieces. Price: $119.99. Available at the LEGO Ideas section of the Online LEGO Shop.
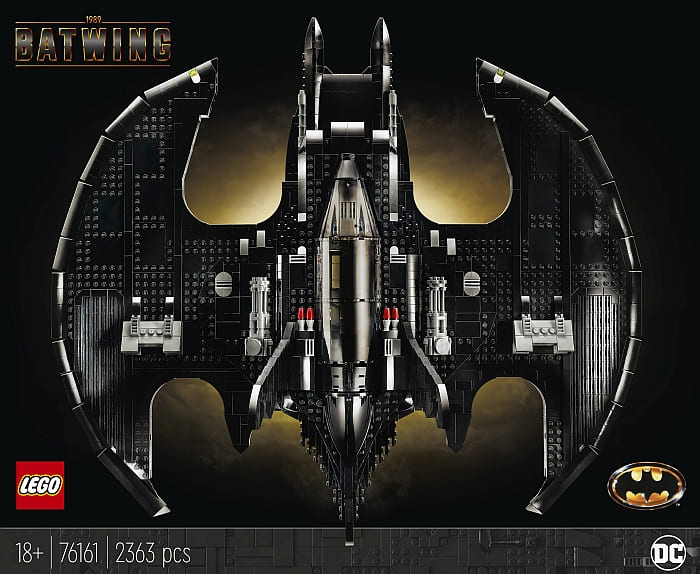
➡ LEGO 1989 BATWING NOW AVAILABLE: The recently announced #76161 LEGO DC Super Heroes 1989 Batwing is now available for everyone, not just LEGO VIP members. You can read the press-release for more info: LEGO DC Batman 1989 Batwing Coming! This set is super popular already and is going in and out of stock, so if you want it before Christmas, get it as soon as possible. It’s available at the LEGO Batman section of the Online LEGO Shop.
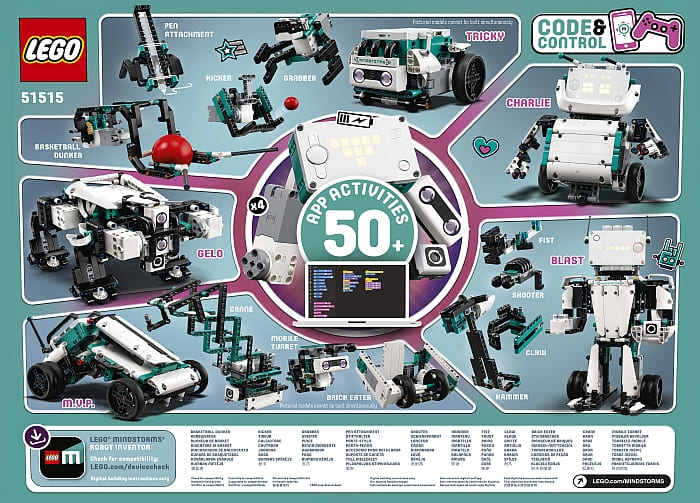
➡ LEGO MINDSTORMS ROBOT INVENTOR NOW AVAILABLE: The completely redesigned, upgraded, and refreshed LEGO MINDSTORMS system with the #51515 LEGO MINDSTORMS Robot Inventor 5-in-1 Set is now available. You can read more about this set in the press-release that was published back in June: LEGO MINDSTORMS Robot Inventor 5-in-1 Set Coming! And you can purchase the set at the LEGO MINDSTORMS section of the Online LEGO Shop.
➡ NEW LEGO WINTER VILLAGE SET AVAILABLE: Although released at the end of September, I thought to mention again that the #10275 LEGO Creator Expert Elf Clubhouse, the latest in the LEGO Winter Village series, is now available, along with the #10267 LEGO Creator Expert Gingerbread House from last year. There are also a number of other really nice holiday items, like the #40426 LEGO Christmas Wreath 2-in-1 set, a couple of small Christmas Ornament sets you can hang on your Christmas tree, and the #40425 LEGO BrickHeadz Nutcracker. You can find them all at the seasonal section of the Online LEGO Shop.

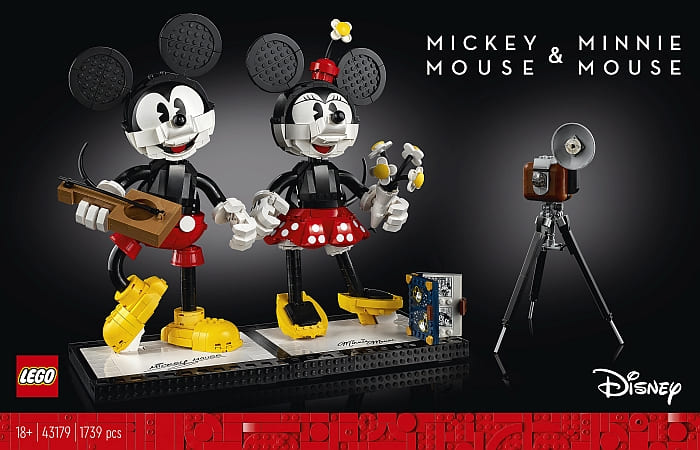
Besides the new sets and promotions mentioned here, remember that there are many other new sets that were released in the past couple of months, including the #75290 LEGO Star Wars Mos Eisley Cantina, the #75978 LEGO Harry Potter Diagon Alley set, the #21323 LEGO Ideas Playable Piano, the #71374 LEGO Nintendo Entertainment System, the #43179 LEGO Mickey Mouse & Minnie Mouse Buildable Characters, the four new LEGO Art mosaics, and many new sets under LEGO Batman, LEGO City, LEGO Creator 3-in-1, LEGO Disney, LEGO Friends, LEGO Harry Potter, LEGO Hidden Side, LEGO Iron Man, LEGO Monkie Kid, LEGO Ninjago, LEGO Star Wars, LEGO Super Mario, LEGO Technic, and LEGO Trolls. To see the full list visit the new items section of the Online LEGO Shop.


What do you think? Which new sets are you most excited about? Are you planning to get anything this month? Feel free to share and discuss in the comment section below!

And you might also like to check out the following related posts:
- LEGO MINDSTORMS Robot Inventor 5-in-1 Set Coming!
- LEGO Winter Village Elf Clubhouse Press-Release
- LEGO Star Wars Mos Eisley Cantina Press-Release
- LEGO Star Wars The Child Now Available for Pre-Order
- LEGO DC Batman 1989 Batwing Coming!
- LEGO and IKEA Storage Solution Press-Release
- LEGO x Levi’s Co-Branded Products Press-Release
- LEGO Harry Potter Diagon Alley Review – Part 1
- LEGO Harry Potter Diagon Alley Review – Part 2
- LEGO Ideas Gran Piano Press-Release
- LEGO Nintendo Entertainment System Press-Release
➡ LEGO SHOP IN USA: Online LEGO Shop USA
➡ LEGO SHOP IN CANADA: Online LEGO Shop Canada
➡ LEGO SHOP IN UK: Online LEGO Shop UK