You ain’t afraid of no ghost? Well, the LEGO ideas team is asking LEGO fans to build scary, spooky, or disgusting ghosts that the Ghostbusters can catch and keep everyone safe from. Fun contest, great prizes. Details below.

The contest will consist of 3 phases: 1.) Submission Phase – Build and submit your entry before December 17th, 2020 at 6:00 a.m. EST. 2.) Judging Phase – The LEGO Ideas judges review the entries and choose the winners by January 5th, 2021. 3.) Winners entries will be shared on LEGO Ideas no later than January 12th, 2021.

If you would like to enter, here are some pointers: Submissions may be in either physical bricks or by using a digital building tool such as LEGO Digital Designer. You’re welcome to use image editing tools, such as Photoshop, to enhance your photos/presentation. You are also welcome to draw your designs physically or digitally. Videos in your submissions are also accepted. Once you’re ready, take up to five photos of your creation and submit them to the contest. Make sure to show off all angles and any features or functions of your creation. Add a title and description, and upload your entry to the contest using the blue Submit Your Entry button on the contest page.
The usual contest rules apply, but there are also some rules that are specific to this contest. For example, your drawing entries should have a LEGO element style, meaning that there must be brick type elements featured in your design. And that entries can only reference Ghostbusters and should not contain copies or references to any other existing third-party work or creation or infringements of any third-party intellectual property. And remember that this is a contest for teen and adult LEGO fans, so you must be at least 13 years of age to participate and enter. You can read the rest of the rules on the contest page.
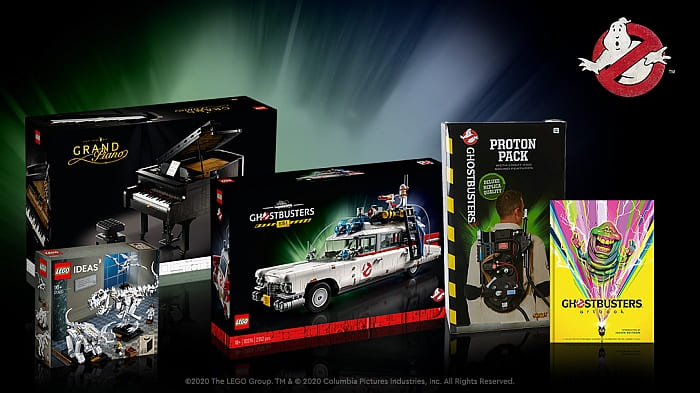
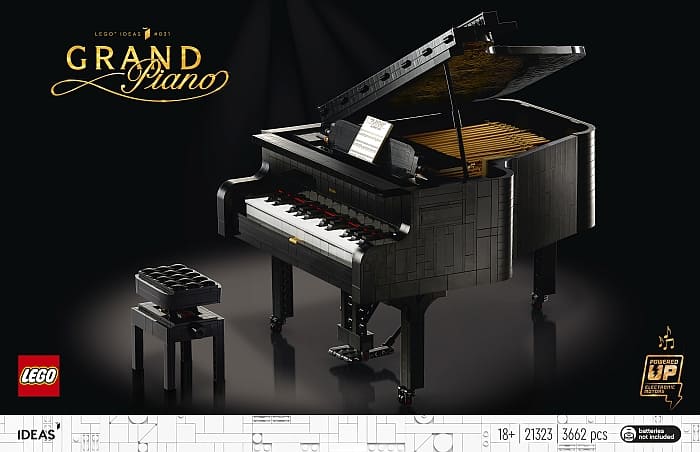
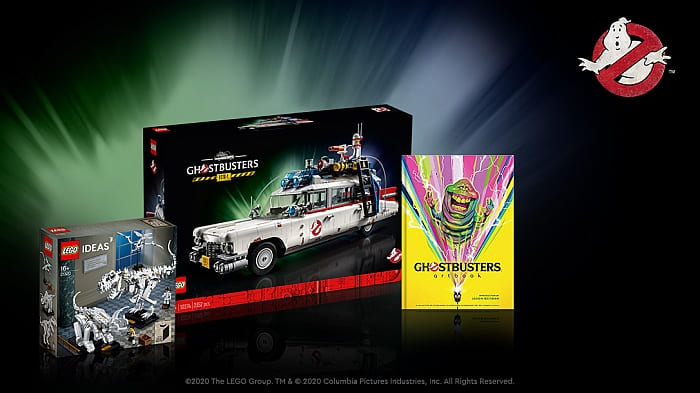
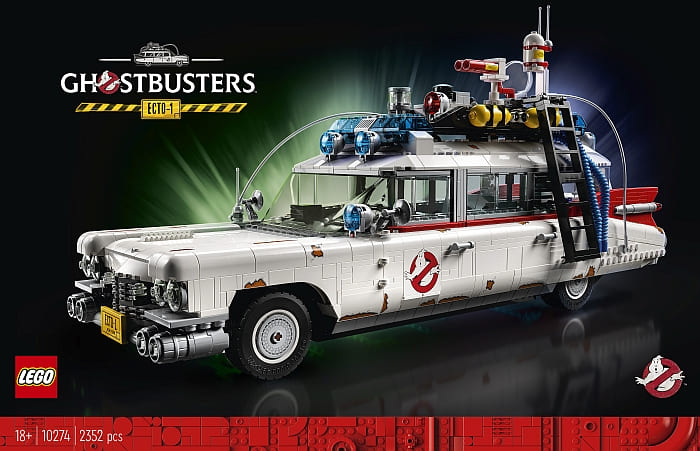
The grand prize winner will receive the following: #10274 LEGO Ghostbusters Ecto-1, #21323 LEGO Ideas Piano, #21320 LEGO Ideas Dinosaur Fossils, and a Ghostbusters prize package. Two runner-up winners will receive the following: #10274 LEGO Ghostbusters Ecto-1, #21320 LEGO Ideas Dinosaur Fossils, and a Ghostbusters prize package.
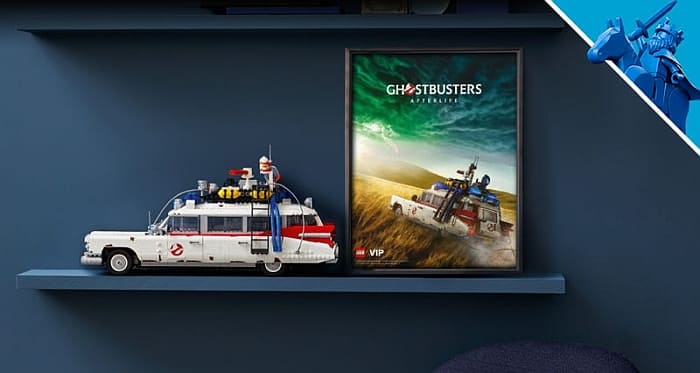
What do you think? Do you have any ideas for a cool Ghostbusters build? And are you planning to enter the contest? Feel free to share and discuss in the comment section below! And if you haven’t done so already, you can also look at the newly released LEGO Ghostbusters Ecto-1 set at the LEGO Creator Expert section of the Online LEGO Shop.
And you might also like to check out the following related posts: