(Written by Geneva – gid617)
The largest LEGO Ideas set to date, the #21318 LEGO Ideas Tree House had me excited ever since the project reached 10,000 supporters. Tree houses are one of my favorite things (in fact, I built myself a tree house years ago) so seeing an official LEGO tree house at this scale is awesome! To me, this set is what LEGO Ideas is all about; concepts that are too specific to base a whole theme on, but completely worth doing as standalones.
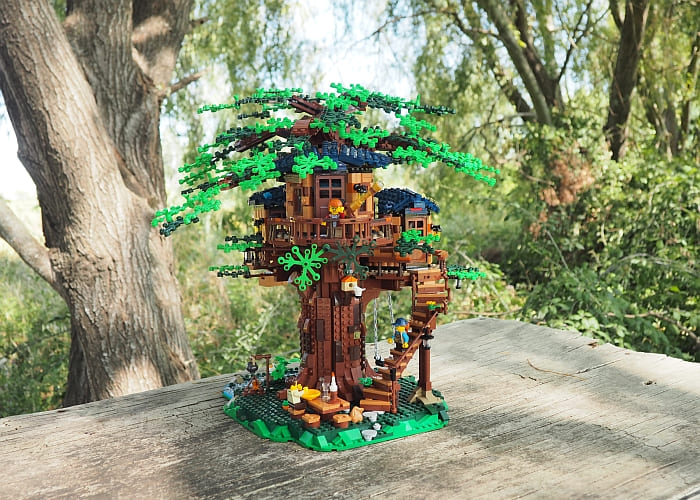
The amazing thing about the LEGO Ideas Tree House is that it comes with an extra set of leaves, so you can change from summer to fall foliage. I have a very slight preference for the green leaves, but in any case, this set is a goldmine of foliage elements – especially useful if you enjoy building your own trees.
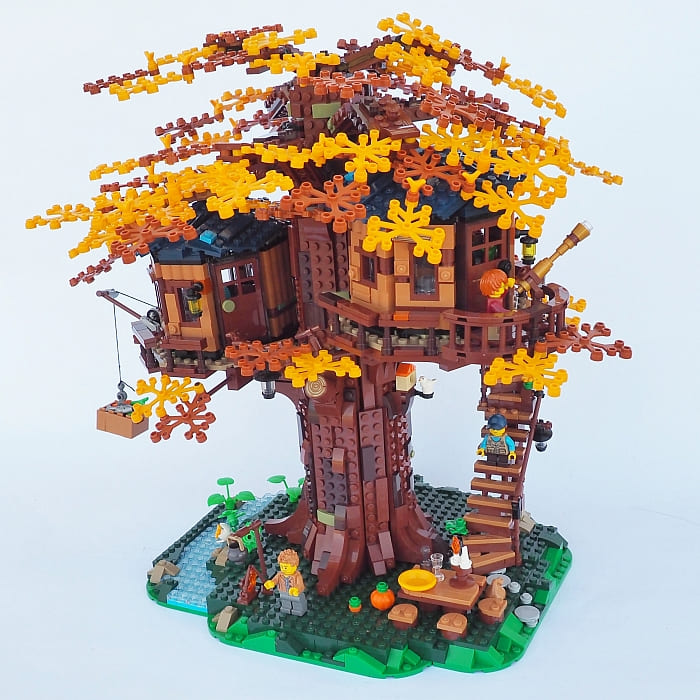
Another unique aspect of the LEGO Ideas Tree House is that this is the first big set that utilizes the new Plants from Plants initiative; softer botanical elements made from plant-based plastic. These pieces seem just as durable and high quality as the usual LEGO leaf elements. The greens and yellows match previously released leaf elements in the same color well, but I found the dark-orange leaves a little darker than the earlier ones. (In the image below, you can see the earlier dark-orange leaves on the left, and the LEGO Ideas Tree House dark-orange leaf on the right.)

The LEGO Ideas Tree House is surprisingly sturdy, with only a couple of leaves showing any tendency toward falling off when the set is moved. The tree is very safe to grab by the trunk; I carried it all the way out to our own little tree fort this way in order to take some in-situ pictures.
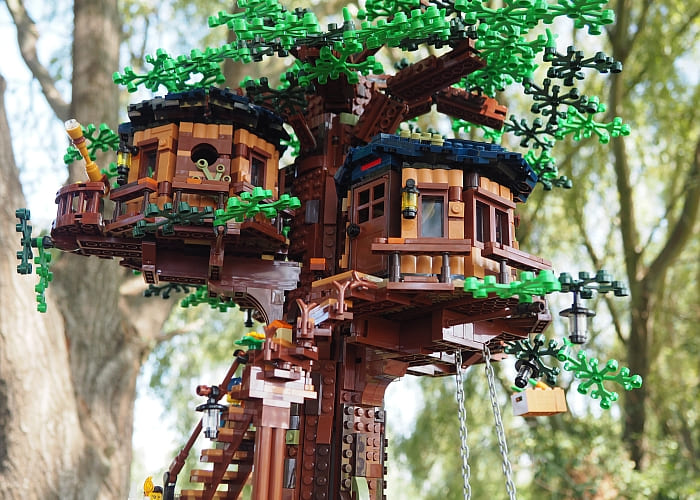
Another great thing about the LEGO Ideas Tree House is that it’s fun to view from all angles. Many LEGO sets have a minimal level of detail around the back, but not this one!
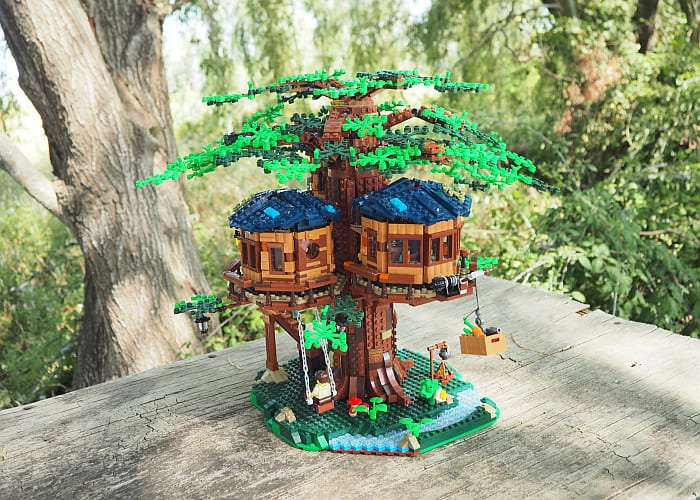
As you can see from these pictures, there’s a very satisfying amount of leaves on the tree. I don’t understand why the tree wasn’t showcased better on the official pictures; to me, those pictures all give the impression of a very sparse and unrealistic-looking canopy. In person, it looks much better.
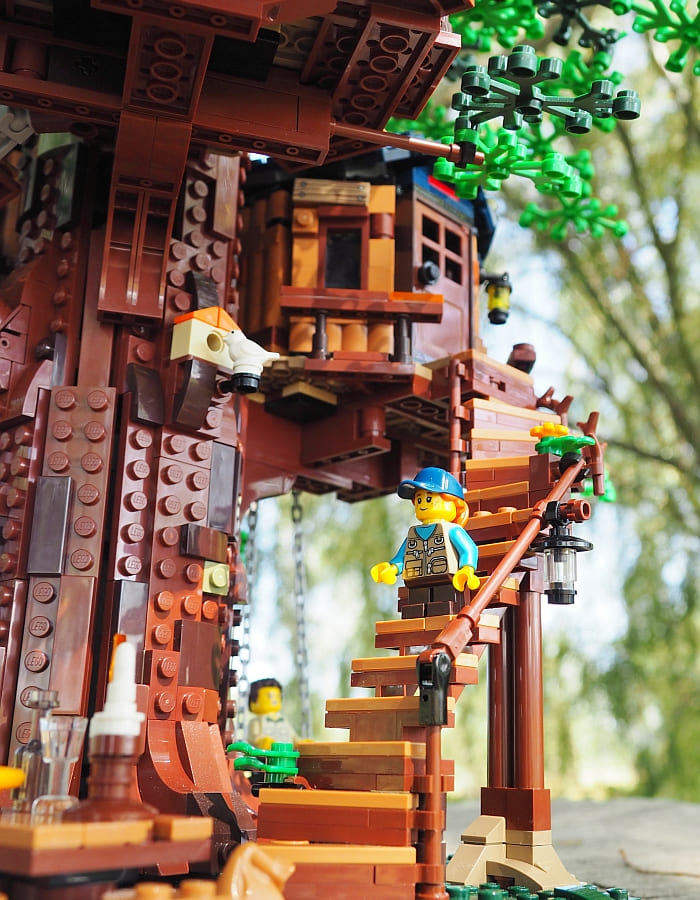
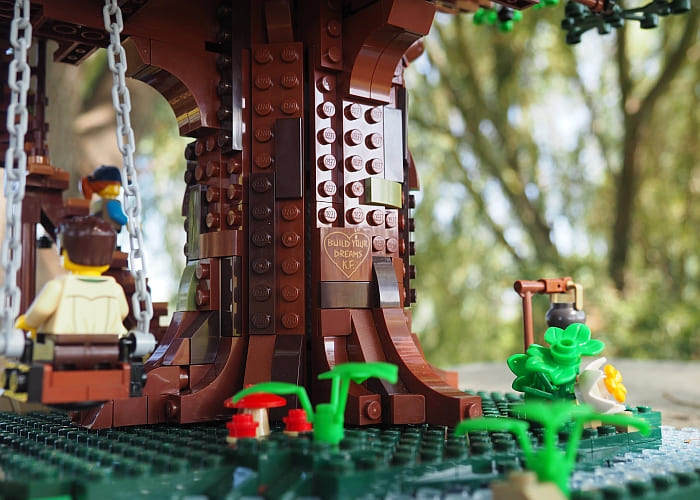
There are also lots of fun details in the LEGO Ideas Tree House, like the curved slope with “Build Your Dreams” and the fan designer’s initials printed on it.
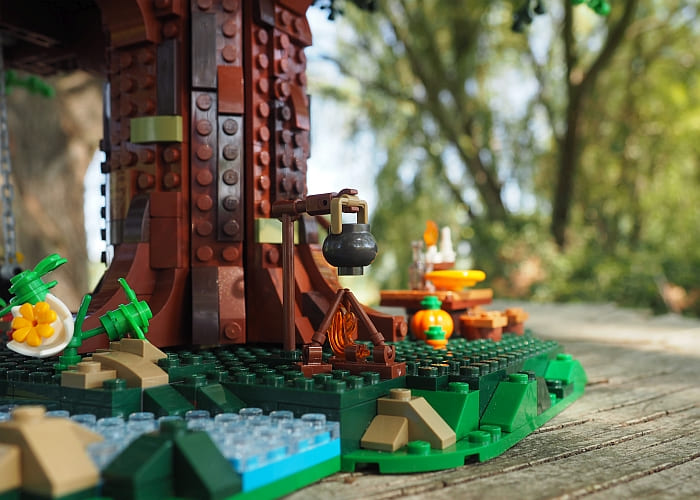
The details aren’t confined to ground level; each of the three cabins are equipped with a full interior. One is a children’s room with a bunk bed, another a bathroom, and the third the master bedroom. Each one makes full use of the available space with some creative building techniques for the furniture. The interiors are easily accessible since not only do the roofs come off but so does the canopy.
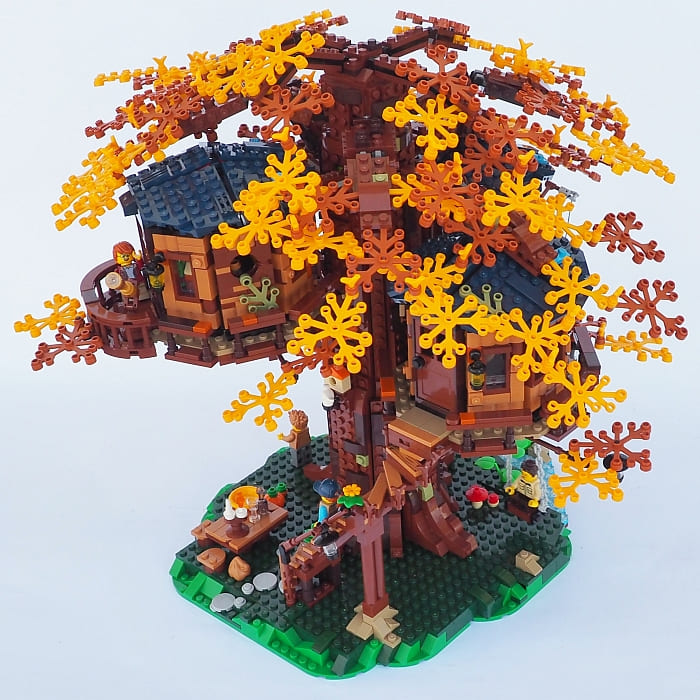
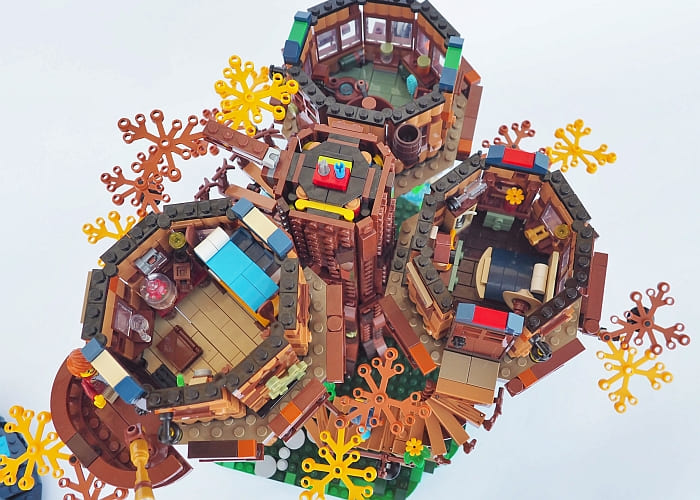 Changing from summer to fall leaves is not difficult and only a little tedious. You won’t want to be making the switch every day, but it only took me about ten minutes.

I think the fall leaves look a little sparser than the green. But they certainly make the set pop!
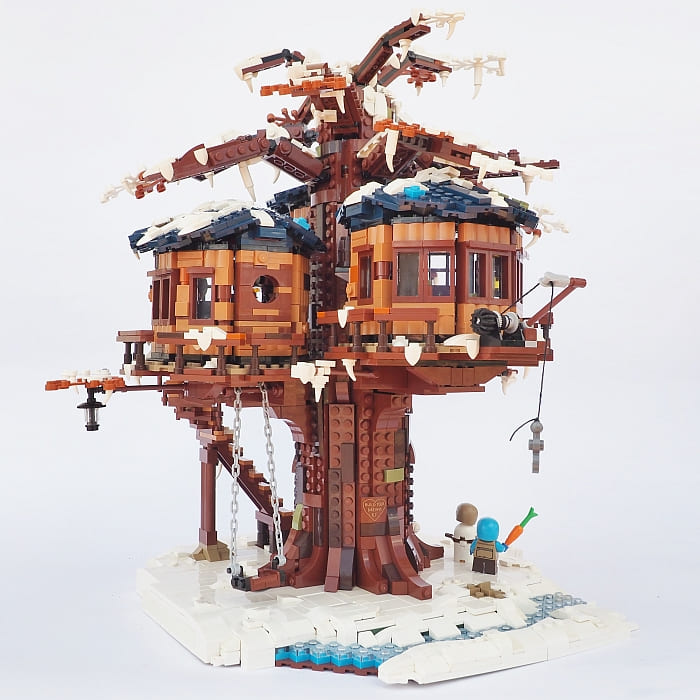
That’s it as far as my thoughts on the official set, but I also wanted to see how hard it would be to give the tree house a winter look. My brother has about a dozen white leaves so I ran off with them, used a few of the dark-orange leaves that were included in the set, as well as loads of my own white tiles, slopes, and horn/teeth pieces. I’ve never used candles for icicles before but they worked well here. If you build snowscapes, make a note of it!
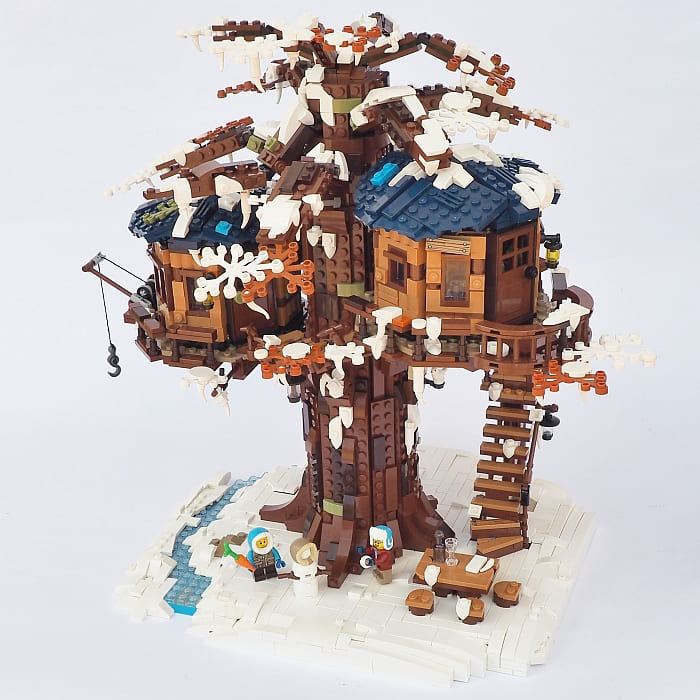 It probably took me three or four hours to make the necessary changes to turn the set into a winter scene. Of course, a tree house isn’t the best place to spend your winters, so I imagine the family has a winter home somewhere and just comes here on a sunny afternoon to play!
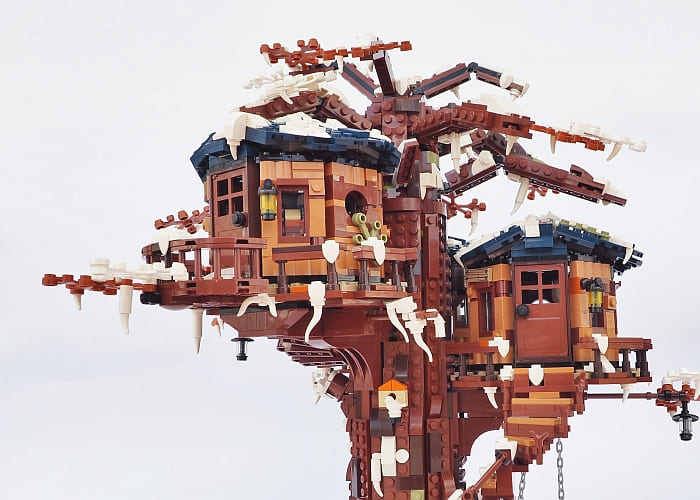
Unlike the summer and fall versions of the LEGO Ideas Tree House, I think the winter tree looks best from a low angle.
If you’ve been looking at this #21318 LEGO Ideas Tree House set and aren’t sure whether to get it or not, I highly recommend it. It’s a beautiful, eye-catching piece with an impressive parts count, great play-value, a fun building experience, and lots of customizing potential. Speaking of customizing… I was just wetting my feet with the winter tree – there’s more coming! 😀
What do you think? How do you like the LEGO Ideas Tree House? Do you enjoy the fact that it has two colors of foliage? Should LEGO offer these kinds of customizing options more often? If you’ve built the set already, were you impressed by the techniques and sturdiness of the final build? What do you think about the idea of a winter version? Feel free to share your thoughts in the comments section below!
And you might also like to check out these related posts:


