(Written by William)
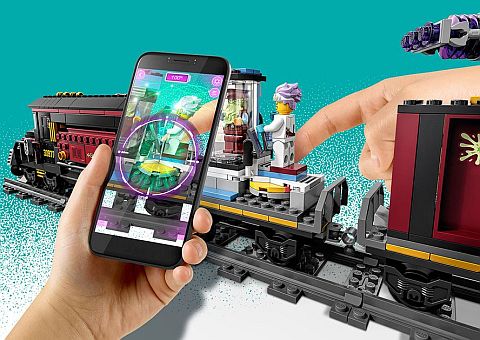
Riding the high from the #70425 LEGO Hidden Side Newbury Haunted High School set we reviewed last week (Brick Breakdown: LEGO Haunted High School), I was eager to build the #70424 LEGO Hidden Side Ghost Train Express. As I mentioned in the previous review, I don’t have a compatible device for the LEGO Hidden Side app, but I firmly believe the sets are good enough on their own without the added digital play. And this is mostly true for the LEGO Hidden Side Ghost Train Express as well. I must admit that once I got past building the engine, the rest of the train felt a bit lackluster. Also, there is not a whole lot of track to play with. So, LEGO train fans might be disappointed. But still, the engine really sells this set for me, and the play features of the station and the cars are also decent.

As far as the engine, the set designers not only modeled the engine off of a less common train, but they managed to hide some very awesome play features. Opening the train’s mouth and flipping out the wings will more than likely occupy much of your playtime. I know it did for me. In fact, I like the feature so much that we will be focusing on that single building technique today. First, you can watch the video-review below where I share a bit more about the set overall, then, prepare to be toggled when we discuss the techniques further below.
TOGGLE STATES WITH LEGO
Most of the action elements in this set can be attributed to some form of toggling. The nice thing is that this is done on multiple levels and with a variety of complexities, so the set makes a great example for this technique.
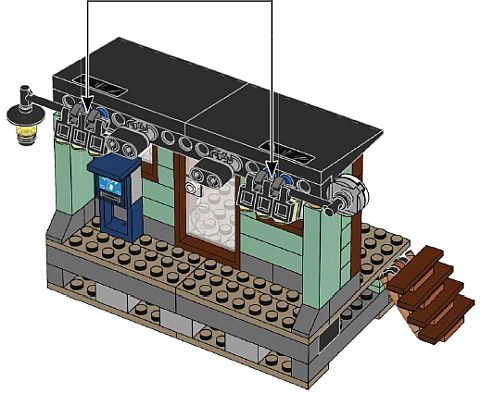
For starters, we need to begin at the simplest form of toggling which is between states. Truth be told, you can have multiple states to toggle between, however in the case of most LEGO creations, you typically only toggle between two states. This is best represented by the station’s sign. One state is the sign itself. The other state is the monstrous face that appears. Each of these versions appear when the mechanism is moved to one of its locked positions. Or in other words, this is a position where it can naturally sit and stay.
Finding positions in which a model can lock in place is extremely useful when determining your own toggled states. This is also a good point in determining how a model should move. Moving from one state to the next should involve a clever twist, slide, push, or pull, to change the state. If you stop here, you could consider your work done. This covers the most important part of toggling, but since we’re here, let’s move on to toggle switches.
TOGGLE SWITCHES WITH LEGO
Just like states, switches are equally simple to understand. The whole point of a switch is that it allows you to move something other than the states of the model that are changing. A great example of this is the lamp and clock on the station. With a small twist, the claws on the edge of the roof appear. Technically the clock and lamp have nothing to do with the claws from a story point of view. They are merely convenient extensions to activate the given feature.
And, at its most basic level, that’s what a toggle switch is. You just need to figure out how to extend contact with the thing you want to toggle and how it should look. In this case, LEGO designers went with a rather decorative switch look. Keep in mind that might not always be necessary to do. In fact, the train engine has two toggle switches. One is a thin lift-arm while the other actually looks like a switch. Again, if you stop here you’d probably have a pretty sweet creation already, but toggle switches can do so much more.
TOGGLING SECONDARY EFFECTS WITH LEGO
Here’s where things get tricky. You know what you want your states to be and you created a switch to activate that change, but now you can really play with how it all should look like when it works. This level of nuance is what can turn a good toggled mechanism into a great one.
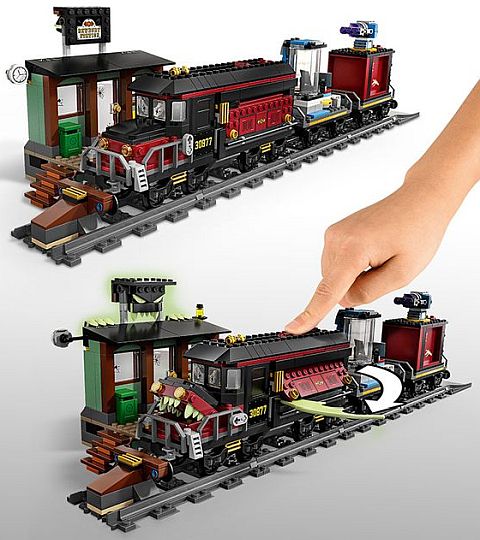
Often a good start for creating secondary effects is to make the action look like something familiar in nature. This gives the creation an organic feel, which tends to resonate more with people. For an example of the opposite of what I mean, just look at the sign and claws. The way they appear is more sudden which gives them a stilted impression. On the other hand, the train engine bares its teeth by opening like a mouth. Additionally, its wings spread themselves out from the body. Both look extremely natural even though they are on a train and not an animal.
Essentially all you are doing is defining how the action should behave. The hard part is not to over-design your mechanism. Let’s start by examining the mouth. The idea is that it opens up to reveal the teeth. So the way it’s done is by having a hinge with a bit of space near the trigger. Then you just put something in the way of the mouth so it forces it to tilt upwards. And that’s it, you have now added an effect to your toggled state.
The wings are a little more involved. In addition to the switch, the wings themselves will need to hinge outward. So this is built separate from the switch. Once this is done, the question becomes, what is the best way to connect the switch while absorbing rotating motions and splitting the effect? After all, you have two wings and they each need to be controlled a little differently from one another. Turns out using a basic LEGO Technic link with ball-joints can do this quite easily. In fact, the whole design purpose of most LEGO Technic elements is to help solve problems just like these. Unlike knowing how to utilize space as we did in the mouth example, this type of solution is more for those willing to get familiar with the various LEGO Technic parts available.
To keep it simple for those primarily into building with regular LEGO pieces, I recommend trying to just focus on one or two new LEGO Technic pieces at a time. The LEGO Technic link here is a great part, especially now that we are seeing smaller ball-joint elements appearing in standard LEGO sets. (Their use in the #76114 LEGO Spider Man’s Spider Crawler is a personal favorite of mine and well worth checking out.)
APPLYING WHAT YOU LEARN
From what I can tell, over the years LEGO building has really evolved. Just compared to sets a couple of decades back, you can really see that both the techniques and parts in official LEGO sets made it easier to add detailing to LEGO models. Now I believe we are slowly moving into an age where we need to become more functionally adept in our creations to stand out amongst our peers.

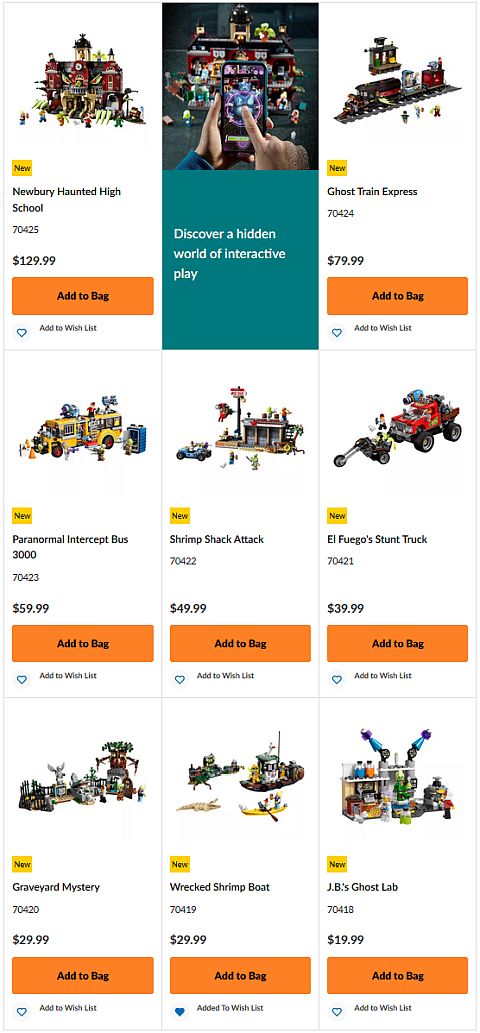
Take, for instance, the #21315 LEGO Ideas Pop-Up Book. The set is a marvel of LEGO building and available at a fairly affordable price. It really puts working models into mainstream popularity in a way that we can’t ignore. So by building on basic mechanism types like a toggling switch, while we are still figuring out all it can do, we are also learning to build better designs in the future. It’s seldom the case where our latest creations is not better in some way than those we’ve built before. Learning from official LEGO sets, and experimenting with the techniques we learn, will continue to make us better builders. If you are interested, you can check out the whole LEGO Hidden Side collection at the LEGO Hidden Side section of the Online LEGO Shop.
What do you think? How do you like the LEGO Hidden Side sets? Do you have any of them already? And what do you think of the ghost train and its transformational features? Feel free to share your thoughts and discuss in the comment section below!
And you might also like to check out the following related posts: