As we discussed previously (see links at the end of this post), LEGO has been working on restructuring the LEGO VIP program by adding more ways to earn and redeem points. The new LEGO VIP Rewards Center is now live so we have a chance to check out all the changes and additions to the program. So, let’s take a look.

The first difference that you will notice is that the LEGO VIP icon changed color from red to blue. The second difference is that now the LEGO VIP program has a separate dedicated micro-site called LEGO VIP Rewards Center. You can get to the site by clicking on the blue LEGO VIP logo wherever you see it at the Online LEGO Shop; home page, your account page, footer, etc. Once you click on the logo, you will be taken to the LEGO VIP Rewards Center. Or you can go directly to Rewards.LEGO.com.
➡ LEGO VIP REWARDS – STORE & PHONE SHOPPING: At the LEGO VIP Rewards Center, you are greeted by all the options for earning and spending your LEGO VIP Points. The first section for redeeming your points when shopping at official LEGO stores and over the phone is not yet filled in at the time of this writing.
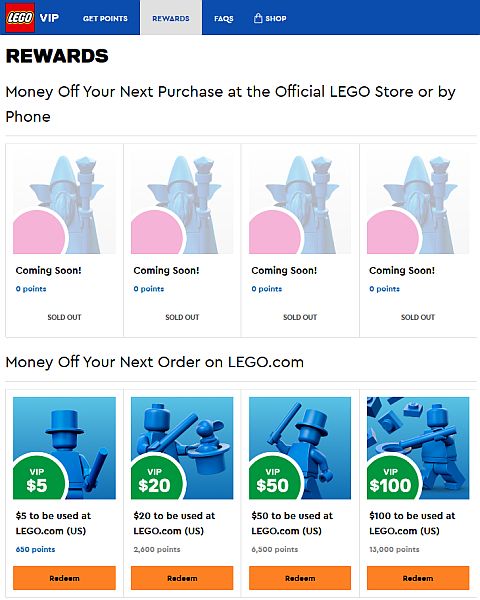
➡ LEGO VIP REWARDS – ONLINE SHOPPING: The next section for redeeming your points at the Online LEGO Shop is already available. As you can see above, you can redeem 650 points for a $5 discount on your next purchase, and you can also redeem 2600 points for a $20 discount, $6,500 points for a $50 discount, and 13,000 points for a $100 discount. If you want to get other discounts, you have some more choices on the following page once you select a discount. You can basically double up the amounts listed above by selecting two units. So, for example, you can get a $10 discount by selecting the $5 discount and then choosing x2 in the drop-down list on the following page.
Once you are done selecting your discount, you will get a code, which you will need to enter in the appropriate field during checkout at the Online LEGO Shop. The LEGO VIP online discount is valid for 30 days from the point of redemption. Also, please note that the LEGO VIP online discount can only be used at the Online LEGO Shop. They cannot be used on LEGO phone orders or at LEGO brand retail stores.
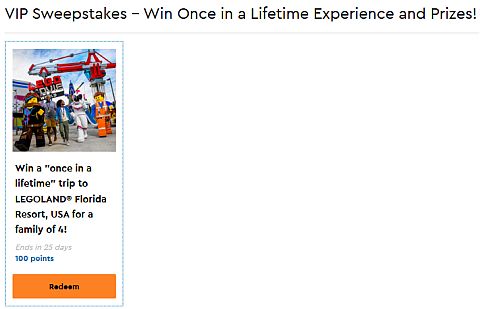
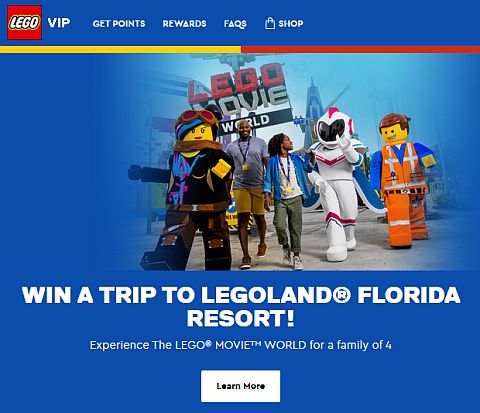
➡ LEGO VIP REWARDS – SWEEPSTAKES: In this section, you can redeem your points for entries into sweepstakes. The only sweepstake currently listed is for a chance to win a 4-night stay at the LEGOLAND Florida Resort for a family of four, including two-day resort tickets with a private guided tour and building experience at the LEGOLAND Model Shop and many other perks. Flights, transportation, and some food and beverages are also included. Participating in this sweepstake costs 100 point. If you are interested in this opportunity, make sure you read the fine print because there are some rules and restrictions.
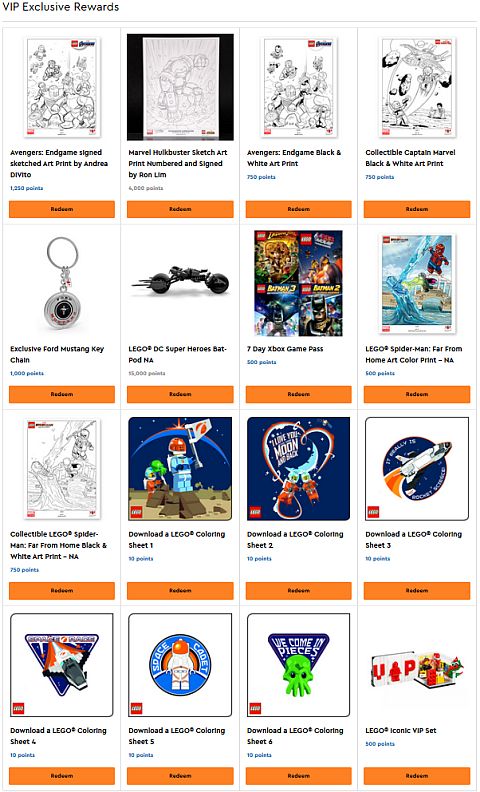
➡ LEGO VIP REWARDS – OTHER: The next section is called Exclusive VIP Rewards, where you can redeem your points for various interesting items like exclusive art prints, downloadable coloring sheets, small LEGO sets, key chains, and more. Note that the shipment of physical rewards will require purchase, however there is no minimum amount. You will receive a code that you can enter at the checkout page of the Online LEGO Shop.
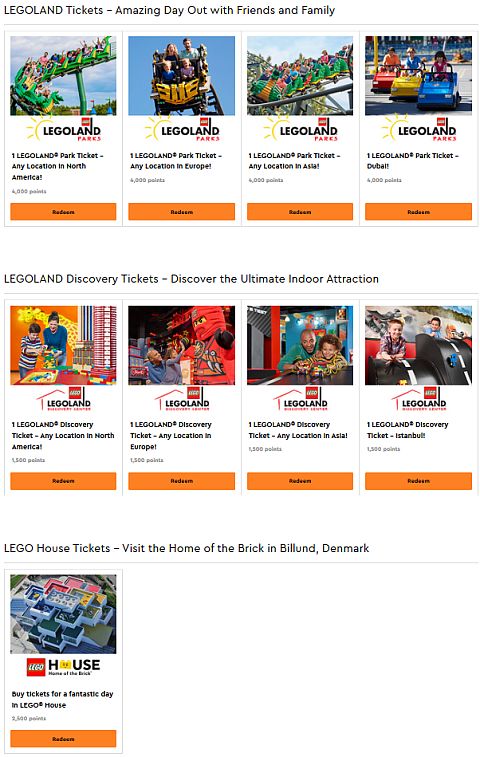
➡ LEGO VIP REWARDS – TICKETS: For 4,000 points, you can get one ticket to any LEGOLAND location around the world, and for 1,500 points you can get one ticket to a LEGOLAND Discovery Center. In both cases, you will receive a promotional code, which you can redeem at LEGOLAND.com. And, you can also get a ticket for the LEGO House in Billund, Denmark for 2,500 points. You can redeem this promotional code at LEGOHouse.com.
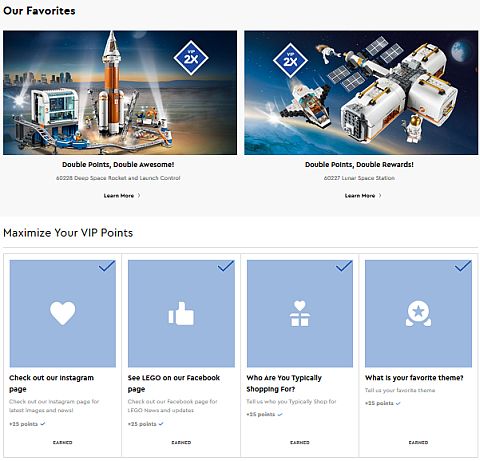
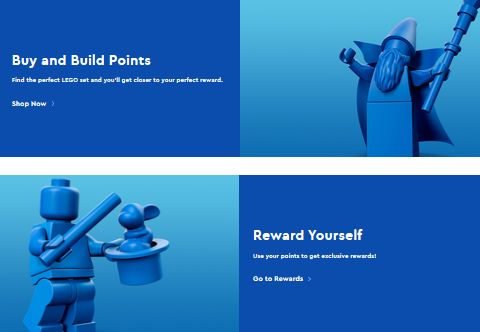
➡ LEGO VIP REWARDS – EARNING POINTS: At the bottom of the main page of the LEGO VIP Rewards Center, there is a link to the section to different ways to earn points. (You can also access this page from the top banner.) This includes Double VIP Points opportunities, which is usually two select sets each month, plus some shorter events. We will probably see more ways to earn points in this section once the year end holiday season comes around.
An interesting new way to earn points is by interacting with LEGO’s social media pages and filling out short surveys. In fact, you can earn 100 points right now by visiting LEGO’s Instagram page (25 points), Facebook page (25 points), and filling out two short surveys about your shopping habits and your favorite LEGO themes (25 points each). Not a bad deal!
And, of course, we can still earn VIP Points in the regular way; by shopping for LEGO sets by phone, in person at official LEGO stores, and the Online LEGO Shop. Notice that the amount of points earned are different from what we are used to. Previously, $1 equaled 1 point during regular shopping (twice as much during Double VIP Point periods). So, you earned 100 points on a $100 set, which equaled a $5 discount on a future order (basically 5% off). Now, a $100 set earns you 650 points, which you can redeem for a $5 discount code. So, purchasing a $100 set still gives you the same discount, just the points amount is different and it’s a bit harder to calculate what points are actually worth.
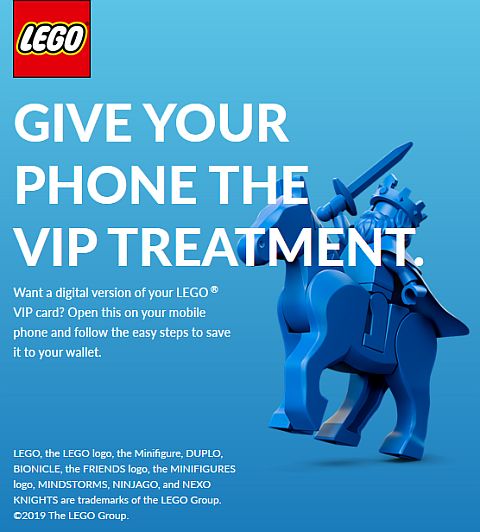
Another new feature is that you can now get a digital version of your LEGO VIP card for your mobile device, currently for the Apple Wallet or Google Pay. They can be used when shopping at LEGO stores. To access this feature, you will need to navigate to the LEGO VIP Rewards Center from your phone and follow the directions.
So far, the new features of the LEGO VIP program seem pretty good. We can still earn and redeem points the same way as before, but now there are additional ways both accumulating and spending points. I’m especially excited for the opportunity to redeem points for rare and exclusive items. I did prefer the simpler math of the original LEGO VIP program, and I’m not a fan of having to generate a code before redeeming points at the Online LEGO Shop. This adds several additional steps and requires more planning. However, it’s possible that they will be able to make the process more seamless in the future.
So go ahead, check out the new LEGO VIP Rewards Center and let me know what you think! And if you have any questions let me know that as well, and I can forward them to the appropriate department via the LEGO Ambassador Network. So feel free to share and discuss!
And you might also like to check out the following related posts: