Recently, the LEGO Ideas team introduced a new way to showcase your creativity on LEGO Ideas called Activities. Activities are small, informal warm-up challenges that the LEGO Ideas team will set forth on a more regular basis than contests and are of a shorter participation period. The program is about unleashing your creativity in a shorter burst and it’s for members who may not want to spend a whole load of time building big creations, but instead want to take an evening of their week to tinker with something new – just for the fun of it.

What further distinguishes Activities from LEGO Ideas project submissions and LEGO Ideas contests is that there are no winners and prizes. However, from time to time the LEGO Ideas team may feature some of the coolest designs on LEGO’s social media channels to celebrate the skills of LEGO fans.
Additionally, to keep things as simple as possible and to allow as much creativity as possible, the LEGO Ideas team simplified the rules for Activities as much as possible. In case this all sounds slightly familiar, the concept stems from a test the team ran during the LEGO Ideas Test Lab back in early 2017. At that time, they ran a mini warm-up activity called “Build a Duck”, which was a fun way for even more members to participate regardless of skill level or time availability.
Currently, Activities is running in Beta and is restricted to a group of the most active members with the aim of learning more about this new functionality over time. When Activities is ready for the big stage and for more members to participate in, the LEGO Ideas team will let everyone know so that many more LEGO fans can join in the fun too.
The LEGO Ideas team is kicking off Activities with a challenge titled “Build Your Finest Micro Modular Building” that will run until Monday, the 13th May. Yes – that means only having time to build this weekend. Having only a few days to a week is the kind of time period that we can expect of Activities going forward. If you’re a part of the Beta group, you’ll be able to find the activity on the LEGO Ideas home page.

Also, to recap about current LEGO Ideas projects, the LEGO Ideas review board is working to wrap up the third 2018 LEGO Ideas review period, and they will be sharing the news of which projects (if any) get chosen to be an official LEGO Ideas set. In the image above are the five fantastic projects that are currently being reviewed. In addition, the first 2019 LEGO Ideas review qualifying period ended on May 6th with nine very different and impressive product ideas after they managed to reach the 10,000 required votes between the months of January and early May 2019 (see image below). If you follow the LEGO Ideas blog, look forward to interviews later in the year with the creators of these projects, as we get closer to the review results announcement.

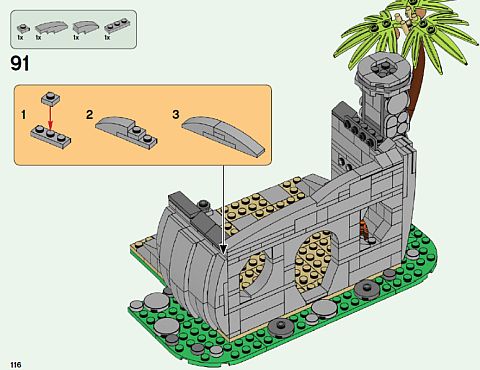
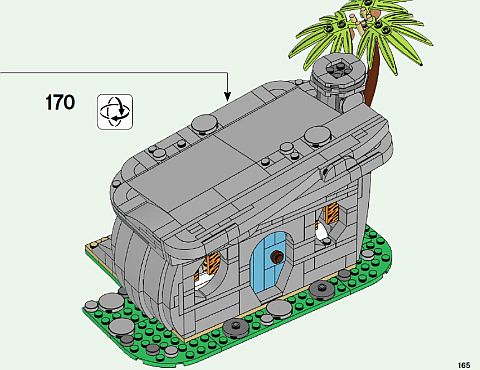
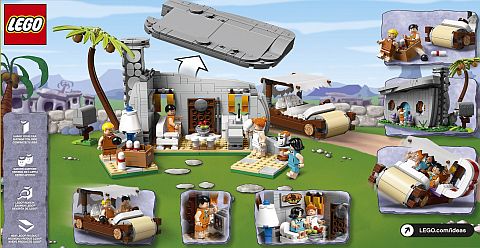
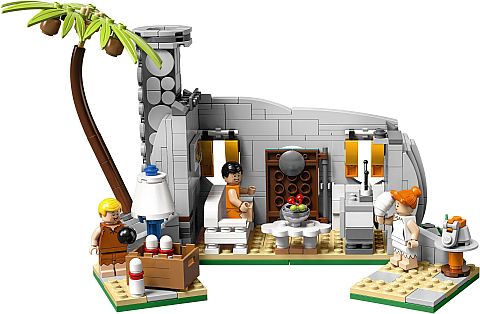
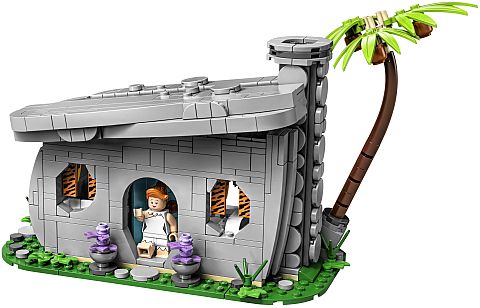
And, we can also look forward to the LEGO Treehouse, by LEGO fan Kevin Feeser (a.k.a. KevinTreeHouse) from France which should be released sometime soon. And don’t forget about all the recently released LEGO Ideas sets like the #21316 LEGO Ideas The Flintstones, the #21317 LEGO Ideas Steamboat Willie, the previously released but still available #21315 LEGO Ideas Pop-Up Book, the #21311 LEGO Ideas Voltron, the #21313 LEGO Ideas Ship in a Bottle, the #21309 LEGO Ideas NASA Apollo Saturn V, the #21312 LEGO Ideas Women of NASA, and the #21314 LEGO Ideas TRON: Legacy. You can find them all at the LEGO Ideas section of the Online LEGO Shop.

What do you think? How do you like the new LEGO Ideas Activities program? Would you like to participate? And which one is your favorite LEGO Ideas project under review? Are there any other projects that are still gathering support that you really like? Feel free to share and discuss in the comment section below!
And you might also like to check out the following related posts: