Now that we are in December, it is time to count down the days to Christmas with a LEGO Advent Calendar! As it has become tradition, LEGO released three LEGO Advent Calendars for this holiday season; the #60201 LEGO City Advent Calendar, the #75213 LEGO Star Wars Advent Calendar, and the #41353 Friends Advent Calendar. We have talked about the 2018 LEGO Advent Calendars previously (see: 2018 LEGO Christmas Advent Calendars), and if you have gotten any of them or even all three, you should have great fun opening one of the little windows and building a small set every day until Christmas. 🙂

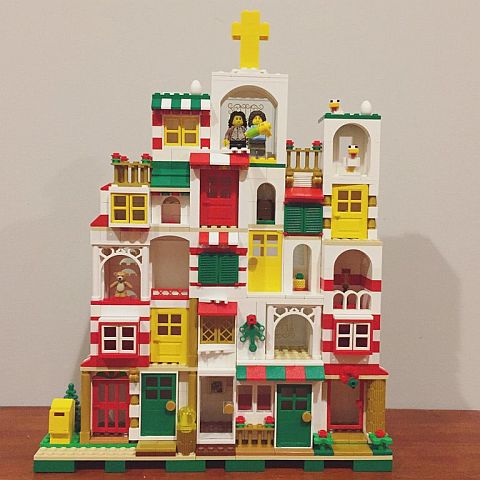
If you don’t have any of the official LEGO Advent Calendars, there is no need to be disheartened as you can always build your own! here, I will show you some great LEGO Advent Calendar designs built by LEGO fans. The custom LEGO Advent Calendar below was made by LEGO fan ribbongibbon and her two children. It includes lots of random little doors, windows and arches, and a nativity scene at the very top.
A similar design was built by Sarah Dees, a LEGO fan and mom of four boys. You can see this LEGO Advent Calendar in action in the video below, and you can also get building instructions and other tips at Sarah’s website, FrugalFun4Boys.com.
Sarah also shares another interesting LEGO Advent Calendar idea that doesn’t involve candy or toys in cubbies, but helping kids visualize at a glance how many days are left until Christmas. You can find more details on this build at Sarah’s website linked above.

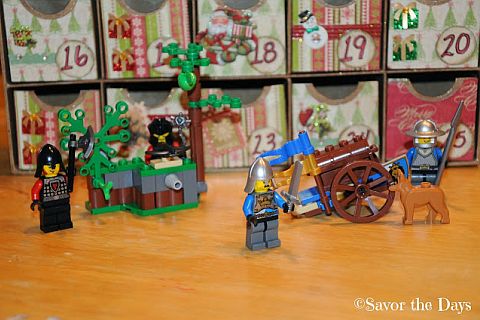
Yet another possible idea is to get an official LEGO set, divide the building steps into 24 groups, hide them in a LEGO-built Advent Calendar (or use some other system of drawers, containers, boxes, etc. for each day) include printed building instructions just for that day (you can get building instructions from LEGO’s website), and let your child build a section of the set each day. Guessing what set they are building is part of the fun! This project is also suitable for teen and adult LEGO fans, although you may want to use a more advanced set for them to build. A slight variation of this idea is shared by Kim Chance – another LEGO fan and mom – on her blog, SavorTheDays.com (see picture below).
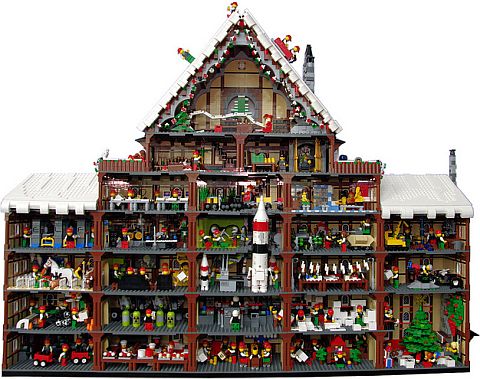
The following massive LEGO Advent Calendar was designed by LEGO fan brick_a_brad as a full size window display. It features Santa’s workshop, a major operation run by an army of elves. Each of the rooms represents a day of the calendar counting down to Christmas. You can see close-up pictures of all the fun details in brick_a_brad’s flickr album.
As you can see, there are many different creative ways to count down to Christmas whether you have the official LEGO Advent Calendar sets, or you come up with something on your own. Hope some of these ideas sparks your interest and creativity to start your own family tradition.

What do you think? Do you have any of the official LEGO Advent Calendars? Or do you prefer to build your own? What other Christmas family traditions do you follow that involves LEGO? Feel free to share and discuss in the comment section below! 😉
And you might also like to check out the following related posts: