(Written by William)
The #10302 LEGO Transformers Optimus Prime was one of the top sets I wanted to review in 2022. As a child, I had the Optimus Prime Transformer. I recall the heavy chromed elements as well as his iconic red and blue design. Plus, hearing that the LEGO model transformed without needing to rebuild was mind-blowing. Could this model hold up to my nostalgia and also deliver a building experience that is unique?
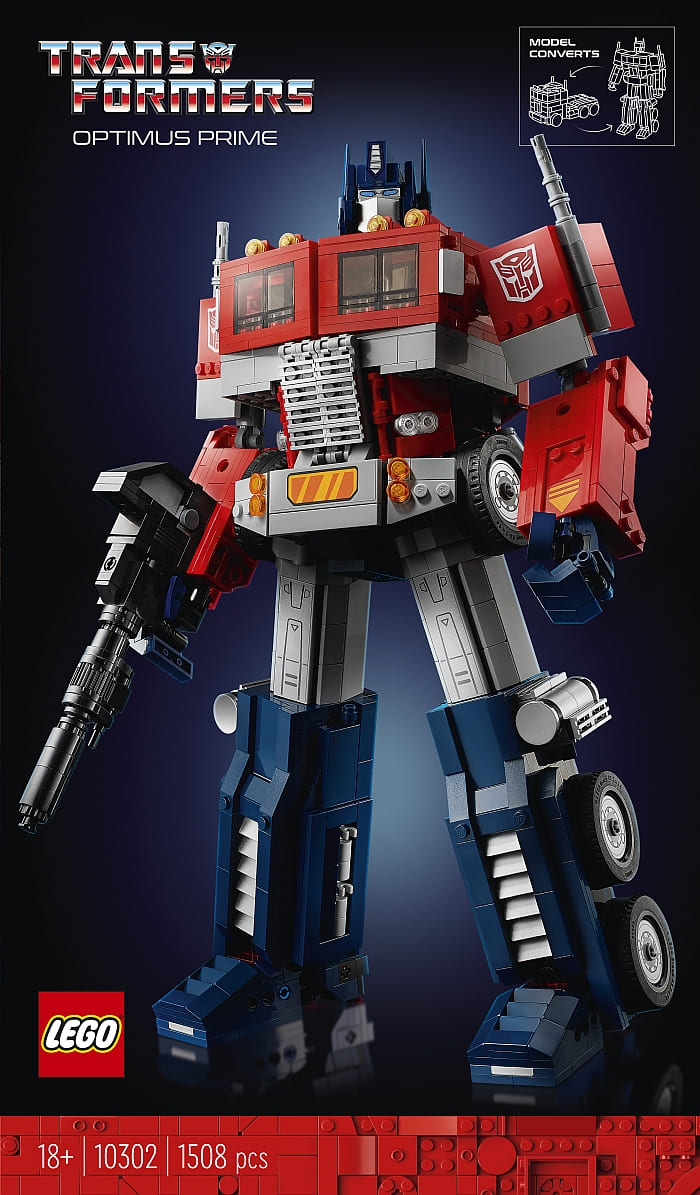
The short answer is, yes! But I do want to point out a couple of things. Parts of this model are a bit fragile. This means that the transforming feature can get a little frustrating at times. Also, this model doesn’t transform exactly like the original toy. However, I feel it might be even better, as it seems closer to the original show. So, it definitely wins in the nostalgia department in that respect.

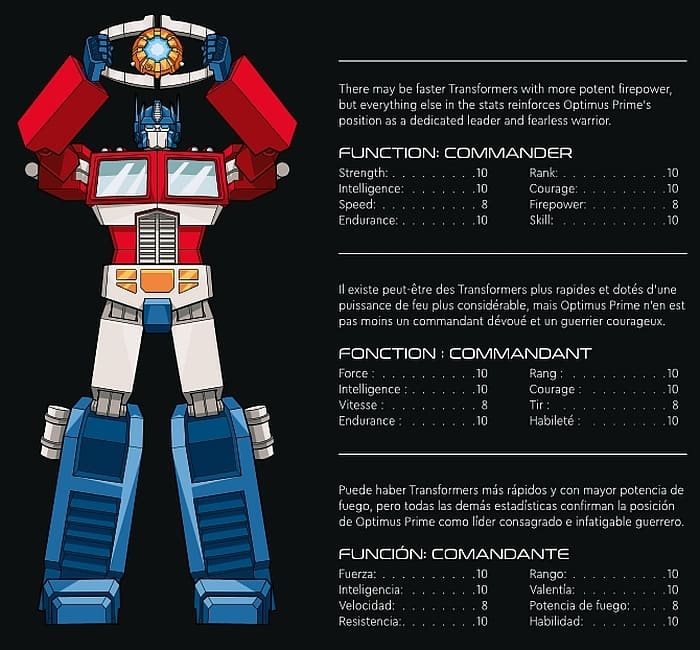
Another point in its favor is that LEGO designers included interesting bits of trivia in the instructions. For example, you may have thought – like I did – that Optimus Prime never had a jetpack. Well… the instructions point out that Optimus borrowed one from Side Swipe in one episode and that is what’s modeled in the set. Another interesting trivia included in the instructions is that the original toy had hands that detached and didn’t actually transform with the model. I remembered this and how easy it was to lose said hands. Fortunately, LEGO designers figured out how to work the hands into the model without detaching them.

Speaking of detaching, there are two elements that do require a minor bit of rebuilding when transforming the model. When Optimus goes from robot to truck or vice-versa, a tile in front needs to be removed and replaced with a different one. The second point of rebuilding involves the axe. He can’t really hold the axe, so you will have to remove one of his hands, then fit the axle portion of the axe into his arm in order for him to wield it. Neither of these features is terribly out of line with how the original toy worked.
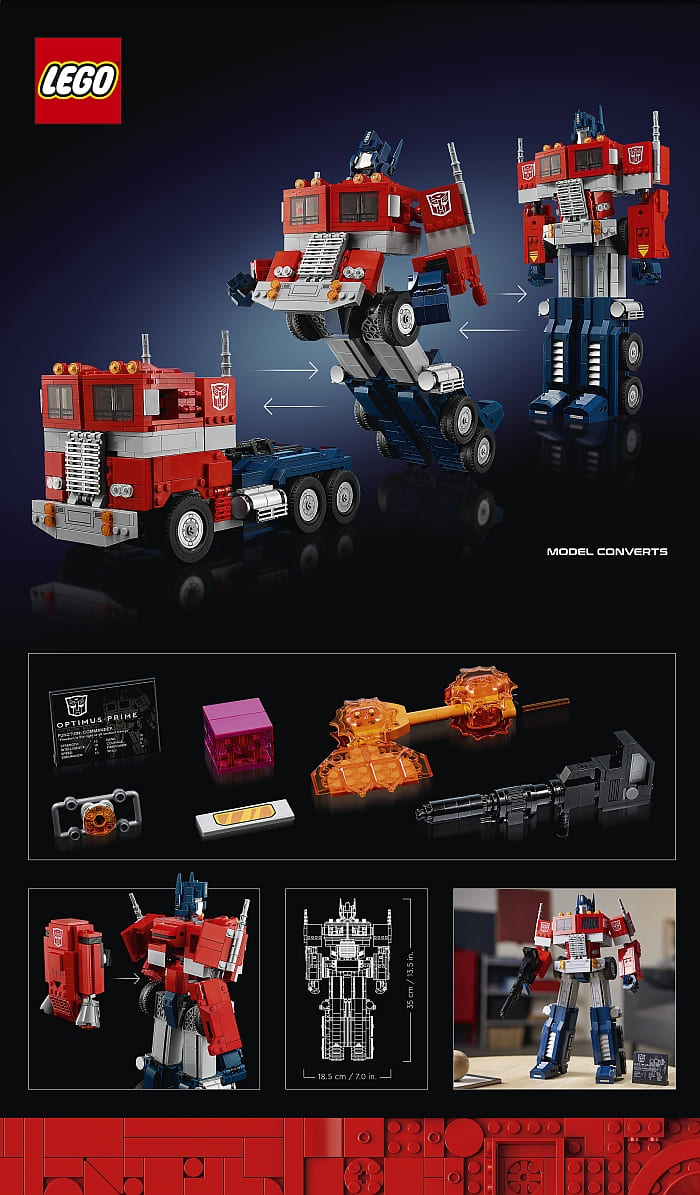
Overall, the transforming functionality is the real star of the show. This is why I spent my time really thinking about the techniques involved in something that transforms. What I came up with are three fundamentals that make this model as good as it is in terms of being a true Transformer. So, let’s not waste any more time and see what they are.
LEGO OPTIMUS PRIME – FIXED POSITION POINTS
When it comes to transforming models, I never really gave much thought to the stability of the model when it is in each of its two forms. Previous experience made me think, that I should just use a stronger joint to hold whatever position is required. A good example of this is the #70436 LEGO Hidden Side Phantom Fire Truck 3000. The set features a mech that folds up and makes the back end of the fire truck.
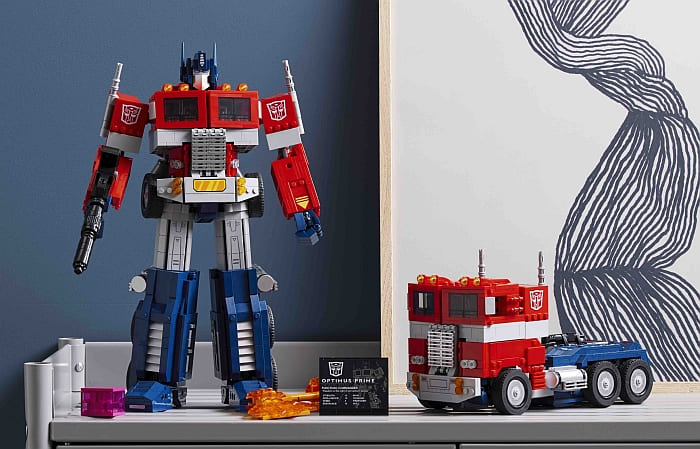
There’s just one issue, that model isn’t under stress in one of its forms. Having transforming limbs means you are actually building inherent weak points in the model. So, the solution? Create attachment points to help fix the position of sections when transformed. In Optimus Prime, I found two examples of this being done. One is to help in robot form, while the other is to help in vehicle form. The vehicle connection point is the easiest to see and understand, so we’ll start with that first.
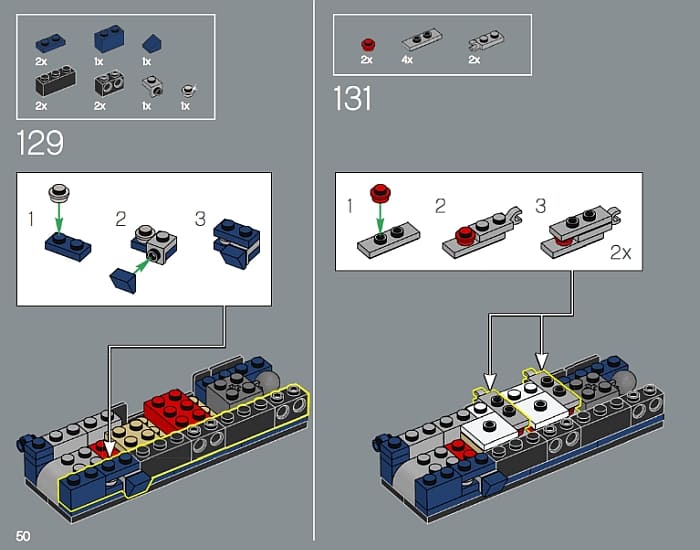
On the inner parts of Optimus’ legs, there are a couple of clips on one leg and bars on the other. These connections are a bit recessed in order to keep them from standing out. But, when it comes time for the vehicle form, the legs clip together to create a bit more stable section for the back end of the truck.
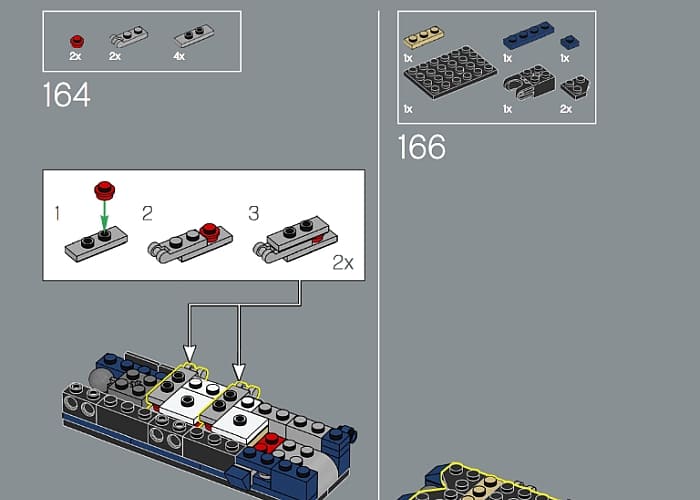
As for the robot form, take a look at the arms. Without any connection points, the shoulder joints would swing wildly back and forth. To prevent this from being an issue, there are two studs with hollow centers hidden right behind the front windshields. These attach to the sides of the bars that are on either side of the truck. Swiveled forward, the bars make connection and thus hold the shoulders in the desired position.
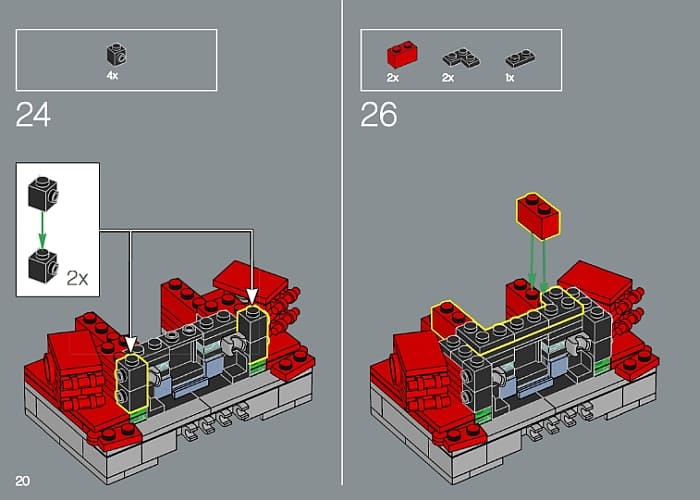
The only problem trying to work with this technique is that the connections often need to be hidden and they are not too strong. If the connections are too noticeable, then they break the illusion that your model is really transforming. And if you make the connections too strong then they might just rip apart the model when you are trying to manipulate it for transformation.
If you are going to use this technique, I’d suggest trying to stick with two simple connections. This could be two clips or two studs. Using two brings support for the connection itself while still being light in terms of clutch power. Additionally, if possible, try to make it so that the connections naturally line up. If they are hidden, chances are you will have a tough time trying to see where they should connect.
LEGO OPTIMUS PRIME – SOLID STOPS
Sometimes you can’t create connection points to stabilize your model. Fortunately, there is another method to bring stability to a part that moves and doesn’t look silly; solid stops that a part can’t move past.
Any piece can be used as a solid stop. All that is required is that it gets in the way at the right spot. For that reason, wedges are often used. They stick out at odd angles, preventing objects from moving past them. Wedges also have an added bonus in that they taper subtly so they look nice while blocking movement.
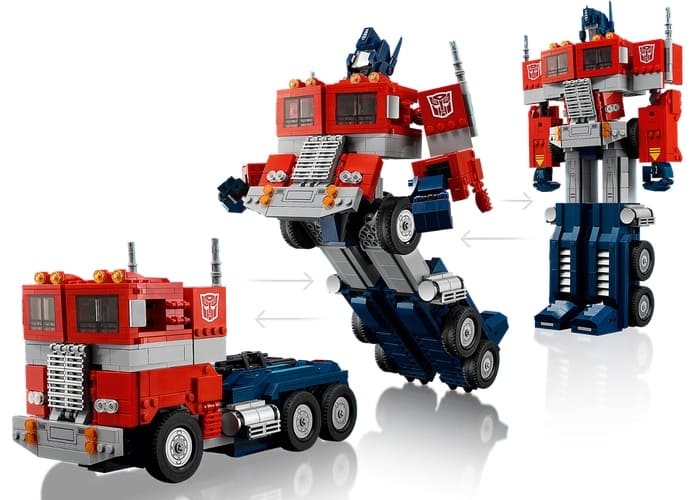
For Optimus Prime, the most obvious solid stop is located at the hips. He can bend forward since this is necessary for his transformation, but he can’t limbo. By adding stops in the model, the designers are giving us intuitive instructions on just how the model is supposed to work.
This is actually the best way to think about solid stops. They are natural instructions for your model. They can have very useful instructions as well. For instance, a model might tip over if it could go past a certain point. Or maybe, joints will break if they are bent beyond a point. And in the case of this model, it won’t work if you try to fold it the wrong way.
LEGO OPTIMUS PRIME – HEAVIEST JOINTS POSSIBLE
So you’ve added fixed connection points where possible, and you have solid stops for parts of your creation you don’t want to break, what else can you do to make something transform? Well, this goes all the way back to my original assumptions of a transforming model; use the strongest joints possible. And, if you can, use multiple joints when possible for additional security.
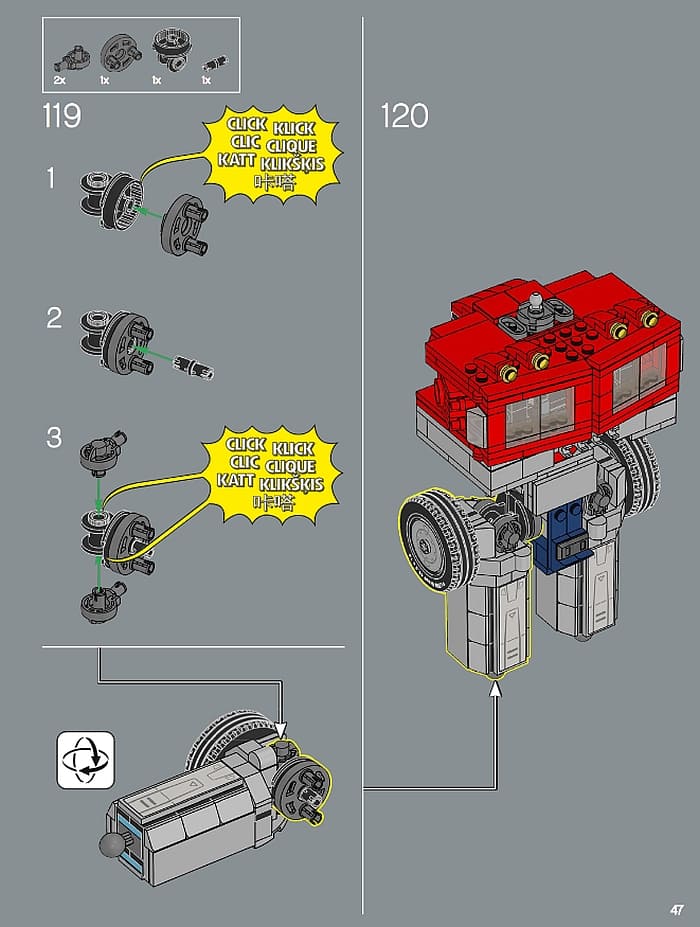
When all is said and done, weight is your enemy when it comes to a transforming model. In fact, the weight of the gun is a bit much for even Optimus to hold for an extended period of time. It is at this point you are at the mercy of whatever joints you are able to use.
The problem with this is that big bulky joints don’t look that great. So, LEGO designers used two methods to hide these unsightly hinged elements in this model. The two methods are collaring and blinds. Collaring was explained when we reviewed the #76217 LEGO Marvel Super Heroes I Am Groot model (see: Brick Breakdown: LEGO Marvel I am Groot). The essence of this technique is to build a collar around a joint to hide it in a socket. Optimus has this in his knees. The collars limit movement, but do not allow him to twist his leg in unnatural ways.
The second method is all about creating blinds. This is where you build up around a joint to block line-of-sight to it. This can be done in a heavy-handed way like how Optimus’s shoulders are built up to prevent seeing his shoulder joint. Or they can be done delicately like the flaps that cover his elbows. Just know, that heavy joints don’t mean you have to give up on good-looking aesthetic.
APPLYING WHAT YOU LEARN
For the first two techniques mentioned answer the question of what do you not want a model to do? Surprisingly, this is a very important question when it comes to something that transforms. Unlike other models, a transforming object has an intentional movement necessary for it to be successful. For this reason, it is best to consider solid stops and fixed connection points as instructions that a model can give a user without words. A good rule of thumb is that if it doesn’t feel natural then it is probably a poor use for these techniques. In the video below, I will discuss the set in a bit more detail.
As for the last technique, this is more to prepare a builder for what they are in for. Knowing that you have to use the biggest and bulkiest joints means you can better prepare for them. Solutions in hiding these joints are often bulky themselves, so will require extra planning to shave off some of the excesses. This is important since as mentioned before, weight is your enemy. So going in with a solid game plan will go a long way in preventing headaches in the long run. If you would like to check out the set, it’s available at the LEGO Icons section of the Online LEGO Shop.

What do you think? How do you like the LEGO Transformers Optimus Prime set? And what do you think of the building techniques that help with the transformation? Are there any other interesting techniques that you noticed in the set? Feel free to share your thoughts and discuss in the comment section below!
And you might also like to check out the following related posts:


This set brought back a lot of memories for me. I think Lego did a great job recreating the coolness and charm of the character.
Nice review. Thank you. How stable is this model? I had issues with other large mechs in the past. The knees start sagging and they tend to topple over easily.
Ahh! Optimus Prime! He looks crude now, but was the coolest thing when I was a kid. I have seen some custom builds before, but this one takes the cake.
The stickers should have been holographic. That’s my only gripe with this set. I remember how cool we all thought they were when they came out with those holographic stickers.
Solid stops are really important. I learned that the hard way. It’s harder to figure that out on a transforming model. I don’t have this set, but I plan to study the instructions.